


![Ultimate Azure Latch Controls Guide [REWORKS UPDATE: 2]](https://www.destructoid.com/wp-content/uploads/2025/03/ultimate-azure-latch-controls-guide.png)


Genshin Impact: The Forsaken Sea of Wisdom quest walkthrough
The Forsaken Sea of Wisdom in Genshin Impact is a sub-quest in the Chronicler of the Crumbling City quest series. During the quest, you must find and stabilize the Astral Assemblage to activate the Celestial Axis at the center of the Sacred City. Here's a simple guide on how to complete The Forsaken Sea of Wisdom quest in Genshin Impact. The Forsaken Sea of Wisdom quest guide How to unlock the quest Screenshot by Destructoid The Forsaken Sea of Wisdom is automatically unlocked during The Frozen, Rekindling Land quest, another sub-quest in the Chronicler of the Crumbling City series. Try to activate the Astral Assemblages(s) Indwell the Yumkausaur using its Spiritscone for traversal and follow the quest navigation. On the way to the Astral Assemblage, you will find a Pulverite blocking your passage, but you don't have to worry about it. Simply use the Yumkasaur's ability to leap to get past the Phlogiston rocks. Screenshot by Destructoid Keep moving forward while following the navigation to find the Astral Assemblage and activate it. This will trigger the nearby mechanisms, and you must interact with them to charge the Astral Assemblage. Charge the Astral Assemblage(s) - 1 Screenshot by Destructoid Head north and defeat the Pyro slimes to free the small Secret Source dragons to activate the Spiritway. Next, indwell a Koholasaur and ride the Spiritway before diving into the flaming pool. Wait for a few seconds to trigger a cutscene. Charge the Astral Assemblage(s) - 2 Screenshot by Destructoid Head southwest towards the next quest destination and destroy the Phlogiston blocks with the Abyssal monsters on top to save the small Secret Source dragon. Next, use the Spiritway to get to the flaming pool. You will also find an Abyssal monster waiting near the pool, and defeating it will give you a Precious Chest. Once that is done, immerse yourself in the flaming pool for a few seconds. Charge the Astral Assemblage(s) - 3 Screenshot by Destructoid After the cutscene, use the Spiritway to head to the next location, only to find a dry pool. To fill the pool with Phlogiston, indwell the nearby Tatanksaur and charge towards the Pulverite. This will break the large Phlogiston rock and fill the pool. Once that is done, indwell a Koholasaur and enter the pool. Use the Iridescent Beam to clear out the Abyss Screenshot by Destructoid Return to the Astral Assemblage's location and clear out the Abyss by activating all the Iridescent Beams. Re-activate the Astral Assemblage(s) Screenshot by Destructoid Ride the Spiritway back to the Astral Assemblage and re-activate it. This will trigger one final cutscene and conclude The Forsaken Sea of Wisdom quest in Genshin Impact. The Forsaken Sea of Wisdom quest reward Screenshot by Destructoid As a reward for completing the The Forsaken Sea of Wisdom quest, you will get 2 Luxurious Chests, worth 10 Primogems each. The post Genshin Impact: The Forsaken Sea of Wisdom quest walkthrough appeared first on Destructoid.
The Forsaken Sea of Wisdom in Genshin Impact is a sub-quest in the Chronicler of the Crumbling City quest series. During the quest, you must find and stabilize the Astral Assemblage to activate the Celestial Axis at the center of the Sacred City.
Here's a simple guide on how to complete The Forsaken Sea of Wisdom quest in Genshin Impact.
The Forsaken Sea of Wisdom quest guide
How to unlock the quest

The Forsaken Sea of Wisdom is automatically unlocked during The Frozen, Rekindling Land quest, another sub-quest in the Chronicler of the Crumbling City series.
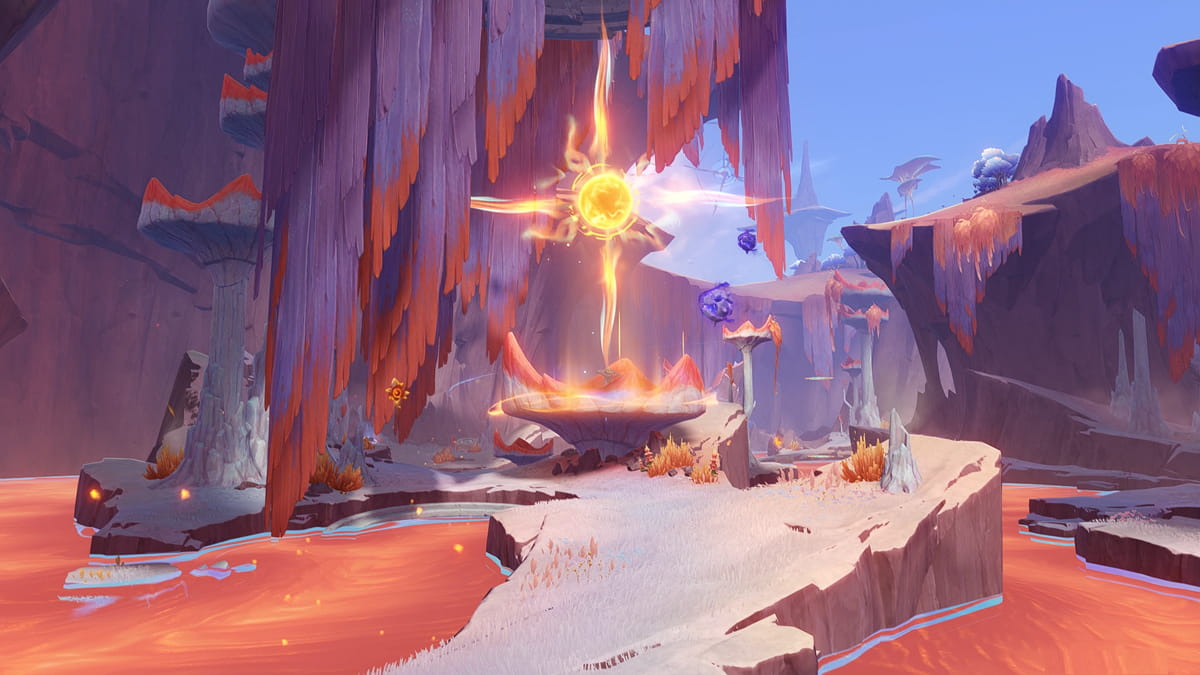
Try to activate the Astral Assemblages(s)
Indwell the Yumkausaur using its Spiritscone for traversal and follow the quest navigation. On the way to the Astral Assemblage, you will find a Pulverite blocking your passage, but you don't have to worry about it. Simply use the Yumkasaur's ability to leap to get past the Phlogiston rocks.

Keep moving forward while following the navigation to find the Astral Assemblage and activate it. This will trigger the nearby mechanisms, and you must interact with them to charge the Astral Assemblage.
Charge the Astral Assemblage(s) - 1

Head north and defeat the Pyro slimes to free the small Secret Source dragons to activate the Spiritway. Next, indwell a Koholasaur and ride the Spiritway before diving into the flaming pool. Wait for a few seconds to trigger a cutscene.
Charge the Astral Assemblage(s) - 2

Head southwest towards the next quest destination and destroy the Phlogiston blocks with the Abyssal monsters on top to save the small Secret Source dragon. Next, use the Spiritway to get to the flaming pool. You will also find an Abyssal monster waiting near the pool, and defeating it will give you a Precious Chest. Once that is done, immerse yourself in the flaming pool for a few seconds.
Charge the Astral Assemblage(s) - 3

After the cutscene, use the Spiritway to head to the next location, only to find a dry pool. To fill the pool with Phlogiston, indwell the nearby Tatanksaur and charge towards the Pulverite. This will break the large Phlogiston rock and fill the pool. Once that is done, indwell a Koholasaur and enter the pool.
Use the Iridescent Beam to clear out the Abyss

Return to the Astral Assemblage's location and clear out the Abyss by activating all the Iridescent Beams.
Re-activate the Astral Assemblage(s)

Ride the Spiritway back to the Astral Assemblage and re-activate it. This will trigger one final cutscene and conclude The Forsaken Sea of Wisdom quest in Genshin Impact.
The Forsaken Sea of Wisdom quest reward

As a reward for completing the The Forsaken Sea of Wisdom quest, you will get 2 Luxurious Chests, worth 10 Primogems each.
The post Genshin Impact: The Forsaken Sea of Wisdom quest walkthrough appeared first on Destructoid.