


-All-will-be-revealed-00-35-05.png?width=1920&height=1920&fit=bounds&quality=70&format=jpg&auto=webp#)
-All-will-be-revealed-00-17-36.png?width=1920&height=1920&fit=bounds&quality=70&format=jpg&auto=webp#)


.jpg)


How to Play Hackclaw in Delta Force Operations
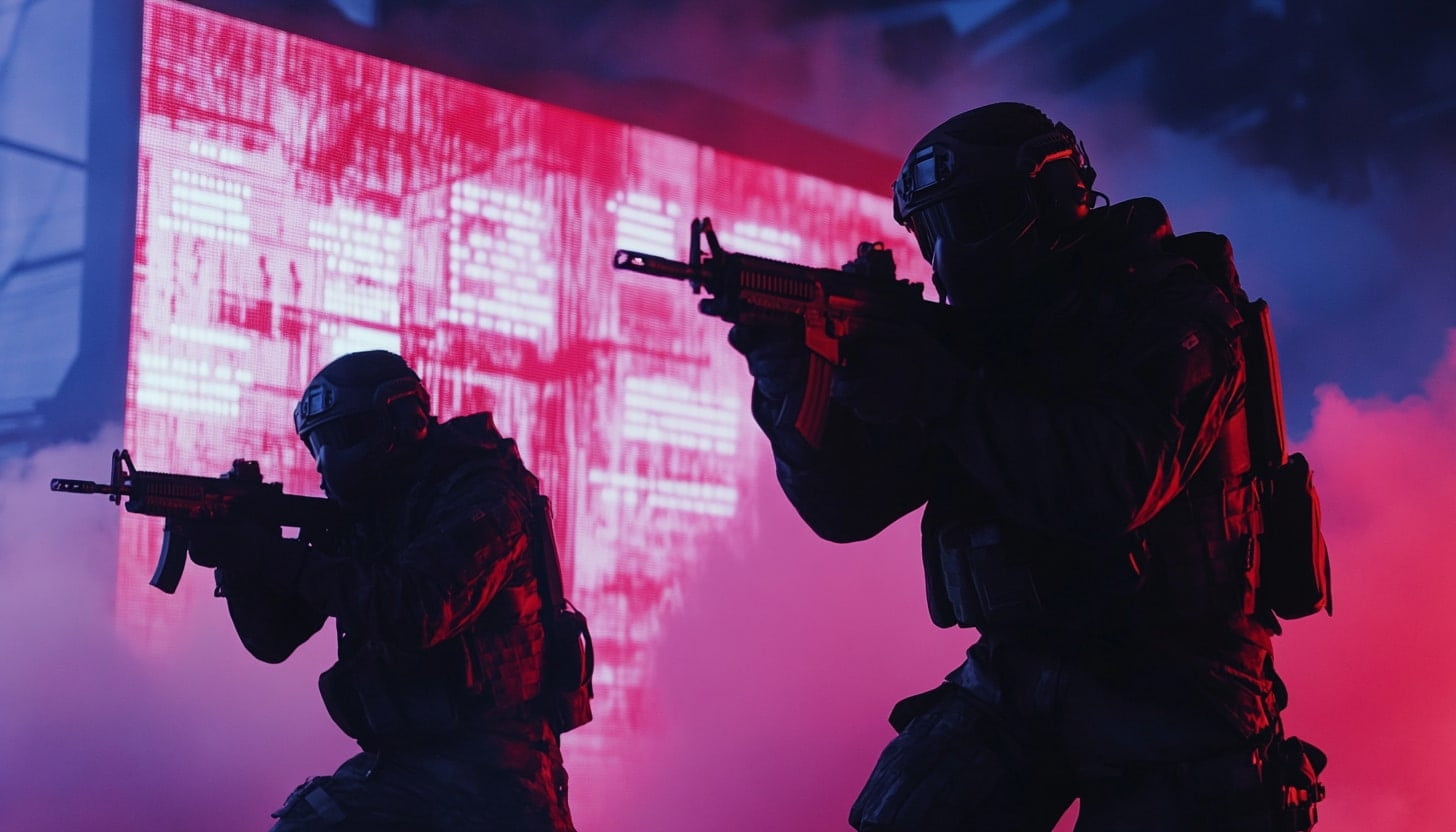
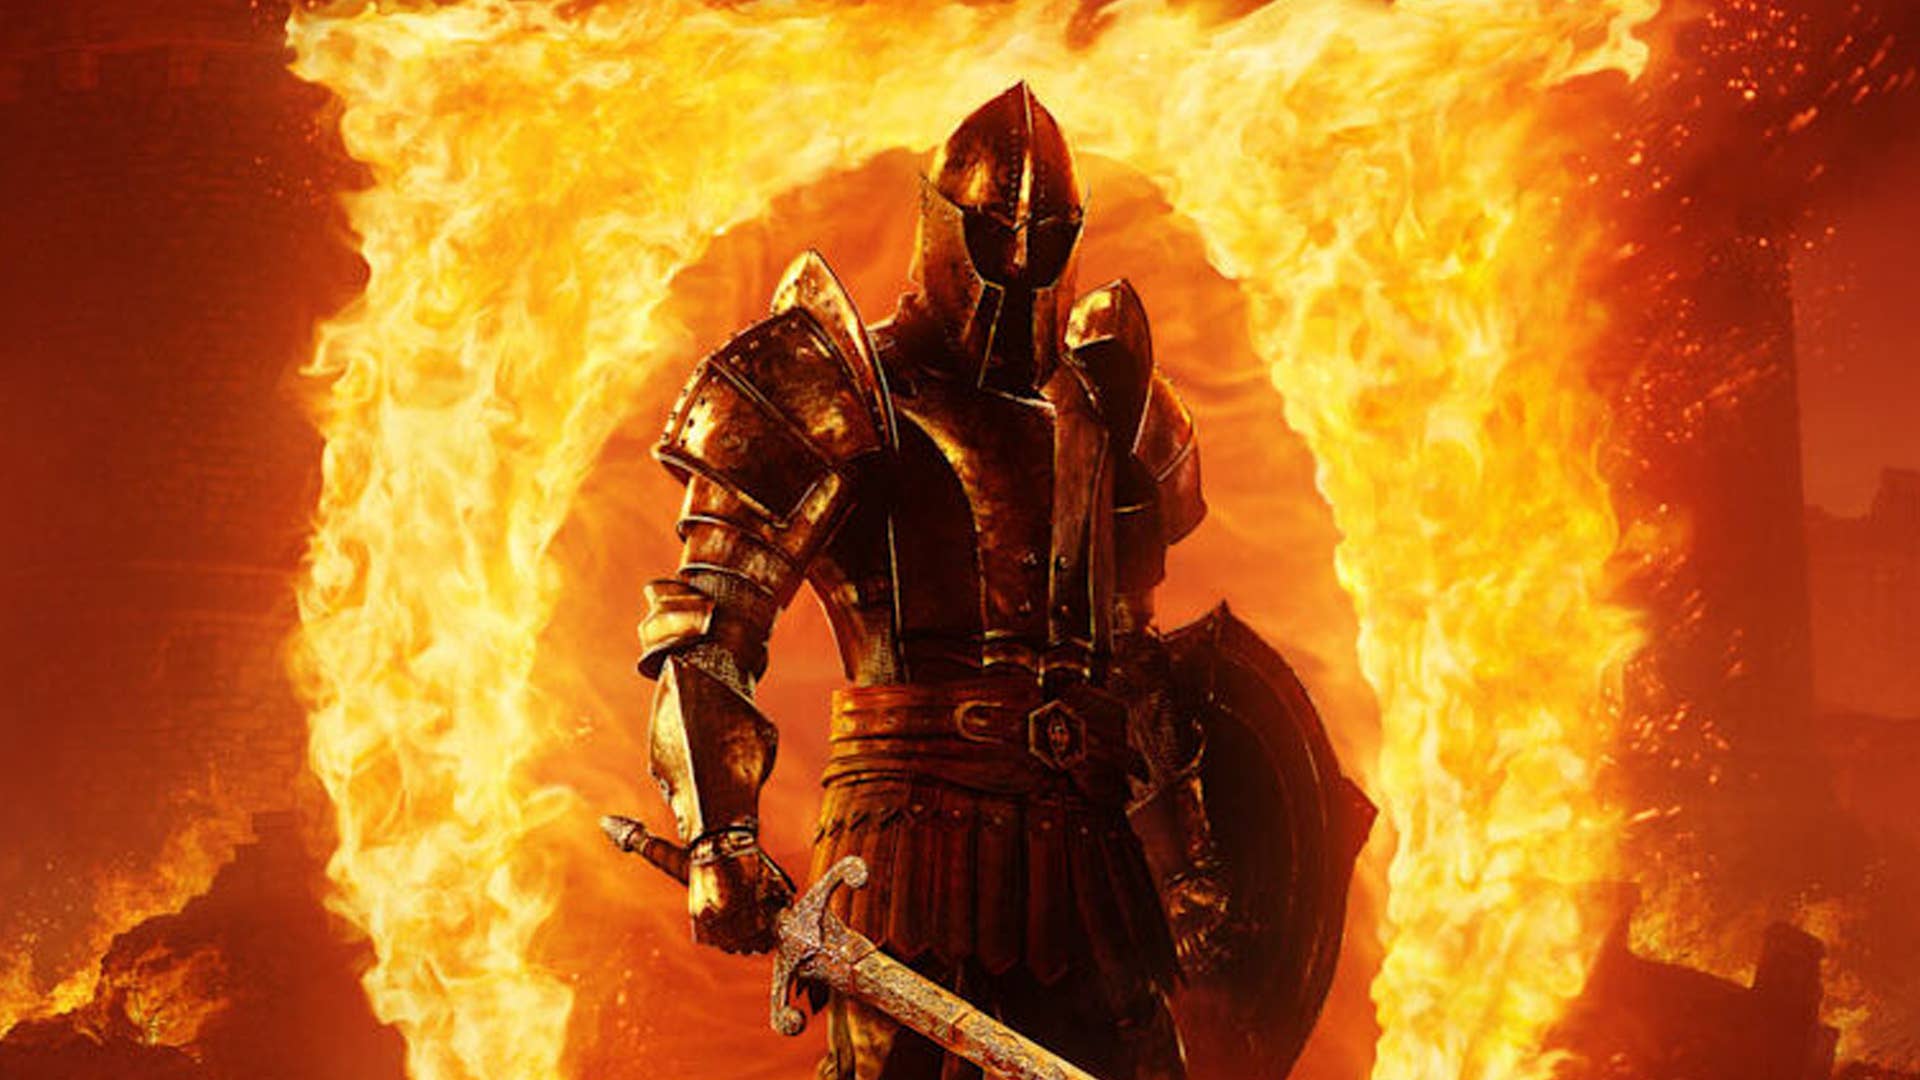
If you know how to play Hackclaw effectively in the Delta Force Operations mode, you will always be an asset to your team. She's also fantastic for solo play, ensuring you almost always know where your enemies are and often denying them the same information. Playing her well makes you an absolute terror, and in this guide, we'll go over tips about her entire kit and some advanced play strategies, as well. Tips for Playing Hackclaw: The Basics Screenshot by Destructoid Hackclaw is a master of stealth, intelligence, and enemy disruption. No other operator in Delta Force can disable their enemies' abilities like she can, and only Luna's Detection Arrow rivals Hackclaw's detection capabilities. However, Hackclaw is more consistent, combat-effective, and easier to play between the two. Beyond the most basic level, Hackclaw doesn't play like other operators. Sure, she can carry up to two guns and a sidearm, her sprint speed is the same, and she has the same amount of health. However, her stealth speed while walking or crouching is increased, and her footsteps make less noise while using stealth. That means Hackclaw can reach advantageous positions far easier than any other operator without giving away her location. As part of a team, a confident Hackclaw can split off from the group and flank without giving away the game. She can sneak up on even the best-equipped, highest-ranked players as a solo, taking even Mandelbricks right from under their noses. I've managed it once, and it was satisfying. Hackclaw's abilities are also unique in that they're simultaneously offensive and defensive. Her Data Knife deals solid damage, and its disabling burst reveals threats via a hitmarker, even through walls. Her Signal Decoder tracks up to six enemies in real-time, making it invaluable when preparing for a fight or defending a position and rare loot. Even her Flash Drones can be used preventatively. Send them out early to check for enemies hiding in corners. Use them mid-fight for an instant advantage. We'll go over her kit in detail below. Tips for Using Hackclaw's Signal Decoder Screenshot by Destructoid Hackclaw's Gadget, the Signal Decoder, is the heart and soul of her kit. Its function is as simple as it is borderline overpowered. Usable every three minutes or so, once active, the Decoder paints a line on your HUD leading toward up to six enemies within 60 meters. The line marking the closest enemy is red; these lines update in real time as your enemies move around. The Decoder's effects go through walls and around corners. Even if it can't draw a direct line to them because of verticality or some other obstruction, the Decoder display will let you know how many enemy operators are within its detection radius. There are two main times to use the Signal Decoder: when entering a high-risk area or in the middle of a fight when you need to know where the next threat's coming from. Using the Decoder as an early warning system is its most versatile use case. Are you on Zero Dam about to enter the administration building? Scan for enemies. About to reach a dangerous extract on Space City or Brakkesh? Decoder time. You'd also do well to use it in transition between high-traffic areas, particularly if you just looted a safe or other priority loot spawn. Detecting enemy locations mid-combat also serves several purposes. First, it ensures you have a bead on where your foe's hiding, as there's no way to block the Decoder signal. Enemies have a glitch effect on their screen that increases in intensity the closer an active Decoder is, so you can use that to your advantage. Pushing your enemies with your Decoder active can force a mistake, giving you even more of an advantage. How and when you activate the Signal Decoder also won't change much, whether solo or on a team. If you or a teammate hear footsteps near somewhere you want to, quickly checking with the Signal Decoder will give you the go-ahead or prompt you to pump the brakes. And if no signals appear, you'll know the footsteps belonged to an NPC, removing any tension from the encounter. Tips for Using Hackclaw's Data Knife Screenshot by Destructoid If the Signal Decoder is the most powerful part of Hackclaw's kit, the Data Knife is the most versatile. It's at once a weapon, a detection system, and a crowd control and anti-operator tool. Here's a short list of all the ways you're likely to use the Data Knife in a raid: To kill basic AI soldiers in one shot silently (without shooting any bullets). To check for enemy players by throwing the Knife at a wall and waiting for a hit marker to appear. To finish knocked down enemy operators without needing to waste any more bullets. To temporarily disable enemy operator abilities at the start or in the middle of a fight. To temporarily disable enemy operator abilities to dissuade them from chasing you. To deal extra damage to an operator during a fight or if they catch you by surpri

If you know how to play Hackclaw effectively in the Delta Force Operations mode, you will always be an asset to your team. She's also fantastic for solo play, ensuring you almost always know where your enemies are and often denying them the same information. Playing her well makes you an absolute terror, and in this guide, we'll go over tips about her entire kit and some advanced play strategies, as well.
Tips for Playing Hackclaw: The Basics
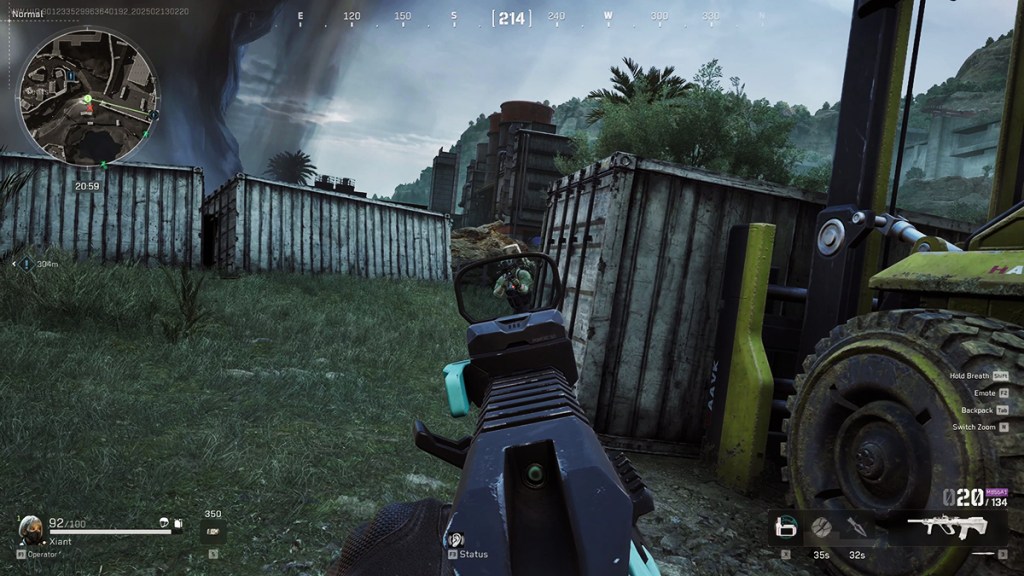
Hackclaw is a master of stealth, intelligence, and enemy disruption. No other operator in Delta Force can disable their enemies' abilities like she can, and only Luna's Detection Arrow rivals Hackclaw's detection capabilities. However, Hackclaw is more consistent, combat-effective, and easier to play between the two.
Beyond the most basic level, Hackclaw doesn't play like other operators. Sure, she can carry up to two guns and a sidearm, her sprint speed is the same, and she has the same amount of health. However, her stealth speed while walking or crouching is increased, and her footsteps make less noise while using stealth. That means Hackclaw can reach advantageous positions far easier than any other operator without giving away her location.
As part of a team, a confident Hackclaw can split off from the group and flank without giving away the game. She can sneak up on even the best-equipped, highest-ranked players as a solo, taking even Mandelbricks right from under their noses. I've managed it once, and it was satisfying.
Hackclaw's abilities are also unique in that they're simultaneously offensive and defensive. Her Data Knife deals solid damage, and its disabling burst reveals threats via a hitmarker, even through walls. Her Signal Decoder tracks up to six enemies in real-time, making it invaluable when preparing for a fight or defending a position and rare loot. Even her Flash Drones can be used preventatively. Send them out early to check for enemies hiding in corners. Use them mid-fight for an instant advantage.
We'll go over her kit in detail below.
Tips for Using Hackclaw's Signal Decoder
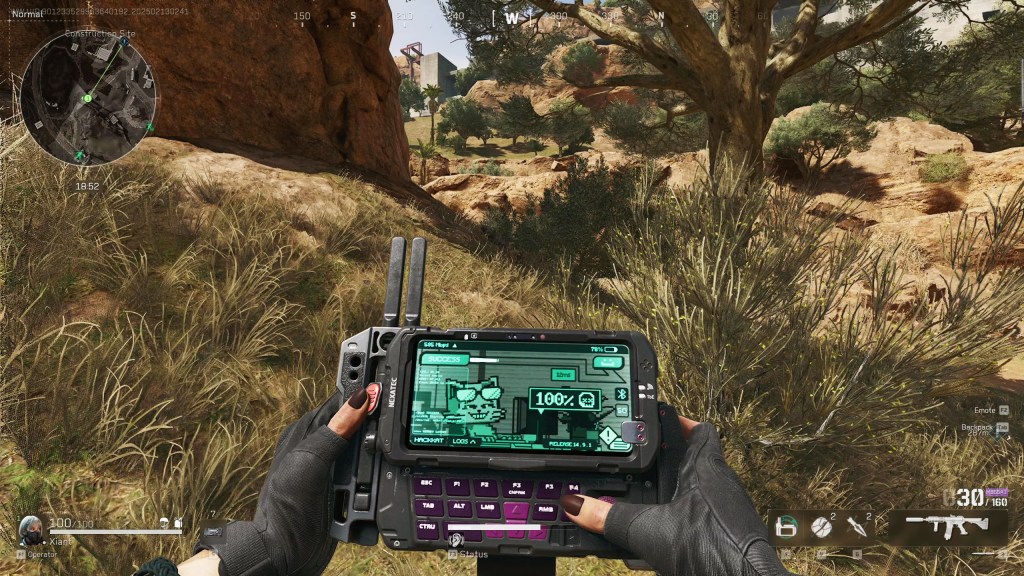
Hackclaw's Gadget, the Signal Decoder, is the heart and soul of her kit. Its function is as simple as it is borderline overpowered. Usable every three minutes or so, once active, the Decoder paints a line on your HUD leading toward up to six enemies within 60 meters. The line marking the closest enemy is red; these lines update in real time as your enemies move around.
The Decoder's effects go through walls and around corners. Even if it can't draw a direct line to them because of verticality or some other obstruction, the Decoder display will let you know how many enemy operators are within its detection radius.
There are two main times to use the Signal Decoder: when entering a high-risk area or in the middle of a fight when you need to know where the next threat's coming from.
Using the Decoder as an early warning system is its most versatile use case. Are you on Zero Dam about to enter the administration building? Scan for enemies. About to reach a dangerous extract on Space City or Brakkesh? Decoder time. You'd also do well to use it in transition between high-traffic areas, particularly if you just looted a safe or other priority loot spawn.
Detecting enemy locations mid-combat also serves several purposes. First, it ensures you have a bead on where your foe's hiding, as there's no way to block the Decoder signal. Enemies have a glitch effect on their screen that increases in intensity the closer an active Decoder is, so you can use that to your advantage. Pushing your enemies with your Decoder active can force a mistake, giving you even more of an advantage.
How and when you activate the Signal Decoder also won't change much, whether solo or on a team. If you or a teammate hear footsteps near somewhere you want to, quickly checking with the Signal Decoder will give you the go-ahead or prompt you to pump the brakes. And if no signals appear, you'll know the footsteps belonged to an NPC, removing any tension from the encounter.
Tips for Using Hackclaw's Data Knife
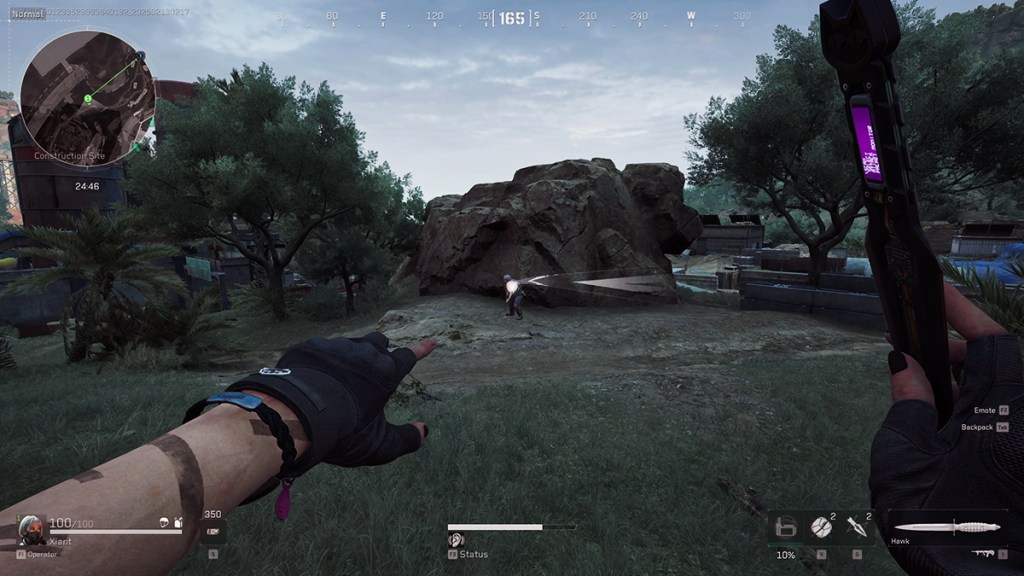
If the Signal Decoder is the most powerful part of Hackclaw's kit, the Data Knife is the most versatile. It's at once a weapon, a detection system, and a crowd control and anti-operator tool. Here's a short list of all the ways you're likely to use the Data Knife in a raid:
- To kill basic AI soldiers in one shot silently (without shooting any bullets).
- To check for enemy players by throwing the Knife at a wall and waiting for a hit marker to appear.
- To finish knocked down enemy operators without needing to waste any more bullets.
- To temporarily disable enemy operator abilities at the start or in the middle of a fight.
- To temporarily disable enemy operator abilities to dissuade them from chasing you.
- To deal extra damage to an operator during a fight or if they catch you by surprise.
I've made it a point of order to throw a Data Knife into nearby walls whenever I'm about to enter a point of interest, especially if there's a safe there. Doing so only costs the thirty-second cooldown on that Knife, but could save a Signal Decoder use for when I need it more.
The short version: use the Data Knife liberally, as it can save you tons of headaches and keep away unwanted attention.
Tips for Using Hackclaws's Flash Drone
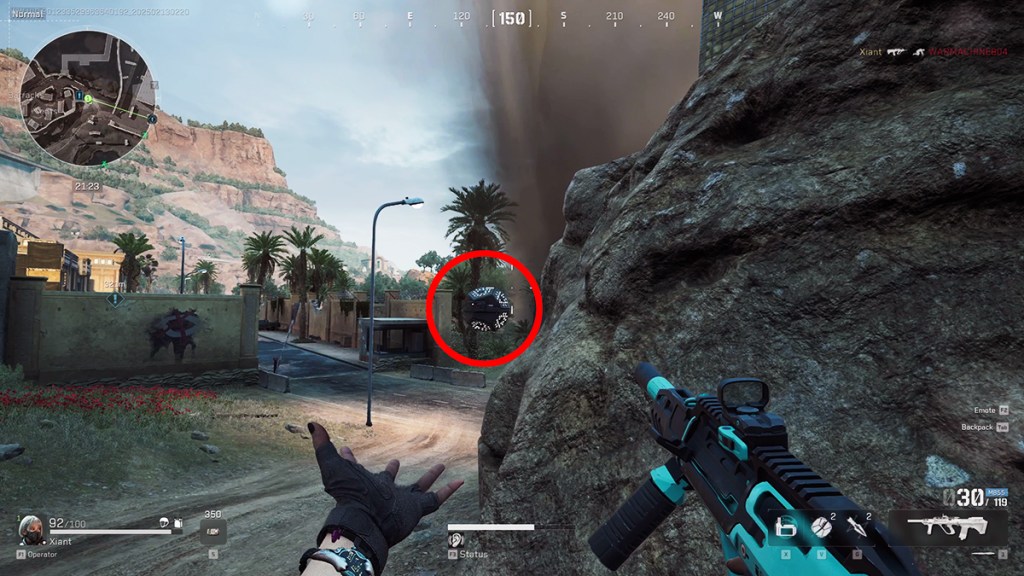
Adding to Hackclaw's top-of-her-class utility is the Flash Drone. While it is a more offensive option in her kit, it can be almost as valuable as the Data Knife if used properly. You'll mainly use the Drone during fights, especially in enclosed spaces like Admin on Zero Dam or any high-threat areas on Brakkesh or Space City. However, because you get a hitmaker whenever the Drone successfully flashes an enemy, you can use it in many of the same ways as the Data Knife.
Flash Drones bounce off walls, so you can send one out at an angle to clear a room without needing to expose yourself to a threat. The same applies to higher-threat sightlines near an extract or down a long hallway, for instance. If your Data Knife is on cooldown, sending a drone out is a good way to check for threats or at least dissuade an enemy operator from taking a particular angle.
You'll want to be a bit more judicious about using your Flash Drones compared to the Data Knife. The flash doesn't work through walls or around corners and does nothing to stop enemies from countering your abilities with theirs. The flash doesn't completely white out an enemy screen either, meaning if you overpeek a blinded opponent, they might still hit you with a lucky spray.
In short, the Flash Drone is a more offensive-focused tool than the Data Knife or Signal Decoder, but it also has defensive, detection, and disabling uses. Combine a Flash Drone and a Data Knife for one of the most effective counter-play options in Delta Force. The more you use them, the better you'll be at playing Hackclaw and the bigger menace you'll be on the battlefield.
The post How to Play Hackclaw in Delta Force Operations appeared first on Destructoid.

