


-Baldur’s-Gate-3-The-Final-Patch---An-Animated-Short-00-03-43.png?width=1920&height=1920&fit=bounds&quality=70&format=jpg&auto=webp#)


Best Roccia build in Wuthering Waves – Weapons, Echoes, team compositions, and Sequences
If you've pulled, or are planning to pull, Roccia in Wuthering Waves, it is important for you to understand exactly how to set her up. Roccia is a relatively simple character with her own unique set of nuances to dive into. Best Roccia Build in Wuthering Waves Roccia is a Havoc Sub-DPS character and a Gauntlet user in Wuthering Waves. Like many characters before her, however, she doesn't actually use her Gauntlet much, favoring the use of her steel box and trusty companion, Pero. As a Sub-DPS, Roccia's goal is to switch in, deliver her payload, and switch out as quickly as possible to give the main DPS on her team big Havoc and Basic Attack buffs. Due to this primary goal, Roccia also has one of the fastest Concerto rotations in the game, making her somewhat valuable on any team, but having a couple of teams she favors. Roccia does decent damage, but her main goal is to buff the main DPS as much as possible. With that in mind, let's start by talking about her game plan. Roccia's game plan Screenshot by Destructoid As a Sub-DPS, Roccia is fairly easy to play, but her mechanics can overlap, which risks wasting them if you're not careful. To employ her goal of 'switch-in, switch-out', Roccia must make use of her Resonance Skill, Forte, and Resonance Liberation in her rotation. Let's start with her Forte first, as it ties directly into her Resonance Skill. Forte Circuit Screenshot by Destructoid Roccia's Forte comes with three possible charges, which can be gained in a few different ways. Basic Attacking enemies Charged Heavy Attack Resonance Skill Using any of the above-mentioned methods will increase her Forte Bar, allowing for one use per full charge. Roccia can use her Forte by the following methods: Releasing a Charged Heavy Attack and hitting an enemy Resonance Skill When used, Roccia will launch into the air where she can deliver up to three powerful slams, each one more powerful than the last. When a slam hits the ground, Roccia will be relaunched as long as she has at least one Forte Bar remaining. Ideally, since her slams get stronger the more you do them in succession (more damage, more Concerto generation), you want to have all three charges available when you enter this state. Resonance Skill Screenshot by Destructoid Her Resonance Skill, Acrobatic Trick, is the primary part of her rotation. When used, Roccia whips up a tornado which will suck in any nearby enemies while dealing decent damage to them. It will also generate one full Forte bar for Roccia. When the tornado ends, Roccia will remain airborne where she can deliver her slams using available sections of her Forte Circuit. Since Acrobatic Trick generates one full section, you want to ensure you do not use it when Roccia's Forte Circuit is full. Doing so will make your rotation inefficient and slow down her ability to 'switch-in, switch-out' thanks to slowed Concerto generation. Resonance Liberation Screenshot by Destructoid Roccia's Resonance Liberation is called Commedia Improvviso!, and is typically the last part of her on-field rotation. With enough Energy Recharge, Roccia should also be using this ability to finish filling her Concerto, allowing her to apply her Outro Buffs (20% Havoc DMG, 25% Basic ATK DMG for 14s), to the main DPS. Functionally, Roccia's Liberation is just an AoE (Area of Effect) nuke that deals high damage, but it does have the secondary effect of buffing her entire team with up to 200 Flat ATK, based on her own Crit Rate. To gain the maximum effect, you want your Roccia to have a 70% Crit Rate. In Summary Roccia's overall rotation is as follows: Intro Skill Basic ATK to gain a second charge of her Forte Use Resonance Skill Slam Three Times Use Resonance Liberation at the end of the third slam Outro into your main DPS This is your standard bread and butter, and the rotation you want to adhere to if possible. However, not all fights will allow it, so improvise when needed. Her ultimate goal is to deliver her buffs, so if her Concerto is already full, prioritize swapping out with your main DPS. Best Echoes for Roccia in Wuthering Waves Screenshot by Destructoid There are three different sets that Roccia can greatly benefit from, depending on where your priorities lie when using the character. 5-Piece Moonlit Clouds - As with all sub-DPS characters in Wuthering Waves, the Moonlit set doubles down on Roccia's buffing focus. Using this set will sacrifice her personal damage for additional buffs directed at the main DPS in her team. This is her best set at lower gear levels. 5-Piece Midnight Veil - This set is designed specifically for buffing Havoc characters (15% Havoc Damage) while giving the user a large Havoc nuke (480% DMG) when the Outro is used. The buff isn't as large as Moonlit, but the overall team damage rotation will be higher if your Roccia is well-invested. 5-Piece Havoc Eclipse - If you prioritize Roccia's damage over

If you've pulled, or are planning to pull, Roccia in Wuthering Waves, it is important for you to understand exactly how to set her up. Roccia is a relatively simple character with her own unique set of nuances to dive into.
Best Roccia Build in Wuthering Waves
Roccia is a Havoc Sub-DPS character and a Gauntlet user in Wuthering Waves. Like many characters before her, however, she doesn't actually use her Gauntlet much, favoring the use of her steel box and trusty companion, Pero.
As a Sub-DPS, Roccia's goal is to switch in, deliver her payload, and switch out as quickly as possible to give the main DPS on her team big Havoc and Basic Attack buffs. Due to this primary goal, Roccia also has one of the fastest Concerto rotations in the game, making her somewhat valuable on any team, but having a couple of teams she favors.
Roccia does decent damage, but her main goal is to buff the main DPS as much as possible. With that in mind, let's start by talking about her game plan.
Roccia's game plan

As a Sub-DPS, Roccia is fairly easy to play, but her mechanics can overlap, which risks wasting them if you're not careful. To employ her goal of 'switch-in, switch-out', Roccia must make use of her Resonance Skill, Forte, and Resonance Liberation in her rotation. Let's start with her Forte first, as it ties directly into her Resonance Skill.
Forte Circuit

Roccia's Forte comes with three possible charges, which can be gained in a few different ways.
- Basic Attacking enemies
- Charged Heavy Attack
- Resonance Skill
Using any of the above-mentioned methods will increase her Forte Bar, allowing for one use per full charge. Roccia can use her Forte by the following methods:
- Releasing a Charged Heavy Attack and hitting an enemy
- Resonance Skill
When used, Roccia will launch into the air where she can deliver up to three powerful slams, each one more powerful than the last. When a slam hits the ground, Roccia will be relaunched as long as she has at least one Forte Bar remaining. Ideally, since her slams get stronger the more you do them in succession (more damage, more Concerto generation), you want to have all three charges available when you enter this state.
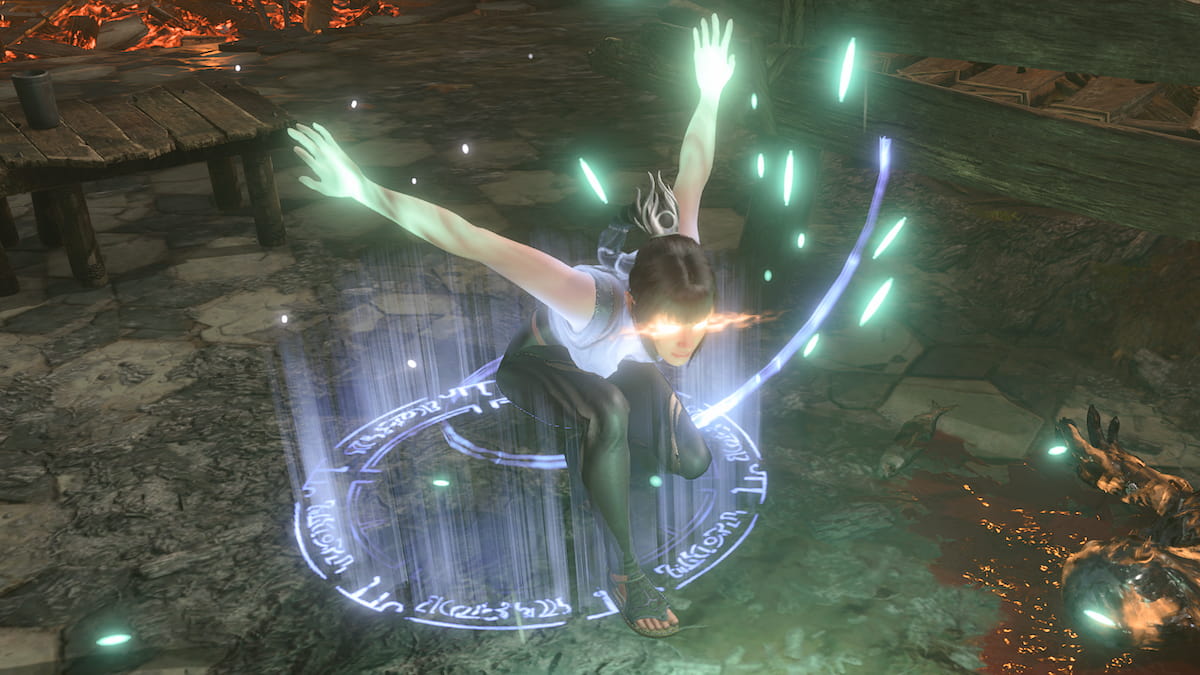
Resonance Skill

Her Resonance Skill, Acrobatic Trick, is the primary part of her rotation. When used, Roccia whips up a tornado which will suck in any nearby enemies while dealing decent damage to them. It will also generate one full Forte bar for Roccia. When the tornado ends, Roccia will remain airborne where she can deliver her slams using available sections of her Forte Circuit.
Since Acrobatic Trick generates one full section, you want to ensure you do not use it when Roccia's Forte Circuit is full. Doing so will make your rotation inefficient and slow down her ability to 'switch-in, switch-out' thanks to slowed Concerto generation.
Resonance Liberation

Roccia's Resonance Liberation is called Commedia Improvviso!, and is typically the last part of her on-field rotation. With enough Energy Recharge, Roccia should also be using this ability to finish filling her Concerto, allowing her to apply her Outro Buffs (20% Havoc DMG, 25% Basic ATK DMG for 14s), to the main DPS.
Functionally, Roccia's Liberation is just an AoE (Area of Effect) nuke that deals high damage, but it does have the secondary effect of buffing her entire team with up to 200 Flat ATK, based on her own Crit Rate. To gain the maximum effect, you want your Roccia to have a 70% Crit Rate.
In Summary
Roccia's overall rotation is as follows:
- Intro Skill
- Basic ATK to gain a second charge of her Forte
- Use Resonance Skill
- Slam Three Times
- Use Resonance Liberation at the end of the third slam
- Outro into your main DPS
This is your standard bread and butter, and the rotation you want to adhere to if possible. However, not all fights will allow it, so improvise when needed. Her ultimate goal is to deliver her buffs, so if her Concerto is already full, prioritize swapping out with your main DPS.
Best Echoes for Roccia in Wuthering Waves

There are three different sets that Roccia can greatly benefit from, depending on where your priorities lie when using the character.
- 5-Piece Moonlit Clouds - As with all sub-DPS characters in Wuthering Waves, the Moonlit set doubles down on Roccia's buffing focus. Using this set will sacrifice her personal damage for additional buffs directed at the main DPS in her team. This is her best set at lower gear levels.
- 5-Piece Midnight Veil - This set is designed specifically for buffing Havoc characters (15% Havoc Damage) while giving the user a large Havoc nuke (480% DMG) when the Outro is used. The buff isn't as large as Moonlit, but the overall team damage rotation will be higher if your Roccia is well-invested.
- 5-Piece Havoc Eclipse - If you prioritize Roccia's damage over her buffs, the standard Havoc Eclipse set enhances her damage while providing her team without additional buffs or benefits.
Best Weapons for Roccia in Wuthering Waves

As a Gauntlet User, Roccia does not have many options to choose from in terms of weapons. However, there are two standouts worth mentioning.
- Tragiccomedy - Her signature weapon, Tragiccomedy perfectly lines up with all the stats Roccia needs to remain entirely functional throughout her rotation. It comes with a CRIT Rate sub-stat, which is almost required if you want her to provide her maximum buffs. It also boosts her Heavy ATK damage (her primary damage type).
- Verity's Handle - Xiangli Yao's signature weapon, Verity's Handle is a decent alternative as it is the only other gauntlet that comes with a CRIT Rate sub-stat. Additionally, it provides a sizeable Attribute Bonus (Havoc in this case), while boosting the power of Roccia's Liberation a small amount.
If you don't have either of these weapons, I recommend not pulling Roccia, as her other options are mediocre at best.
Best Team Compositions for Roccia in Wuthering Waves
Roccia is a sub-DPS designed to serve the needs of main Havoc DPS characters, so her best teams focus on this aspect.
Camellya, Roccia, Shorekeeper

This is Roccia's premium team comp and is her best team overall. She provides Camellya with all of the stats she needs to dish out the most damage possible. Shorekeeper buffs both Roccia and Camellya with her universal buffs and also serves as the healer of the comp. By the time Camellya is on the field, she should have all Roccia's buffs while in the last stage of Shorekeeper's Stellarealm.
Havoc Rover, Roccia, Shorekeeper

If you do not have Camellya, Havoc Rover is a strong alternative for the above team composition. It functions exactly the same way, with Roccia and Shorekeeper providing all their buffs on Havoc Rover.
For both above teams, Verina is a strong replacement for Shorekeeper, providing less Crit Value, but more ATK% with her buffs. However, thanks to the nature of both Camellya and Havoc Rover, Shorekeeper is the ideal.
Best Sequences for Roccia in Wuthering Waves
When compared to most DPS characters in Wuthering Waves, Roccia has some of the most impactful Sequences in the entire game. Each one provides a considerable boost, with her later ones even allowing her to become a main DPS character. However, at s0, Roccia performs her role well enough, so don't feel pressured to pull for her dupes, unless you desire to do so. If you want to invest a bit more into Roccia, here's a value summary of her nodes.

- When Shadow Engulf the Hull (S1) - When Roccia activates her Skill, she gains one additional Forte Bar for a total of two per skill cast. This speeds up her rotation speed considerably. Also, it makes her immune to interruption while using her slam attacks, which is very valuable as being interrupted dramatically slows down her rotation. This is already a good stopping point.
- When the Luceanite Gleams (S2) - At S2, Roccia becomes the defacto best Havoc buffer in the entire game and this is extremely likely to remain the case for the rest of Wuthering Wave's runtime. It buffs her entire team with 40% Havoc Damage for 30 seconds, which is absurd.
- When the Heart Sees and Hands Feel (S3) - When invoking Roccia's Intro Skill, she gains 10% CRIT Rate and 30% Crit DMG for 15 seconds following it. This is an impressive boost to Roccia's overall CRIT value, dramatically easing her stat requirements while increasing her personal damage.
- When Wonders Gather in the Box (S4) - If you want to play Roccia as a main DPS, this is the starting node for that role shift. When she uses her Skill, her slams will gain a 60% DMG Multiplier. This is enough damage that Roccia can start serving as the main damage dealer on your team, opening her up to brand-new team compositions.
- When Dreams are Reborn on Stage (S5) - Roccia's Liberation gains a 20% DMG Multiplier, and her Charged Heavy Attack gains an 80% DMG Multiplier. While this looks amazing on paper, its actually not that large of an increase, as most of Roccia's damage comes from her slam attacks. If you get this far, you should just continue until you reach her pinnacle power, S6.
- When the Golden Wings Fly (S6) - Brace yourself. This one is insane. When Roccia users her Liberation, her slams ignore 60% Defense for 12 seconds, and when she slams at least three times in succession, she can continue to use her slams for that entire 12-second duration. You read that right. This sequence effectively removes her three-slam limitation and makes each one deal ridiculous damage. An S6 Roccia is a DPS powerhouse and should not be used as a sub-DPS under any circumstances at this point.
The post Best Roccia build in Wuthering Waves – Weapons, Echoes, team compositions, and Sequences appeared first on Destructoid.