


-Baldur’s-Gate-3-The-Final-Patch---An-Animated-Short-00-03-43.png?width=1920&height=1920&fit=bounds&quality=70&format=jpg&auto=webp#)


How to complete The Finger of God in Kingdom Come Deliverance 2
Set immediately after your reunion with Godwin, The Finger of God quest tasks Henry with making sure all within Nebakov Fortress are ready for their departure in the morning. But given his luck, it was expected that things would go south quickly. Here's a step-by-step guide on how to complete The Finger of God in Kingdom Come Deliverance 2. Kingdom Come Deliverance 2 The Finger of God Guide Like most main quests in KCD 2, The Finger of God is divided into multiple main and sub-objectives, most of which are optional. One of the latter will also allow you to unlock a romance scene with Klara (her second one if you managed to romance her during Necessary Evil). You can check out how to complete the quest, as well as all of its main and optional objectives, below. If you just want to know how to romance Klara (don't worry, we get it), you can jump straight to that by clicking here. 1. Follow Godwin and bury the bodies After following Godwin to the burial site, your first task as part of The Finger of God will be to bury three unnamed soldiers. To do that, grab the bodies by the left side of the road and bury them in the graves highlighted in the image below. You can speed up the process by digging all graves beforehand and then bringing the bodies to them one by one. Keep in mind that you will need a spade to perform the digging. Image by Destructoid 2. Go to the fosse and learn how to use a hand cannon After burying the bodies, Godwin will ask you to meet him by the fosse and introduce you to the ever-deadly handgonne. During the testing, focus on getting used to the new weapon above all else. At the end of it, you will receive both your first pistole and 20 lead balls. Image by Destructoid From this point forward, you will be able to skip all of the optional objectives and go straight to the end of the quest by sleeping. I don't recommend doing so, as they will either play a big part in boosting your forces for the battle to come or feature meaningful interactions. If you still wish to skip the optional tasks, simply scroll down until you reach Defend the Castle. 3. Load supplies into the cart (Optional) Triggered after you and Godwin part ways, you can complete the Load supplies into the cart objective by heading toward the H marker on your map and meeting Hired Hand Bluster. The NPC will try to fight you, but you can avoid that by succeeding in any of his stat checks. After talking or fighting with him, put the five sacks highlighted below on Bluster's cart and answer him with "Agree" to complete the objective. Image by Destructoid 4. Find horseshoes for Peltzel (Optional) From the spot where you met Bluster, you can trigger this objective by heading to the stables to meet Groom Peltzel. As the title implies, he will ask you to forge a set of three farmer horseshoes. Once you are done with the forging, return to him to receive 55x Groschen, 1x Cockerel Potion, and eight lead balls for your pistole. Image by Destructoid 5. Help Bull in the forge (Optional) Triggered by talking to Apprentice Bull at the forge, this objective will task you with sharpening a set of three weapons to perfection. But be advised as Henry must pass a stat check during your initial conversation to start it without a fight. You can find the weapons by opening the wooden barrel highlighted below and sharpening them by using the wheel on your right. Image by Destructoid Once the job is done, talk to Bull again to deliver the weapons and receive 24x arrows and 8x Scattershots. I also recommend taking this chance to forge the horseshoes needed to complete Find horseshoes for Peltzel. You will be able to get the iron needed to do it by purchasing it from Bull. Don't worry about the time, it will only advance after you sleep. 6. Offer help to Klara and treat the wounded (Optional) You can trigger Klara's optional objective and unlock the ability to romance her by talking to her either by the prison cells or at her cabin. If you spot her by the cells, she will be arguing with a couple of guards regarding the care of two prisoners. Interviewing can lead to a fight, but I was able to avoid that by selecting "You can get a ransom for those noblemen" with 13+ Charisma. Image by Destructoid Once you deal with the guards, talk to Klara again and ask if she needs help to trigger her objective, which will prompt her to give you the locations of two patients in urgent need, Mark and Zwerk. You can get all of the medicine and tools needed to treat them from Klara's chest, located on the second floor of her cabin. How to treat Mark: Talk to him and exhaust all stat checks (I was able to succeed in all by having 9 Alchemy and 11 Craftsmanship) before picking the following: I'll clean and dress your wound I'll clean your wound. Use either Drinking Water or preferably 1x Schnapps I'll dress your wound (Will consume 1x Bandage) I'll give you a potion. Select the Weak painkiller brew you got from Kla
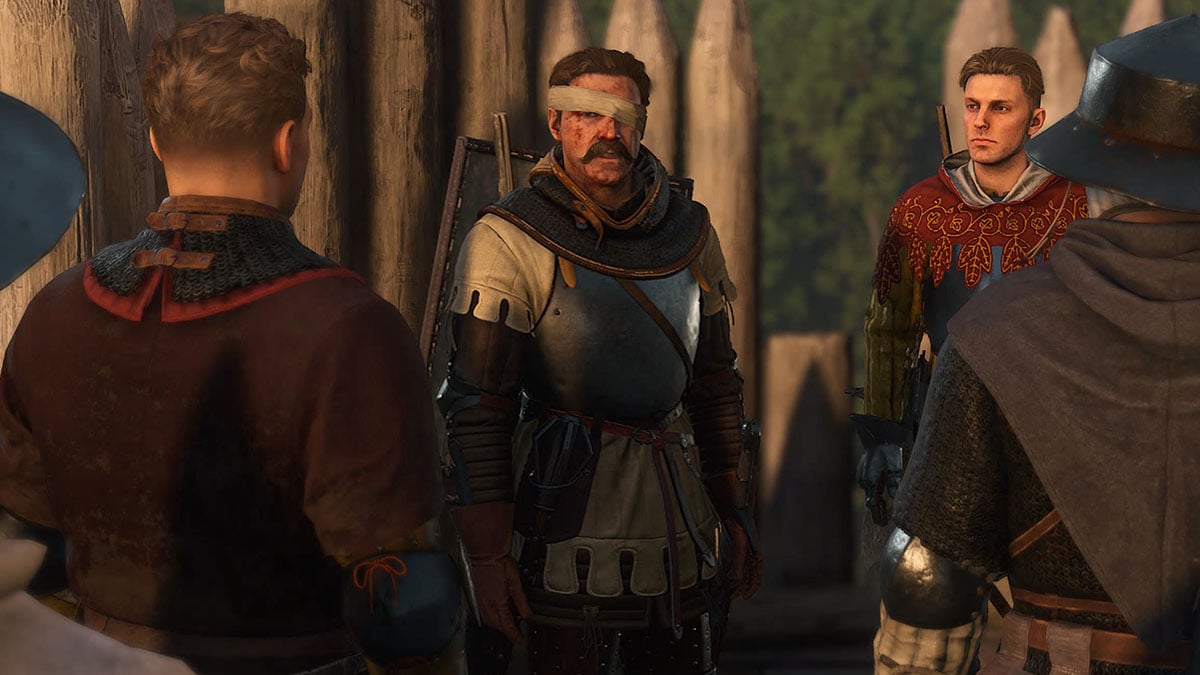
Set immediately after your reunion with Godwin, The Finger of God quest tasks Henry with making sure all within Nebakov Fortress are ready for their departure in the morning. But given his luck, it was expected that things would go south quickly. Here's a step-by-step guide on how to complete The Finger of God in Kingdom Come Deliverance 2.
Kingdom Come Deliverance 2 The Finger of God Guide
Like most main quests in KCD 2, The Finger of God is divided into multiple main and sub-objectives, most of which are optional. One of the latter will also allow you to unlock a romance scene with Klara (her second one if you managed to romance her during Necessary Evil). You can check out how to complete the quest, as well as all of its main and optional objectives, below. If you just want to know how to romance Klara (don't worry, we get it), you can jump straight to that by clicking here.
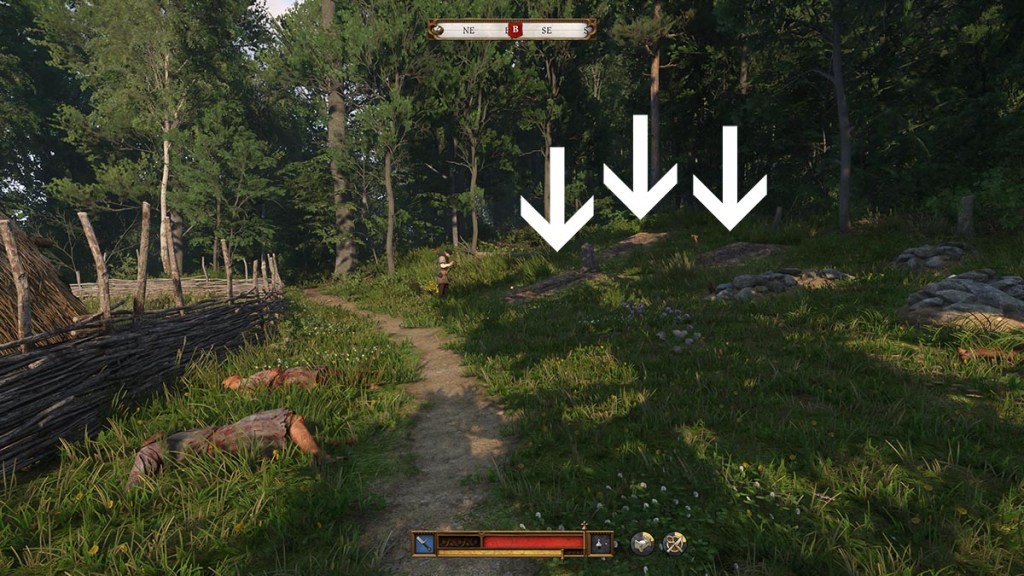
1. Follow Godwin and bury the bodies
After following Godwin to the burial site, your first task as part of The Finger of God will be to bury three unnamed soldiers. To do that, grab the bodies by the left side of the road and bury them in the graves highlighted in the image below. You can speed up the process by digging all graves beforehand and then bringing the bodies to them one by one. Keep in mind that you will need a spade to perform the digging.
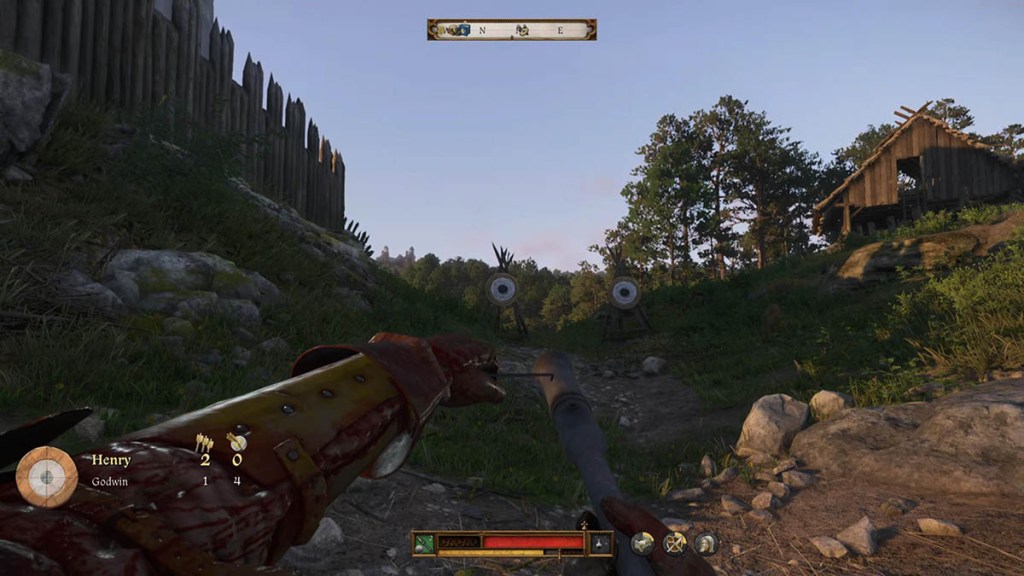
2. Go to the fosse and learn how to use a hand cannon
After burying the bodies, Godwin will ask you to meet him by the fosse and introduce you to the ever-deadly handgonne. During the testing, focus on getting used to the new weapon above all else. At the end of it, you will receive both your first pistole and 20 lead balls.
From this point forward, you will be able to skip all of the optional objectives and go straight to the end of the quest by sleeping. I don't recommend doing so, as they will either play a big part in boosting your forces for the battle to come or feature meaningful interactions. If you still wish to skip the optional tasks, simply scroll down until you reach Defend the Castle.
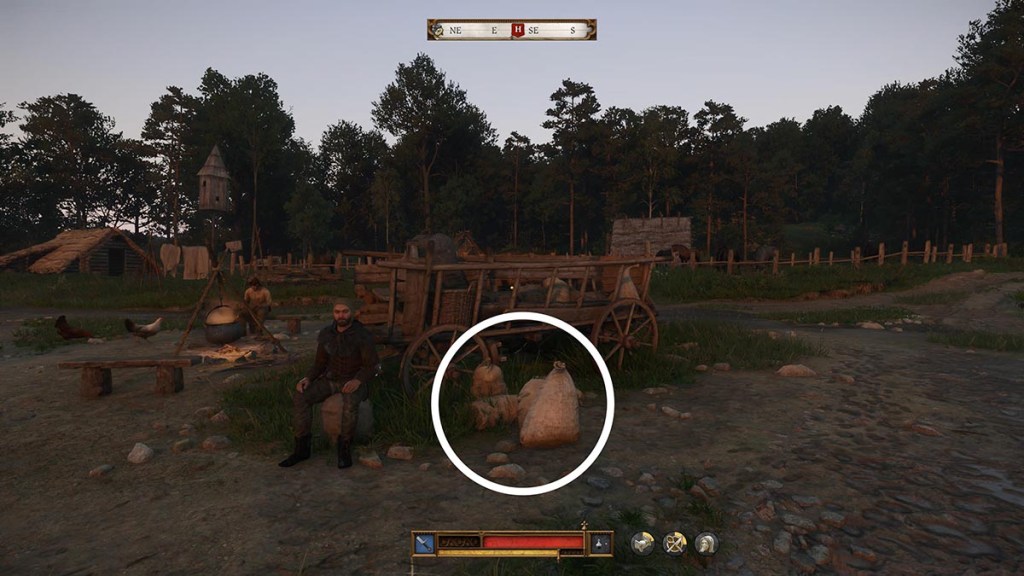
3. Load supplies into the cart (Optional)
Triggered after you and Godwin part ways, you can complete the Load supplies into the cart objective by heading toward the H marker on your map and meeting Hired Hand Bluster. The NPC will try to fight you, but you can avoid that by succeeding in any of his stat checks. After talking or fighting with him, put the five sacks highlighted below on Bluster's cart and answer him with "Agree" to complete the objective.
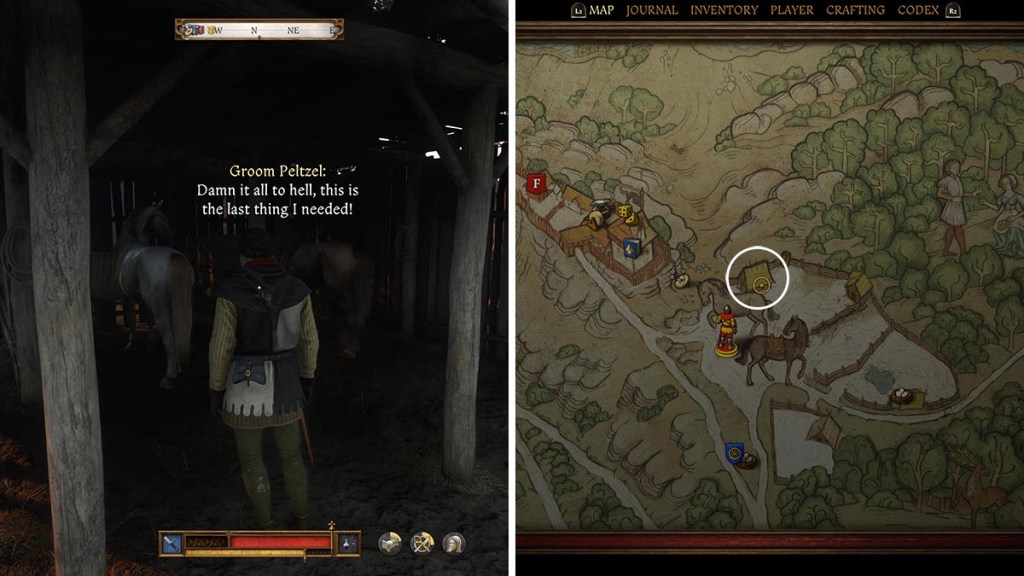
4. Find horseshoes for Peltzel (Optional)
From the spot where you met Bluster, you can trigger this objective by heading to the stables to meet Groom Peltzel. As the title implies, he will ask you to forge a set of three farmer horseshoes. Once you are done with the forging, return to him to receive 55x Groschen, 1x Cockerel Potion, and eight lead balls for your pistole.
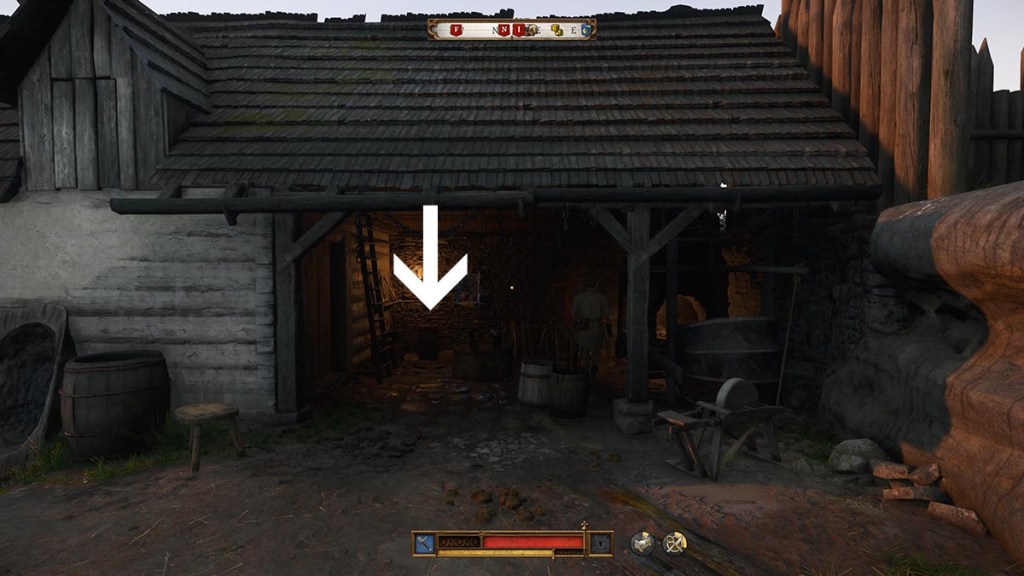
5. Help Bull in the forge (Optional)
Triggered by talking to Apprentice Bull at the forge, this objective will task you with sharpening a set of three weapons to perfection. But be advised as Henry must pass a stat check during your initial conversation to start it without a fight. You can find the weapons by opening the wooden barrel highlighted below and sharpening them by using the wheel on your right.
Once the job is done, talk to Bull again to deliver the weapons and receive 24x arrows and 8x Scattershots. I also recommend taking this chance to forge the horseshoes needed to complete Find horseshoes for Peltzel. You will be able to get the iron needed to do it by purchasing it from Bull. Don't worry about the time, it will only advance after you sleep.
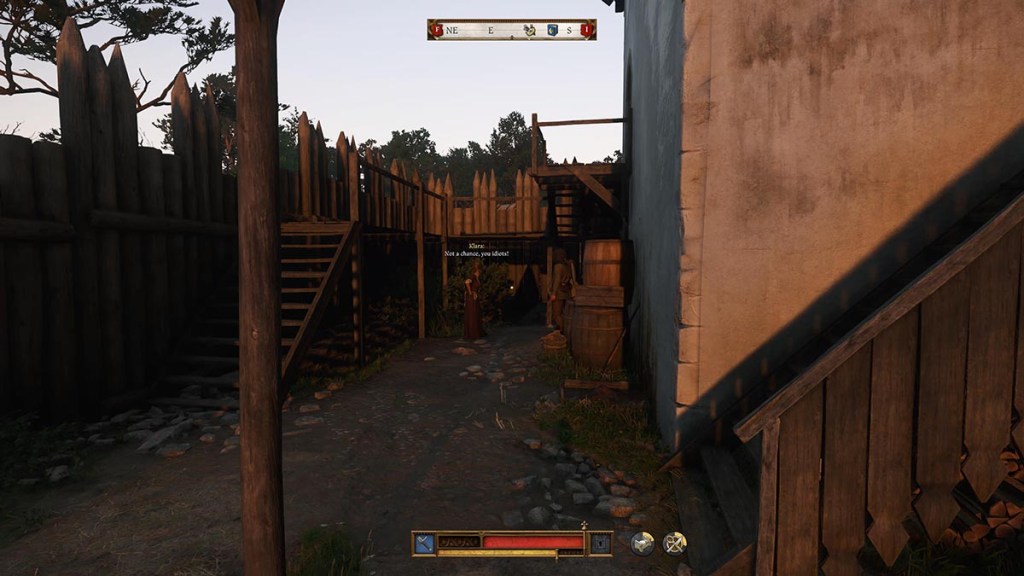
6. Offer help to Klara and treat the wounded (Optional)
You can trigger Klara's optional objective and unlock the ability to romance her by talking to her either by the prison cells or at her cabin. If you spot her by the cells, she will be arguing with a couple of guards regarding the care of two prisoners. Interviewing can lead to a fight, but I was able to avoid that by selecting "You can get a ransom for those noblemen" with 13+ Charisma.
Once you deal with the guards, talk to Klara again and ask if she needs help to trigger her objective, which will prompt her to give you the locations of two patients in urgent need, Mark and Zwerk. You can get all of the medicine and tools needed to treat them from Klara's chest, located on the second floor of her cabin.
- How to treat Mark: Talk to him and exhaust all stat checks (I was able to succeed in all by having 9 Alchemy and 11 Craftsmanship) before picking the following:
- I'll clean and dress your wound
- I'll clean your wound. Use either Drinking Water or preferably 1x Schnapps
- I'll dress your wound (Will consume 1x Bandage)
- I'll give you a potion. Select the Weak painkiller brew you got from Klara's chest.
- Finish the treatment.
- How to treat Zwerk: Talk to him and exhaust all stat checks (I was able to succeed in all by having 14 Survival and 9 Alchemy) before selecting the following:
- I know all I need, Zwerk
- I'll clean your wound (Use 1x Schnapps)
- I'll dress your wound (Will consume 1x Bandage)
- I'll rub this on your ankle. Select one Weak Chamomile brew
- Give him a few drinks if you wish before finishing the treatment
Once you are done treating the wounded, talk to Klara at her cabin to complete the objective and receive 1x Painkiller Brew, 1x Artemisia, and 2x Bandages.
How to romance Klara during The Finger of God
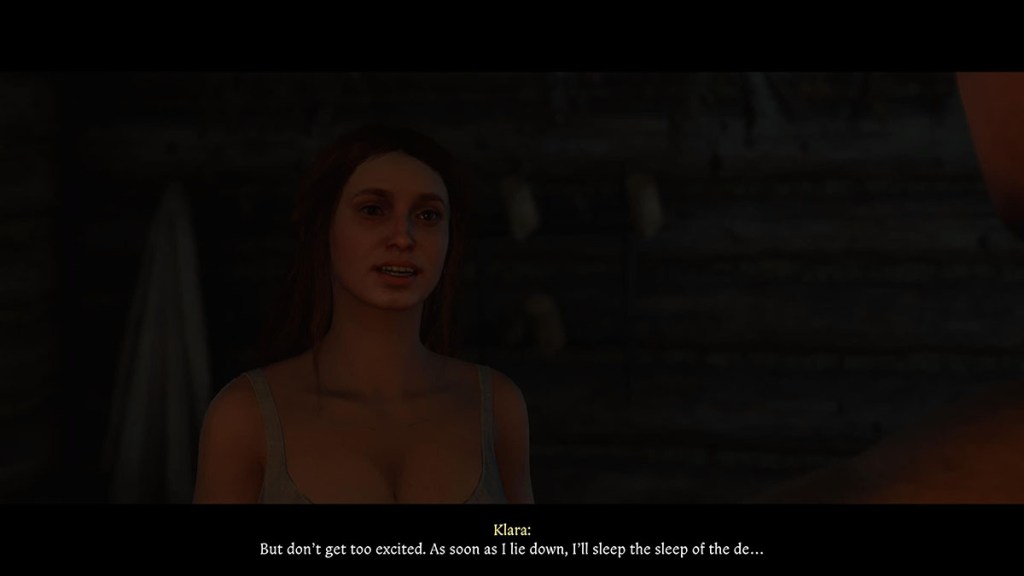
After completing her objective, you can romance Klara during The Finger of God by talking to her and selecting the following dialogue options. You can do this at any time before heading to bed.
- Are you finished working? > Isn't there anyone you care about here? > Let's go and get that drink (At least 12 Persuasion) / No walk today, I reckon? (At least 12 Persuasion, only available if you romanced her before)
If you succeed in the stat check above, go to sleep to trigger the romance cutscene and receive the Time Well Spent buff. Keep in mind that triggering the romance will lock you away from completing any other optional objectives during the quest.
7. Play dice with Capon (Optional)
As you might have realized on your way to the blacksmith, Hans will be waiting for you on the watchtower atop the fortress's main gate. To trigger the objective, talk to him and play a game. The result won't matter here, so just enjoy a friendly game and another great cutscene with your lord and best friend. Completing this before talking to Klara for the first time will skip the whole prison segment of her objective.

8. Defend the Castle
After going to bed (either by himself or with Klara), Henry will be awoken by the sound of battle. To complete the quest and defend the gate, follow the instructions and focus on first bringing down the enemy ladders. You can do that by equipping a Bardiche and holding down X/A while near them. To get the weapon, head to the bottom of the stairs left of your starting position.
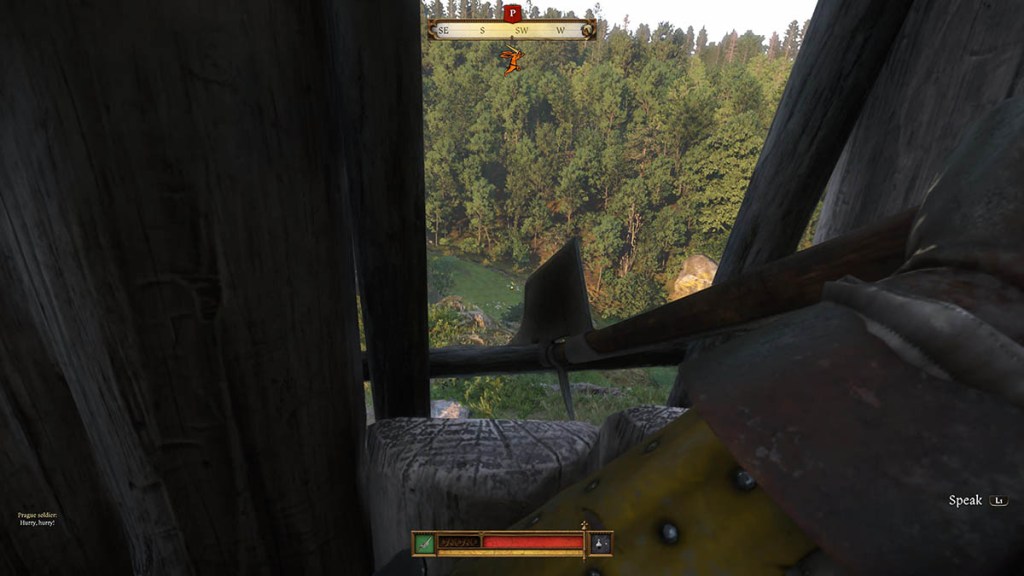
With the ladders dealt with, head to Hans and join him in stopping the enemies from breaking in through the main gate. As your comrades will have the front taken care of, focus solely on throwing stones at the enemies below for both an easy clear and the Rock and Stone! Trophy/Achievement. If you succeed in the above, Zizka will then call for you to deal with a large force in the lower grounds. To make the battle easier, stay within your lines and go for 2v1 scenarions. A shield can also be a godsend here via its ability to broaden your margin of error.
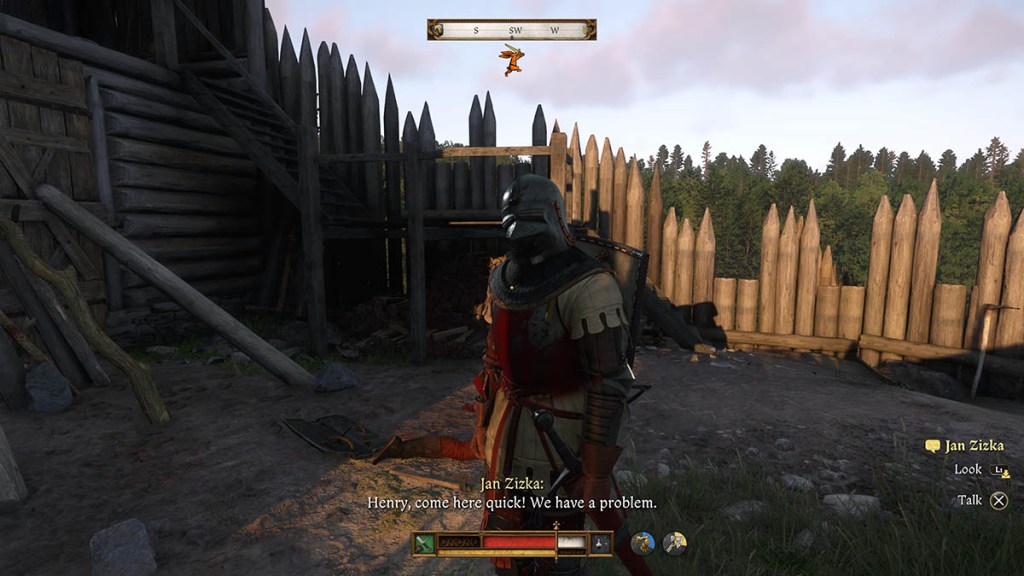
Once the above is done, enemies will invade the courtyard. To complete The Finger of God in Kingdom Come Deliverance 2, simply make your way there. If you fail any of the objectives before this and the enemies infiltrate the castle walls, you will immediately trigger the end of the quest. But don't worry, that will not cause it to fail.
The post How to complete The Finger of God in Kingdom Come Deliverance 2 appeared first on Destructoid.