


-Baldur’s-Gate-3-The-Final-Patch---An-Animated-Short-00-03-43.png?width=1920&height=1920&fit=bounds&quality=70&format=jpg&auto=webp#)


My first look at infrared photography through a whole new lens (Literally!)
Infrared photography has always fascinated me — those dreamy white trees, surreal landscapes, and that eerie-yet-beautiful “otherworldly” vibe. It’s like peeking into a parallel universe. I’ve admired it for ages, but for some reason, I’d never really dived into it myself… until now. So, I finally caved and bought a Hoya 720nm IR filter, and let me tell you, it’s been a weird and wonderful ride! This is definitely not your typical “point and shoot” photography. It takes patience, a bit of trial and error, and a willingness to look a little ridiculous fiddling with gear in public spaces. But oh, the results are worth it. Let me walk you through my first steps into the infrared world — what worked, what didn’t, and a few handy tips if you’re thinking of trying it yourself. First things first: What even is infrared photography? In a nutshell, infrared photography captures light we can’t see — light just beyond the visible spectrum. The Hoya 720nm filter blocks most visible light and only lets through infrared, which is why the images look so otherworldly. Foliage turns white, skies go dark, and everything takes on a dreamlike quality. Think “ethereal ghost forest” vibes — and I’m absolutely here for it. Getting started: The gear For my first outing, I used my standard digital camera and lens (not IR-converted) with the Hoya 720nm filter screwed on. That’s the beauty of this filter — you don’t need a special infrared-converted camera to play. But be warned — it’s not exactly a “snap and go” kind of setup. That filter acts a bit like an ND (neutral density) filter, which means you’ll need a tripod and long exposures to get decent results. I quickly learned that hand-holding just doesn’t cut it — unless you’re going for a blurry, abstract look (which hey, might be a cool aesthetic in itself!). The shooting experience: Light, wind, and wobbles Here’s where things get interesting (and mildly frustrating). Shooting with the IR filter means you’re working with much longer exposures than usual — we’re talking several seconds even in full sun. So, stability is absolutely key. A few things I learned on the fly: The results: A surreal kind of magic I’ll admit, the first few images straight out of the camera looked…well…weird. Kind of flat and red-tinted. But once I brought them into Lightroom and did some channel swapping and post-processing, the magic really started to emerge. You’ll need to set your white balance manually (usually on something green like grass), and then tweak it in post. There are heaps of IR tutorials out there for editing workflows, and honestly, it’s half the fun. Swapping red and blue channels, adjusting contrast, and watching that ghostly dreamscape come to life? So satisfying. And if you really want to speed up the process and take your images to the next level, try running them through filters in Photoshop — particularly the Nik Collection’s Silver Efex plugin. It’s an absolute game-changer. Silver Efex was designed for black and white images, but it works beautifully with infrared. You can easily add drama, enhance contrast, bring out textures, and fine-tune highlights and shadows to give your IR shots even more atmosphere. It takes a lot of the heavy lifting out of editing and lets you get creative without spending hours manually tweaking sliders. I am still to run the full-gammit with IR editing, but it’s fun to start something new. Final thoughts: Would I do it again? Absolutely! It’s a bit fiddly, and definitely slower than my usual photography workflow, but the results are so unique and totally worth the effort. IR photography forces you to slow down, plan your shot, and really think about light and composition in a different way. And sometimes it’s good to shake things up creatively. I’ve only scratched the surface with my first outing, but I’m already itching to get back out with my filter — maybe with some models or still life setups next time. I can already see the potential for some moody, surreal portraiture or eerie landscapes. If you’re curious about trying IR photography, my advice is: just go for it! Start with a filter like the Hoya 720nm before committing to a full IR-converted camera. Grab your tripod, pick a sunny day with minimal wind, and prepare to experiment. It’s a bit of a learning curve, but that’s part of the fun, right? Have you tried IR photography before? Got any tips, tricks, or favorite plugins for editing? Let me know in the comments — I’d love to hear your thoughts! Until next time, stay curious and keep shooting. Gear used


Infrared photography has always fascinated me — those dreamy white trees, surreal landscapes, and that eerie-yet-beautiful “otherworldly” vibe. It’s like peeking into a parallel universe. I’ve admired it for ages, but for some reason, I’d never really dived into it myself… until now.
So, I finally caved and bought a Hoya 720nm IR filter, and let me tell you, it’s been a weird and wonderful ride! This is definitely not your typical “point and shoot” photography. It takes patience, a bit of trial and error, and a willingness to look a little ridiculous fiddling with gear in public spaces. But oh, the results are worth it.
Let me walk you through my first steps into the infrared world — what worked, what didn’t, and a few handy tips if you’re thinking of trying it yourself.


First things first: What even is infrared photography?
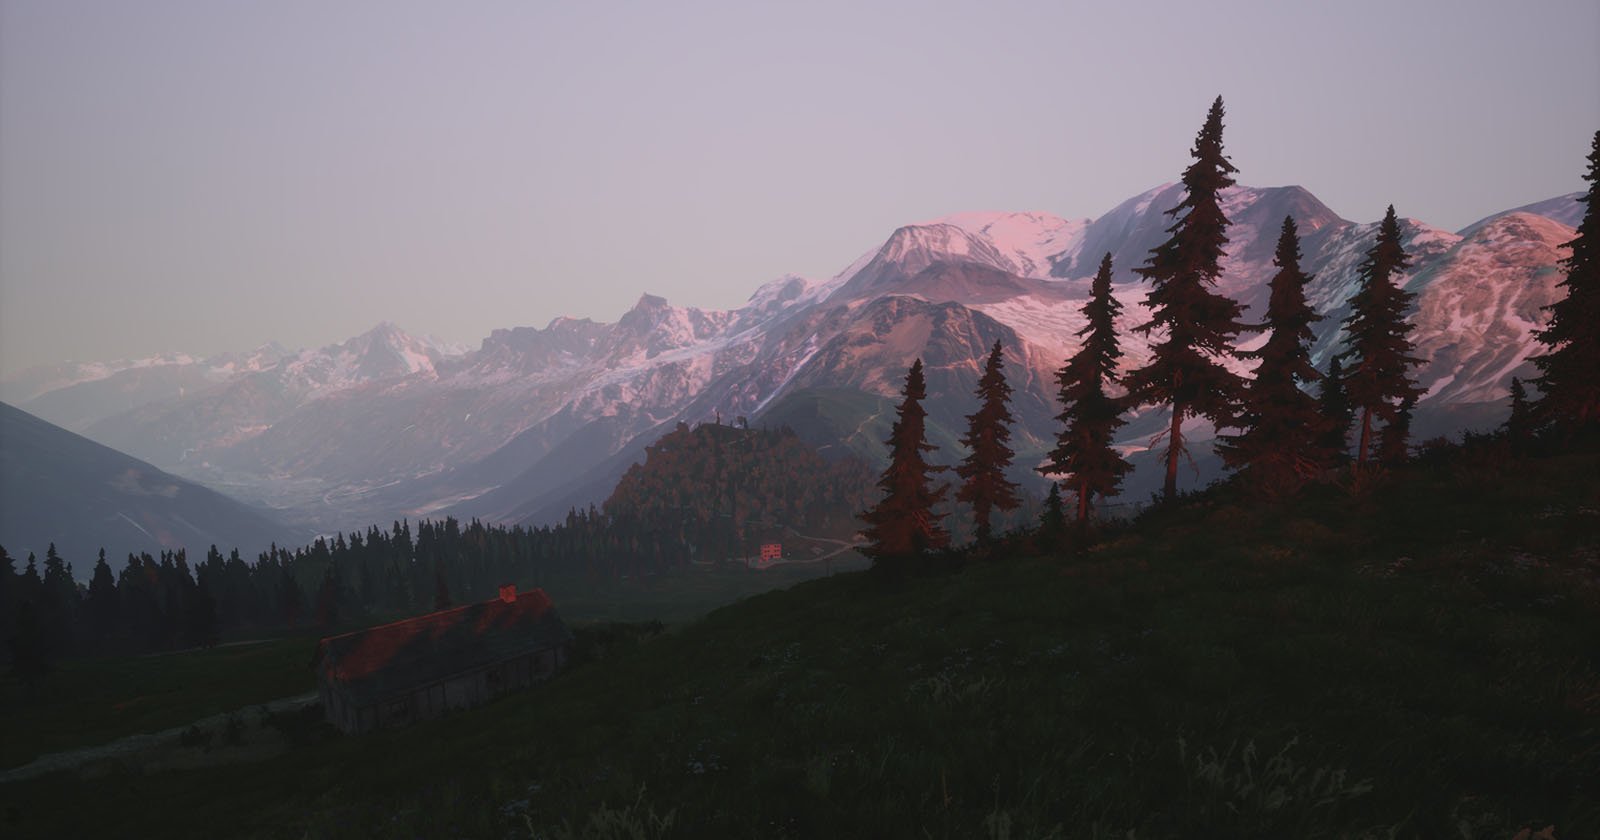
In a nutshell, infrared photography captures light we can’t see — light just beyond the visible spectrum. The Hoya 720nm filter blocks most visible light and only lets through infrared, which is why the images look so otherworldly. Foliage turns white, skies go dark, and everything takes on a dreamlike quality. Think “ethereal ghost forest” vibes — and I’m absolutely here for it.
Getting started: The gear
For my first outing, I used my standard digital camera and lens (not IR-converted) with the Hoya 720nm filter screwed on. That’s the beauty of this filter — you don’t need a special infrared-converted camera to play. But be warned — it’s not exactly a “snap and go” kind of setup.
That filter acts a bit like an ND (neutral density) filter, which means you’ll need a tripod and long exposures to get decent results. I quickly learned that hand-holding just doesn’t cut it — unless you’re going for a blurry, abstract look (which hey, might be a cool aesthetic in itself!).
The shooting experience: Light, wind, and wobbles
Here’s where things get interesting (and mildly frustrating). Shooting with the IR filter means you’re working with much longer exposures than usual — we’re talking several seconds even in full sun. So, stability is absolutely key.
A few things I learned on the fly:
- Tripod = Essential. I can’t stress this enough. My lightweight travel tripod did okay, but I did get a few shots with a bit of ghosting because of vibrations or movement.
- Windy days? Maybe not. Anything that moves (like trees, grass, even clouds) can get all soft and ghostly in a long exposure. Sometimes that works artistically, but other times it’s just messy.
- Bright sun is your friend. IR photography loves direct sunlight. Overcast or moody skies might make for beautiful portraits, but for IR, they just make everything dull and muddy. The more light, the better!
- Focusing is tricky. IR light focuses differently than visible light. On a non-converted camera, autofocus doesn’t work well once the filter is on. I had to compose and focus first, then carefully screw the filter on without bumping anything (easier said than done). Or you can pre-focus, switch to manual focus, and hope for the best.
The results: A surreal kind of magic
I’ll admit, the first few images straight out of the camera looked…well…weird. Kind of flat and red-tinted. But once I brought them into Lightroom and did some channel swapping and post-processing, the magic really started to emerge.
You’ll need to set your white balance manually (usually on something green like grass), and then tweak it in post. There are heaps of IR tutorials out there for editing workflows, and honestly, it’s half the fun. Swapping red and blue channels, adjusting contrast, and watching that ghostly dreamscape come to life? So satisfying.
And if you really want to speed up the process and take your images to the next level, try running them through filters in Photoshop — particularly the Nik Collection’s Silver Efex plugin. It’s an absolute game-changer. Silver Efex was designed for black and white images, but it works beautifully with infrared. You can easily add drama, enhance contrast, bring out textures, and fine-tune highlights and shadows to give your IR shots even more atmosphere. It takes a lot of the heavy lifting out of editing and lets you get creative without spending hours manually tweaking sliders. I am still to run the full-gammit with IR editing, but it’s fun to start something new.


Final thoughts: Would I do it again?
Absolutely! It’s a bit fiddly, and definitely slower than my usual photography workflow, but the results are so unique and totally worth the effort. IR photography forces you to slow down, plan your shot, and really think about light and composition in a different way. And sometimes it’s good to shake things up creatively.
I’ve only scratched the surface with my first outing, but I’m already itching to get back out with my filter — maybe with some models or still life setups next time. I can already see the potential for some moody, surreal portraiture or eerie landscapes.
If you’re curious about trying IR photography, my advice is: just go for it! Start with a filter like the Hoya 720nm before committing to a full IR-converted camera. Grab your tripod, pick a sunny day with minimal wind, and prepare to experiment. It’s a bit of a learning curve, but that’s part of the fun, right?
Have you tried IR photography before? Got any tips, tricks, or favorite plugins for editing? Let me know in the comments — I’d love to hear your thoughts!
Until next time, stay curious and keep shooting.
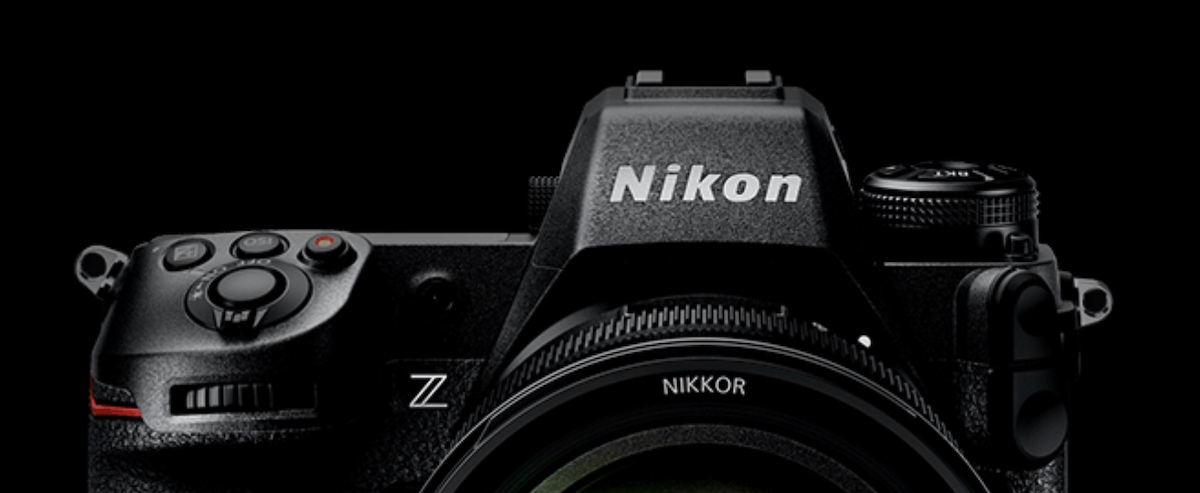
Gear used
- Camera: Sony A7RV, Tamron Lens 28-75mm, Hoya R720 Filter
- Settings: ISO640, 28mm, f/5.6, 25 secs