


Simple steps to capturing great Northern Lights photos
When the right conditions align, you can capture the Aurora in most mid-latitudes. ISO 2500 | 13.0 sec | F2.5 | 14mm Photo: Kara Murphy Witnessing the aurora borealis, or Northern Lights, in person is magical. While it can seem intimidating, capturing it on camera doesn’t have to be complicated. Anyone can photograph this natural phenomenon with the right conditions and a little preparation. You only need a dark, clear sky, strong solar activity and the right gear. Whether you’re using a dedicated camera or smartphone, a few simple steps will help you capture the aurora’s bright, bold colors in all their glory. Let’s dive in. How to find aurora The Aurorasaurus website makes it easy to see where auroras are forecasted. First and foremost, you need to know how to find aurora. As the name suggests, Northern Lights are most often visible in northern regions like Alaska or Iceland. It's less common to see them in lower latitudes, such as in the southern US. They are most prevalent from late September to late March, with the best chances occurring during the darkest winter months. Luckily, there are forecasting tools to help you plan when you should get outside. Apps like Space Weather Live (iPhone; Android) and My Aurora Forecast & Alerts (iPhone; Android) provide up-to-date space weather conditions, helping you track when and where the Northern Lights may make an appearance. Aurorasauras, Aurora Forecast and NOAA are websites that also provide aurora forecasting. Of course, you'll also need clear skies, so be sure to use your favorite weather app to check for cloud cover as well. Capturing the Northern Lights with your phone The easiest method for capturing the Northern Lights is with your smartphone. A smartphone can also allow you to see aurora that are too dim for our eyes to catch. It's a valuable tool for simply viewing the phenomena, especially in regions that don't get dramatic displays. That's because your phone automatically combines multiple, longer exposures in real time to capture more light than our eyes can catch. Photographing the Northern Lights with your phone is as simple as point and shoot. Most phones will automatically switch to a night mode setting, so you don't even need to adjust anything. Just be sure to hold your phone very still or, better yet, prop it on something stable or use a tripod to avoid blurry photos. Capturing the Northern Lights with a camera ISO 1250 | 20.0 sec | F1.8 | 20mm Photo: Kara Murphy If you want to take things to the next level, any camera with manual settings will give you more control. A wide-angle lens (around 10–14mm) will capture a broad view of the sky and the surrounding landscape. However, if you want to focus on a specific subject, like a lighthouse or bridge, you can use a longer focal length (50mm or 70mm). Ideally, choose a lens with a wide aperture, such as F2.8, as it will let in as much light as possible. No matter what camera you’re using, a sturdy tripod is essential to prevent blur from camera movement while the shutter is open. A remote shutter release is also helpful to avoid shaking the camera when you start to shoot. Now it’s time to tinker with your settings. Your exact settings will differ based on your location and the conditions on a given night, so you will need to experiment. No matter what, though, always shoot in Raw format for the best image quality and greater flexibility during editing. Aperture: As wide as possible, ideally F2.8 or wider. Shutter speed: Roughly 5-10 seconds (longer risks averaging the motion out and making the effect less well defined). ISO: Start with 800, though increase to the highest level that produces acceptably clean results on your camera as needed. Hopefully, this gives you a solid starting point. If you’d like to dive deeper into photographing the aurora, you can check out our more in-depth guide.

 |
|
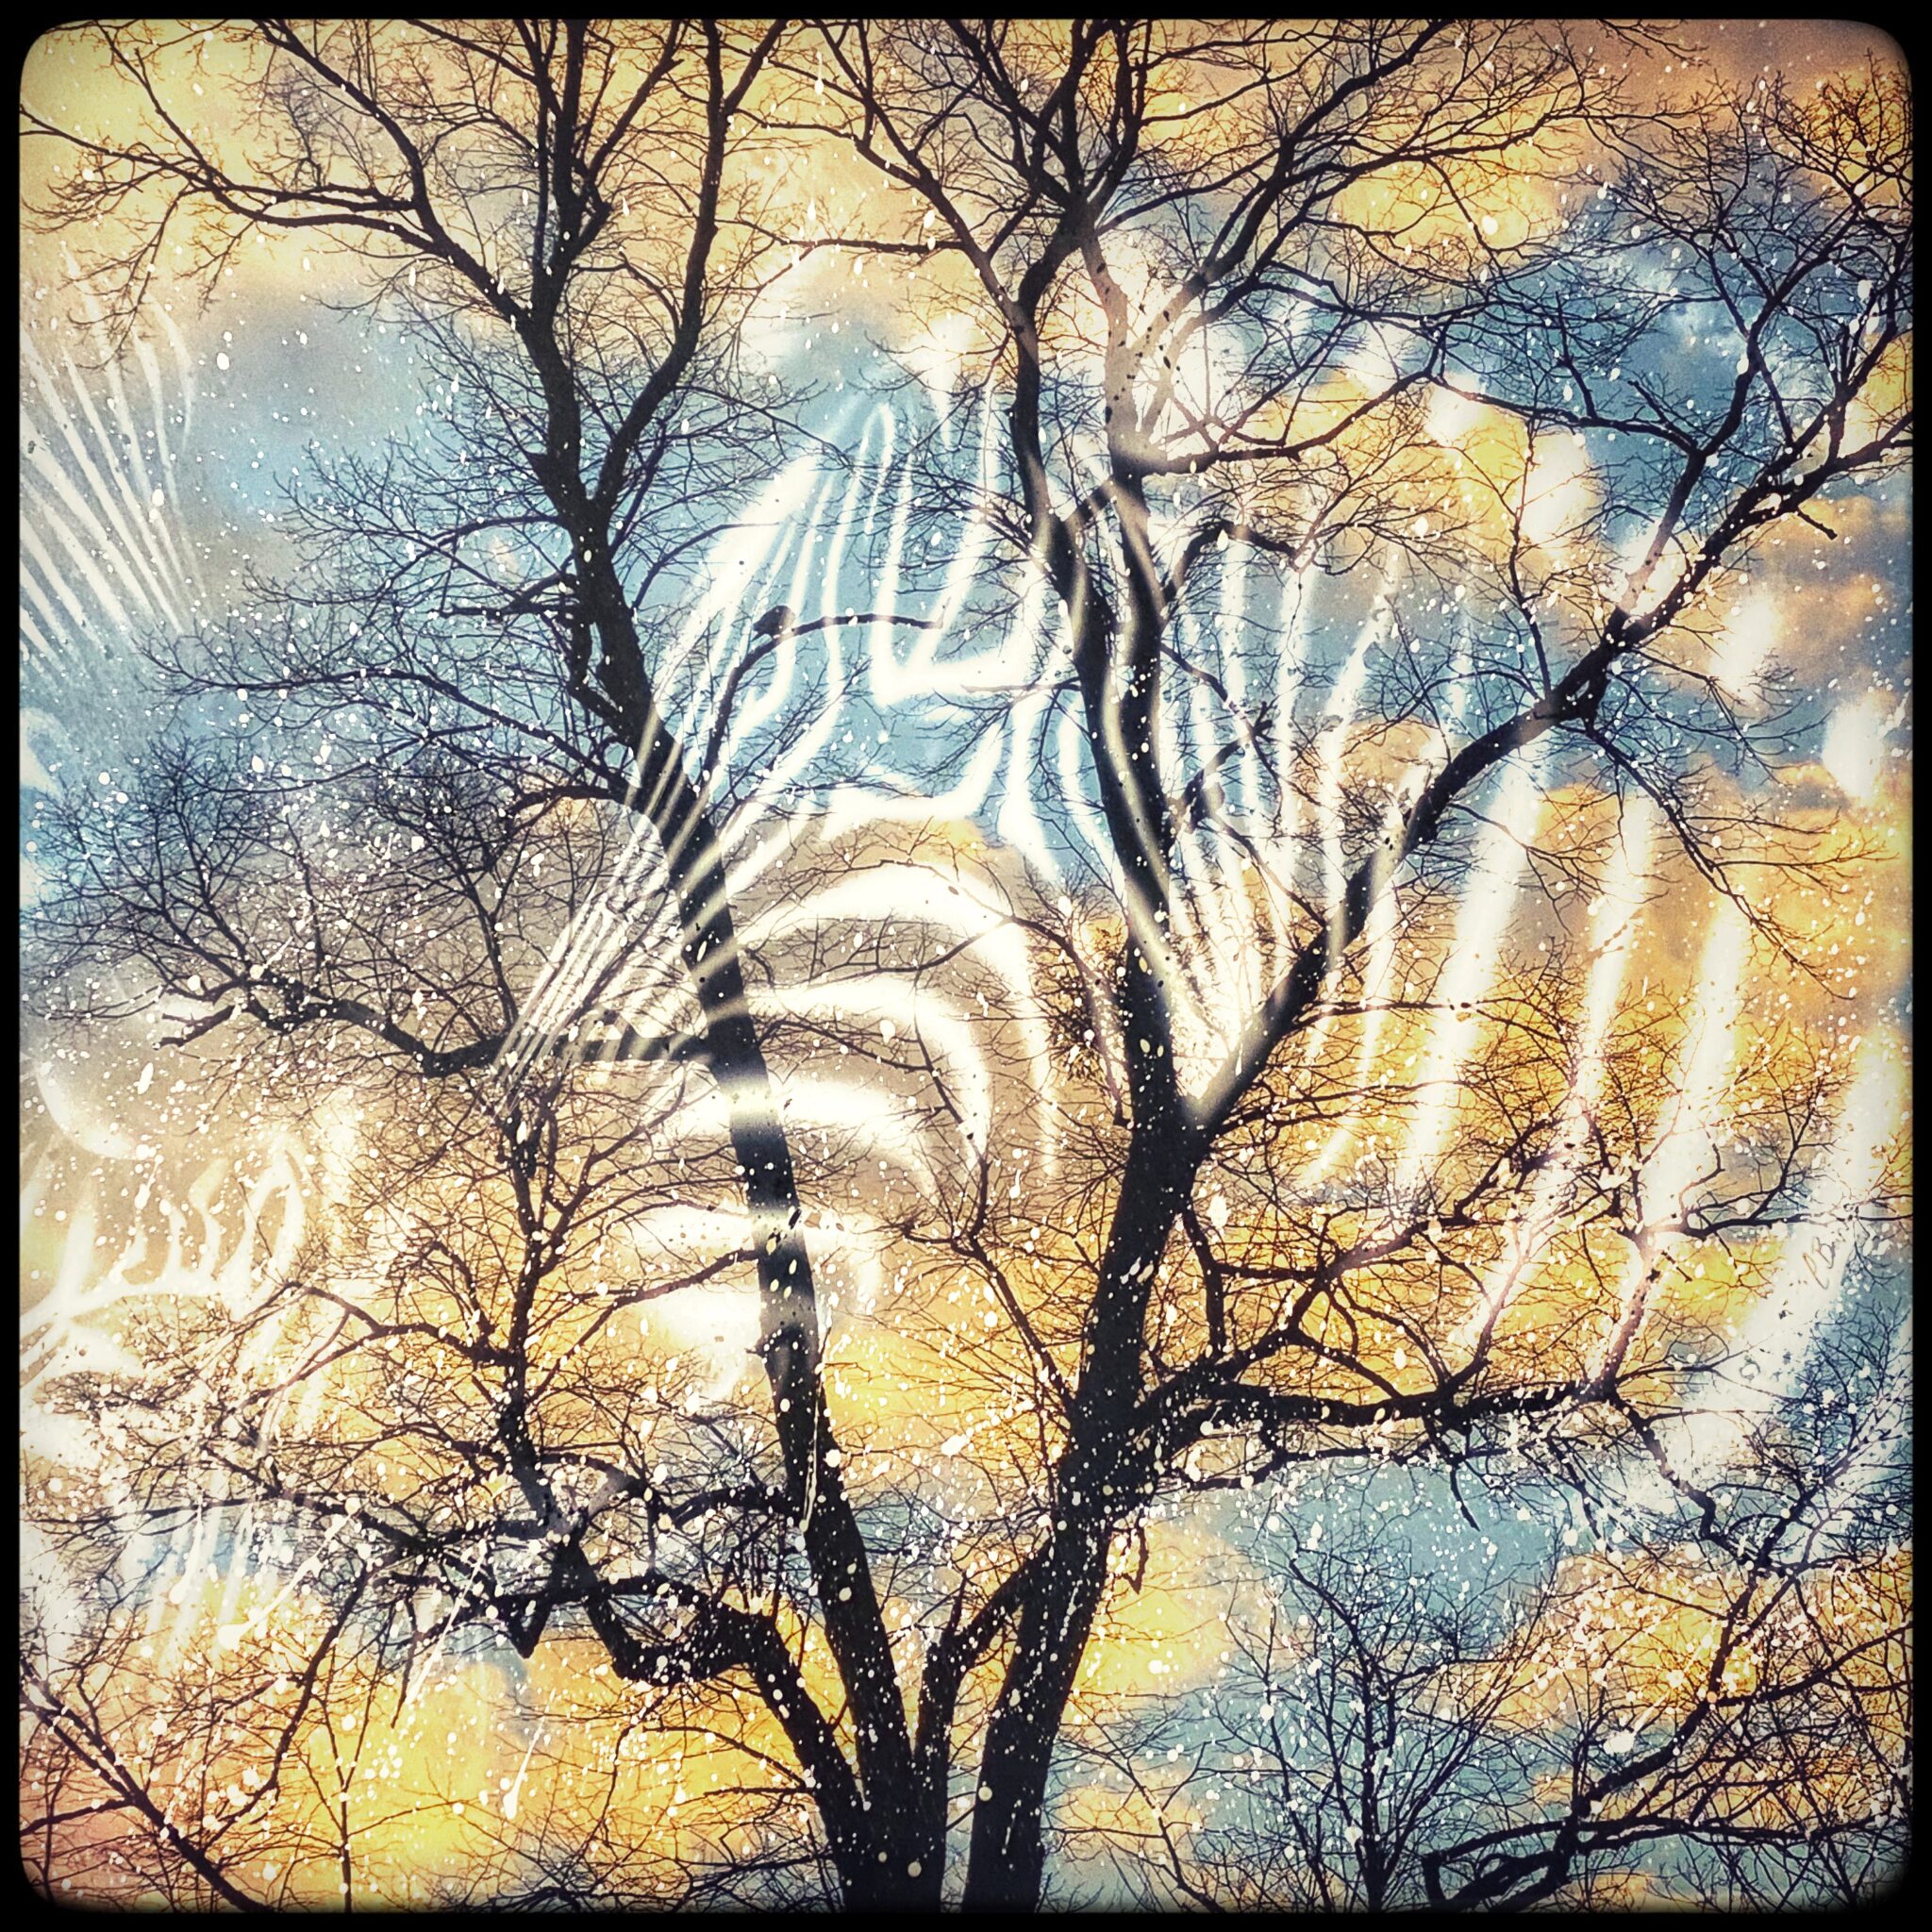
When the right conditions align, you can capture the Aurora in most mid-latitudes. ISO 2500 | 13.0 sec | F2.5 | 14mm Photo: Kara Murphy |
Witnessing the aurora borealis, or Northern Lights, in person is magical. While it can seem intimidating, capturing it on camera doesn’t have to be complicated. Anyone can photograph this natural phenomenon with the right conditions and a little preparation. You only need a dark, clear sky, strong solar activity and the right gear. Whether you’re using a dedicated camera or smartphone, a few simple steps will help you capture the aurora’s bright, bold colors in all their glory. Let’s dive in.
How to find aurora
 |
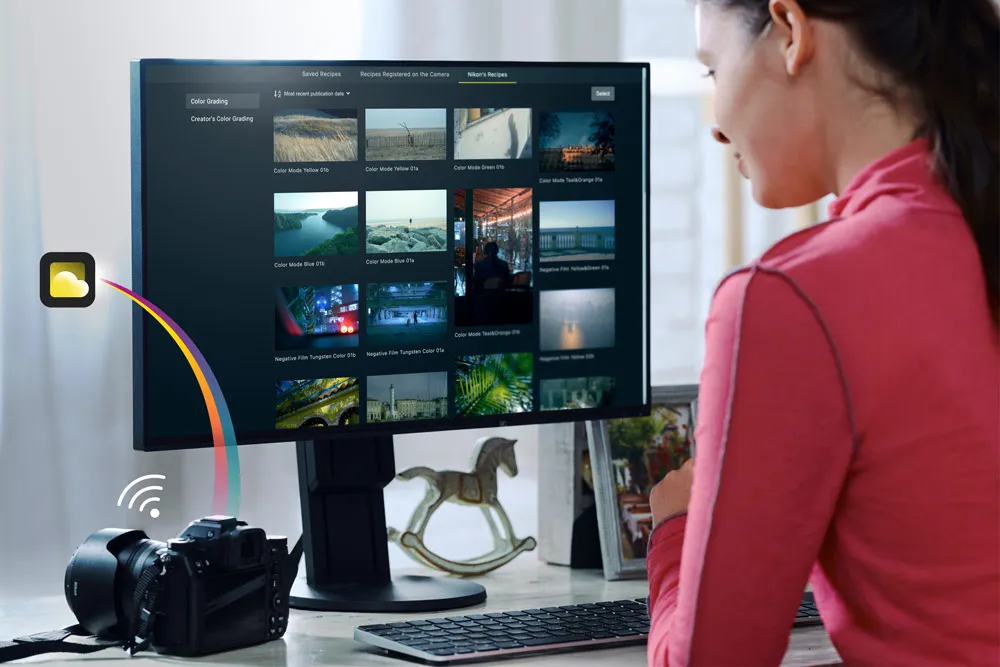
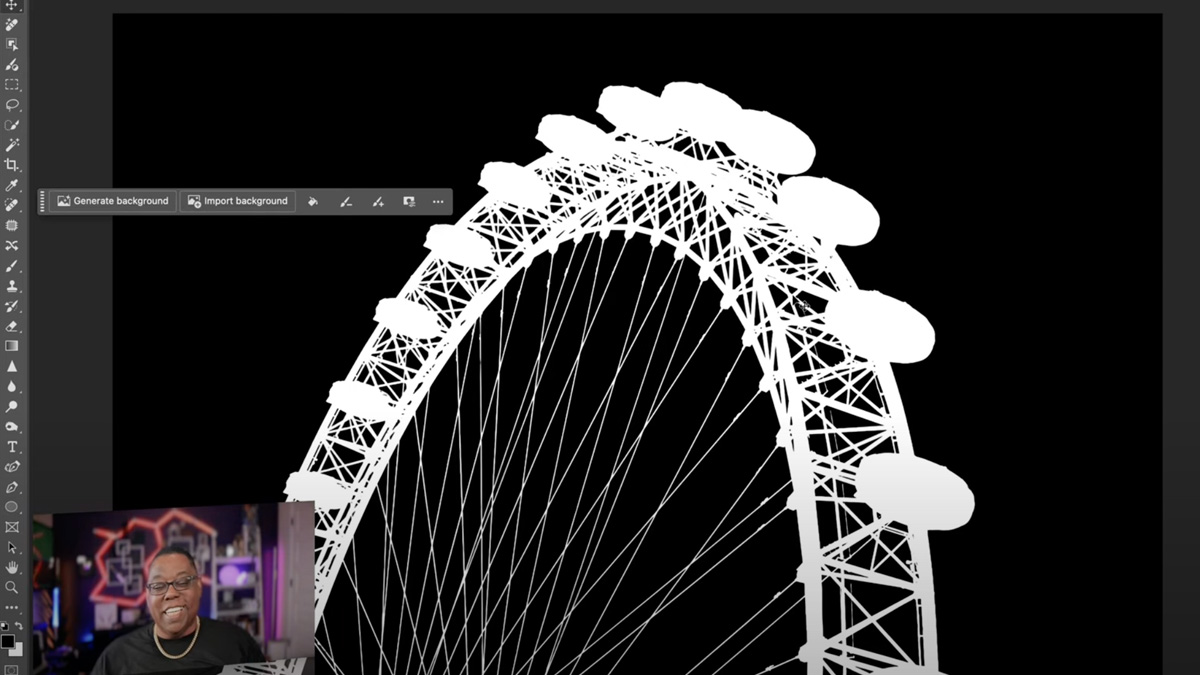
| The Aurorasaurus website makes it easy to see where auroras are forecasted. |
First and foremost, you need to know how to find aurora. As the name suggests, Northern Lights are most often visible in northern regions like Alaska or Iceland. It's less common to see them in lower latitudes, such as in the southern US. They are most prevalent from late September to late March, with the best chances occurring during the darkest winter months.
Luckily, there are forecasting tools to help you plan when you should get outside. Apps like Space Weather Live (iPhone; Android) and My Aurora Forecast & Alerts (iPhone; Android) provide up-to-date space weather conditions, helping you track when and where the Northern Lights may make an appearance. Aurorasauras, Aurora Forecast and NOAA are websites that also provide aurora forecasting. Of course, you'll also need clear skies, so be sure to use your favorite weather app to check for cloud cover as well.
Capturing the Northern Lights with your phone
The easiest method for capturing the Northern Lights is with your smartphone. A smartphone can also allow you to see aurora that are too dim for our eyes to catch. It's a valuable tool for simply viewing the phenomena, especially in regions that don't get dramatic displays. That's because your phone automatically combines multiple, longer exposures in real time to capture more light than our eyes can catch.
Photographing the Northern Lights with your phone is as simple as point and shoot. Most phones will automatically switch to a night mode setting, so you don't even need to adjust anything. Just be sure to hold your phone very still or, better yet, prop it on something stable or use a tripod to avoid blurry photos.
Capturing the Northern Lights with a camera
 |
|
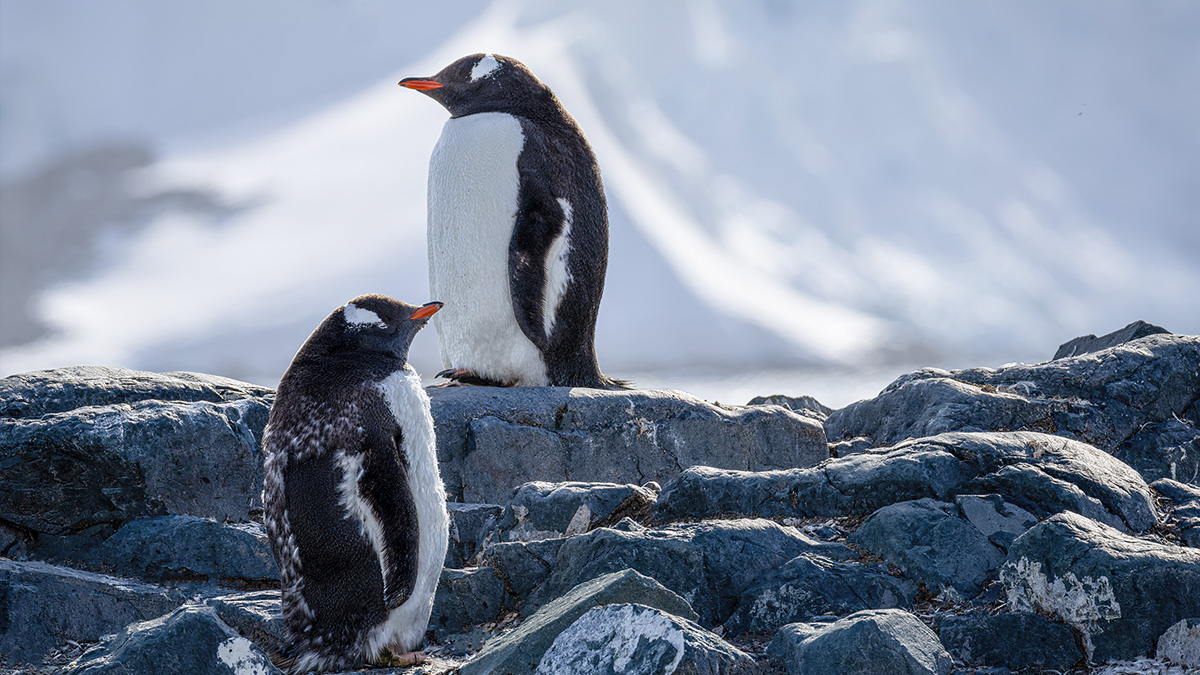
ISO 1250 | 20.0 sec | F1.8 | 20mm Photo: Kara Murphy |
If you want to take things to the next level, any camera with manual settings will give you more control. A wide-angle lens (around 10–14mm) will capture a broad view of the sky and the surrounding landscape. However, if you want to focus on a specific subject, like a lighthouse or bridge, you can use a longer focal length (50mm or 70mm). Ideally, choose a lens with a wide aperture, such as F2.8, as it will let in as much light as possible.
No matter what camera you’re using, a sturdy tripod is essential to prevent blur from camera movement while the shutter is open. A remote shutter release is also helpful to avoid shaking the camera when you start to shoot.
Now it’s time to tinker with your settings. Your exact settings will differ based on your location and the conditions on a given night, so you will need to experiment. No matter what, though, always shoot in Raw format for the best image quality and greater flexibility during editing.
- Aperture: As wide as possible, ideally F2.8 or wider.
- Shutter speed: Roughly 5-10 seconds (longer risks averaging the motion out and making the effect less well defined).
- ISO: Start with 800, though increase to the highest level that produces acceptably clean results on your camera as needed.
Hopefully, this gives you a solid starting point. If you’d like to dive deeper into photographing the aurora, you can check out our more in-depth guide.


