


-0-8-screenshot.png?width=1920&height=1920&fit=bounds&quality=70&format=jpg&auto=webp#)


.jpg)


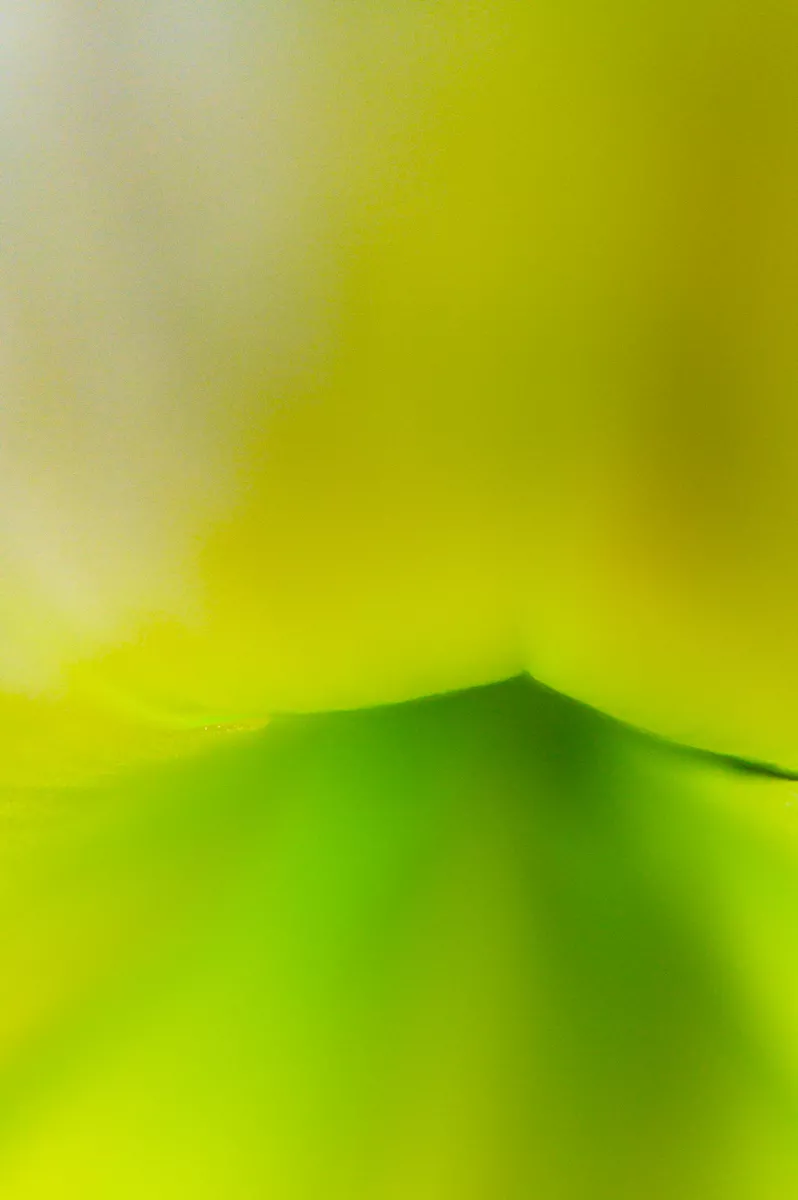
How I got the photo: Green apples in macro
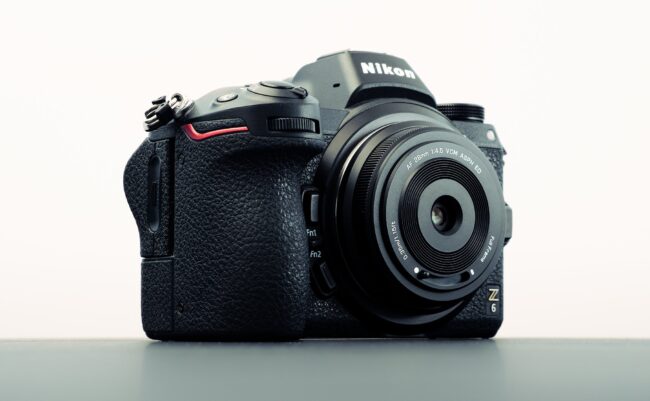
You don’t necessarily need a macro lens to capture great macro images. Take these photos of a green apple. I used my Tamron 70 – 30mm lens, but as I cannot really get close enough for true macro, I used my Vella extension tubes. Light was supplied by my Godox AD200Pro and a snoot. Behind the scenes I set up a light tent on a table. Inside was black fabric as the background and a small vintage timber table. This was where I placed the fresh apple. Next, I positioned the Godox AD200Pro with a snoot on the outside, a little to the back of the fruit, and pointed down at 1/2 power. I used the light tent as a diffuser. In the above image is a small reflector on the left, but decided I preferred it darker on the left side. I placed the camera (Sony A7RV) and Tamron 70-300mm lens with the Vello 10mm and 16mm extension tubes on my Peak Design Tripod for stability. Then, I sprayed the apple with 50/50 water and liquid glycerin mix to create the water droplets. The water and glycerin mix is sticky and doesn’t drip from the fruit as fast. This allows more time to take your photos. Camera settings are ISO100, f/10, 1/125 seconds. So don’t be shy about shooting macro with a zoom lens. The compression can provide a really nice creamy bokeh to your images. When working with extension tubes for the first time, I suggest trying indoors and away from any wind until you become used to them. Are you looking for more ideas to try macro photography on a budget? If you want to learn more about macro photography, why not check out one of my online, self-paced classes?


You don’t necessarily need a macro lens to capture great macro images. Take these photos of a green apple. I used my Tamron 70 – 30mm lens, but as I cannot really get close enough for true macro, I used my Vella extension tubes. Light was supplied by my Godox AD200Pro and a snoot.

Behind the scenes
I set up a light tent on a table. Inside was black fabric as the background and a small vintage timber table. This was where I placed the fresh apple. Next, I positioned the Godox AD200Pro with a snoot on the outside, a little to the back of the fruit, and pointed down at 1/2 power. I used the light tent as a diffuser. In the above image is a small reflector on the left, but decided I preferred it darker on the left side.
I placed the camera (Sony A7RV) and Tamron 70-300mm lens with the Vello 10mm and 16mm extension tubes on my Peak Design Tripod for stability. Then, I sprayed the apple with 50/50 water and liquid glycerin mix to create the water droplets. The water and glycerin mix is sticky and doesn’t drip from the fruit as fast. This allows more time to take your photos. Camera settings are ISO100, f/10, 1/125 seconds.


So don’t be shy about shooting macro with a zoom lens. The compression can provide a really nice creamy bokeh to your images. When working with extension tubes for the first time, I suggest trying indoors and away from any wind until you become used to them.
Are you looking for more ideas to try macro photography on a budget? If you want to learn more about macro photography, why not check out one of my online, self-paced classes?