


.jpg)


How to overcome obstacles while photographing at the zoo
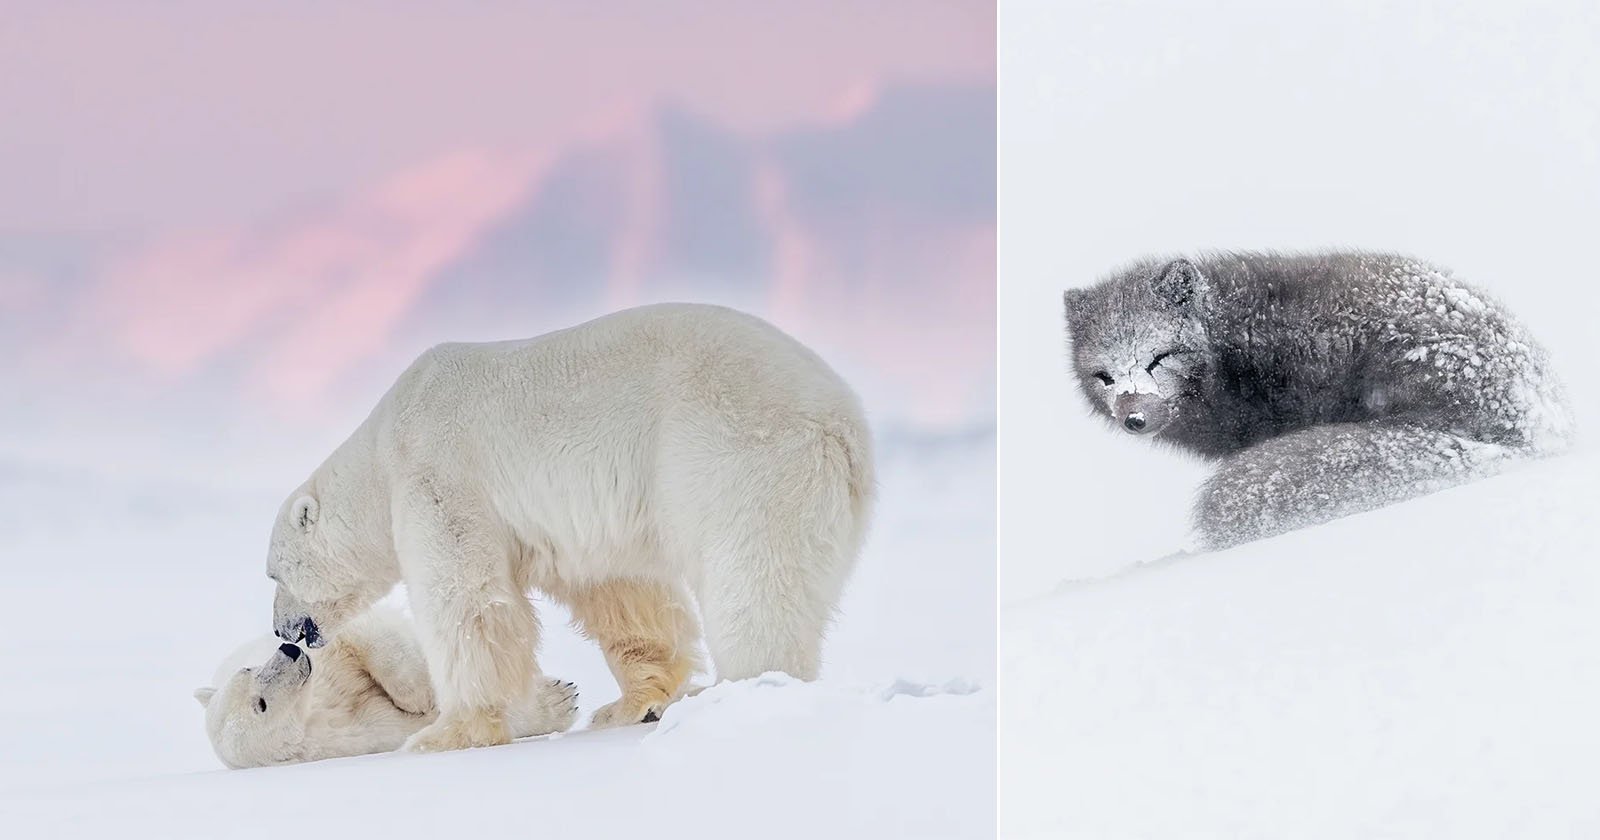
Lots of things to protect you from the animals at the zoo. Fences, thick bullet-proof glass, distance, and more, can hinder your image making when learning and practicing. Read on for some tips, tricks and ideas to surmount these seeming problems. Fences Fences are everywhere at zoos with good reason. I know I don’t want to become a meal for a wild one. But fences can be overcome if you understand your camera settings. In this case, you’ll want to go to aperture priority and use a long lens. Wide aperture means the area in focus is smaller. With a wide enough aperture you can make a fence disappear. Longer lenses help as well. The secret, in addition to the settings, is to get your camera as close to the fence as possible. You may even need to use manual focus as the fence may try to grab your focus. This is a pretty cool trick with which to amaze your friends as well! Glass The glass used to shield the animals such as large simians and tigers is thick. And usually has a color cast. When faced with this obstacle, you’ll need to think about post production to help. When on site try to get your camera as close to the glass as possible. There are rubber shields you can add to surround your lens to tame reflections. If you don’t have one of those a well positioned person in dark clothing can be of help. If you have to some reflections can be handled with a bit of post production using dodge and burn tools. Color can be adjusted to offset the usually green cast of the glass in post as well. If you can’t get the color right a judicious use of black and white might be just the ticket. Water features and distance Your only workaround for distance is a long lens. If you have newer camera gear many can now be handheld even with a super long lens. I use the OM-1 with a OM SYSTEM M.Zuiko Digital ED 150-600mm f/5-6.3 IS Lens (Micro Four Thirds). I also add a 1.4 tele-extender for an equivalent full frame reach of almost 1700mm. And I can handhold a medium shutter speeds. This comes in handy as many zoos do not allow camera supports such as tripods. One work-around I’ve found to get around the tripod police is to use Platypod gear. You can hang a Platypod eXtreme on a fence or set it on a trash can to get more height if necessary. Previous zoo articles Here are some other articles showing how to photograph at the zoo. Practice as much as you can and your photography will become stronger. Yours in Creative Photography, Bob

Lots of things to protect you from the animals at the zoo. Fences, thick bullet-proof glass, distance, and more, can hinder your image making when learning and practicing. Read on for some tips, tricks and ideas to surmount these seeming problems.
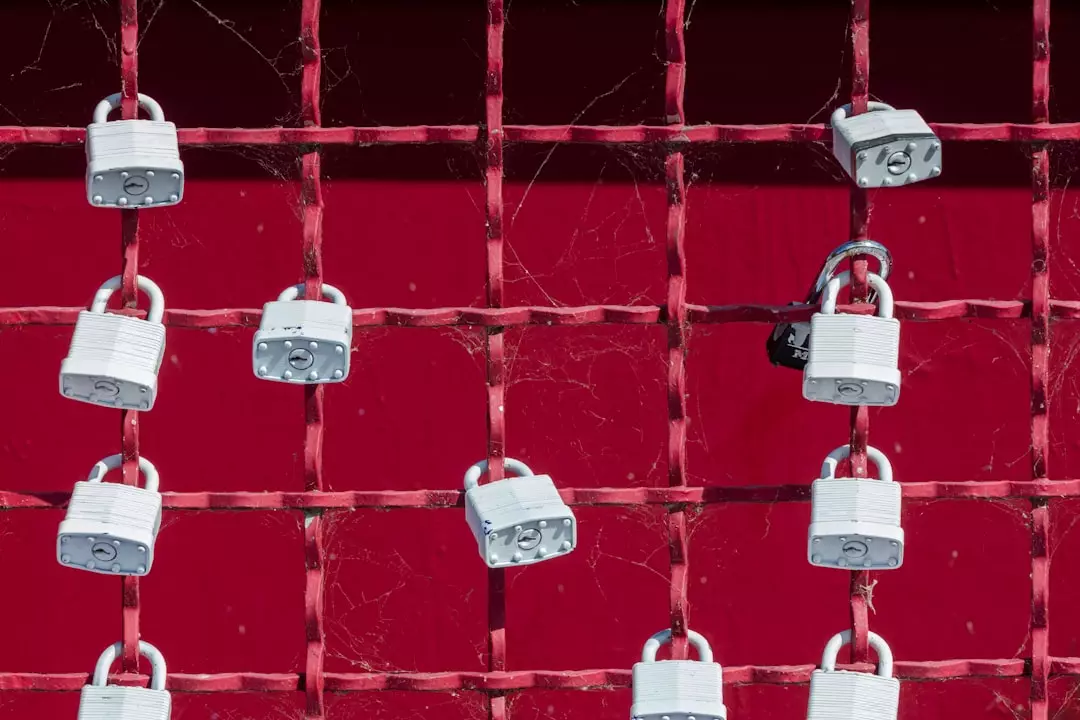
Fences
Fences are everywhere at zoos with good reason. I know I don’t want to become a meal for a wild one. But fences can be overcome if you understand your camera settings. In this case, you’ll want to go to aperture priority and use a long lens. Wide aperture means the area in focus is smaller. With a wide enough aperture you can make a fence disappear. Longer lenses help as well. The secret, in addition to the settings, is to get your camera as close to the fence as possible. You may even need to use manual focus as the fence may try to grab your focus. This is a pretty cool trick with which to amaze your friends as well!


Glass
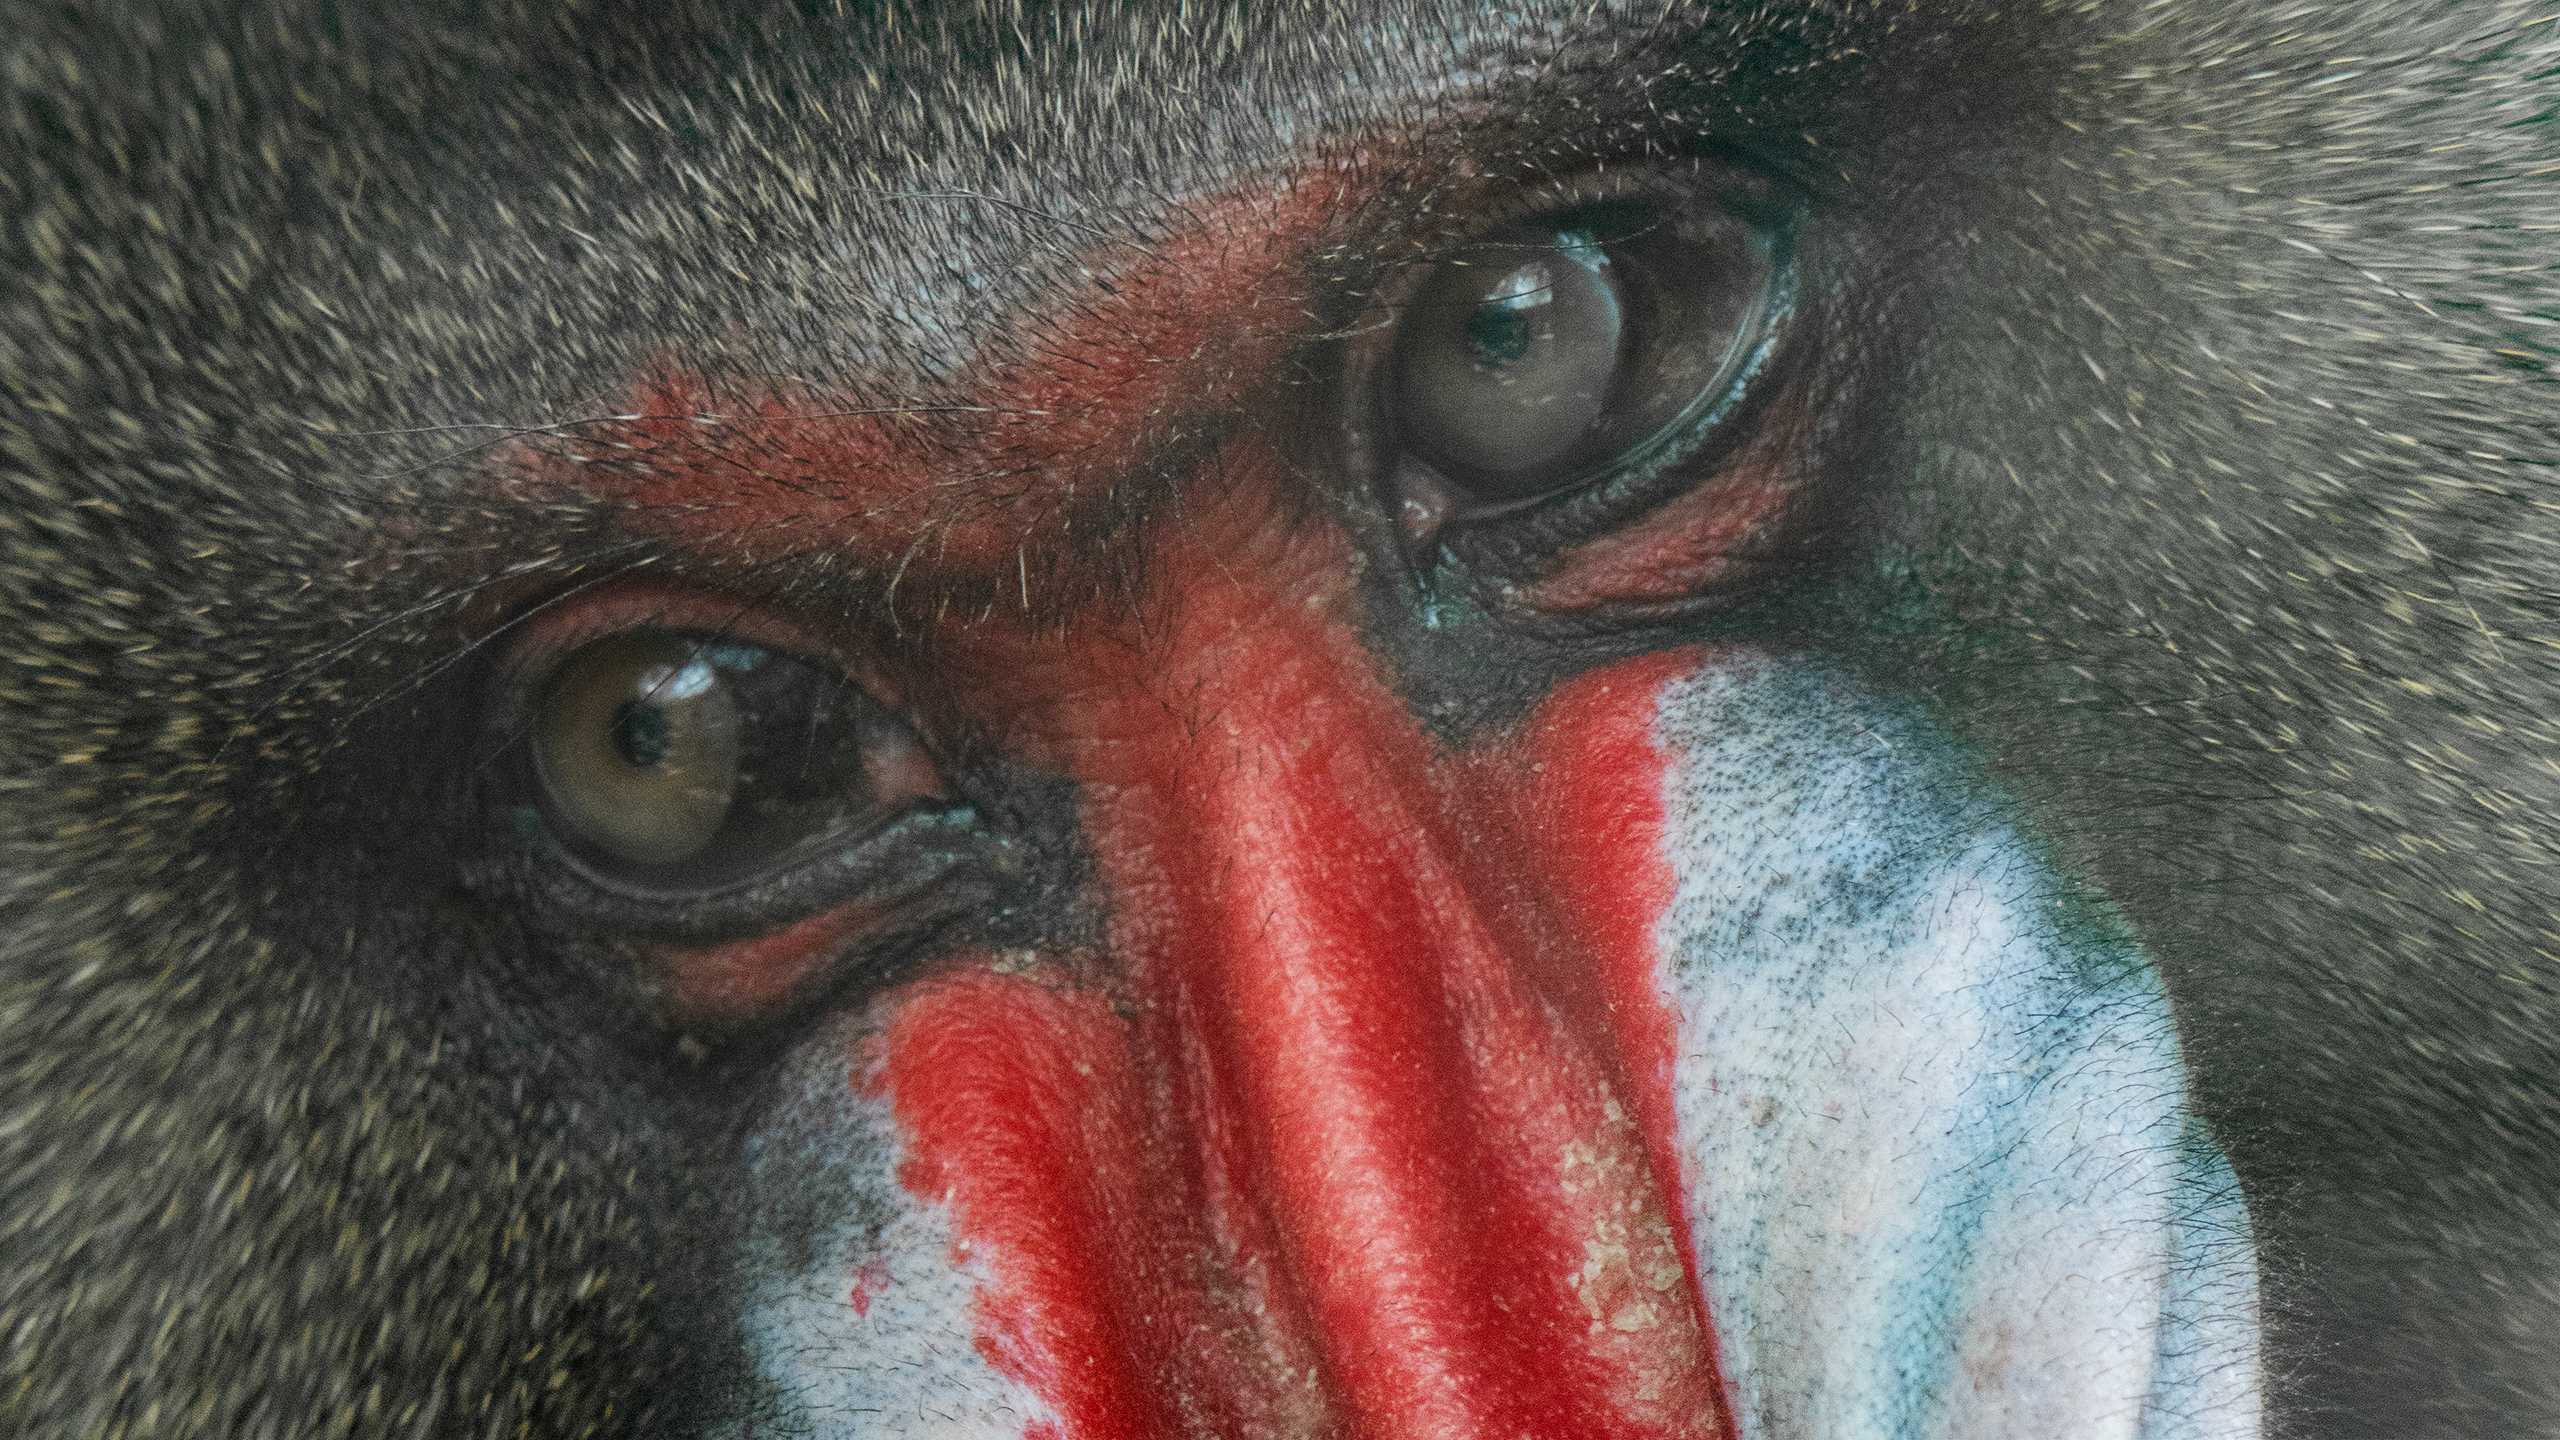
The glass used to shield the animals such as large simians and tigers is thick. And usually has a color cast. When faced with this obstacle, you’ll need to think about post production to help. When on site try to get your camera as close to the glass as possible. There are rubber shields you can add to surround your lens to tame reflections. If you don’t have one of those a well positioned person in dark clothing can be of help. If you have to some reflections can be handled with a bit of post production using dodge and burn tools. Color can be adjusted to offset the usually green cast of the glass in post as well. If you can’t get the color right a judicious use of black and white might be just the ticket.


Water features and distance
Your only workaround for distance is a long lens. If you have newer camera gear many can now be handheld even with a super long lens. I use the OM-1 with a OM SYSTEM M.Zuiko Digital ED 150-600mm f/5-6.3 IS Lens (Micro Four Thirds). I also add a 1.4 tele-extender for an equivalent full frame reach of almost 1700mm. And I can handhold a medium shutter speeds. This comes in handy as many zoos do not allow camera supports such as tripods. One work-around I’ve found to get around the tripod police is to use Platypod gear. You can hang a Platypod eXtreme on a fence or set it on a trash can to get more height if necessary.

Previous zoo articles
Here are some other articles showing how to photograph at the zoo.
- Magical infrared photography at the zoo by Joy Celine Asto
- Practice wildlife photography head to the zoo by Bob Coates
- Photography tips for zoos wildlife sanctuaries and rescues by Jason Hahn
- Focusing on the difference at the zoo by Lauri Novak
Practice as much as you can and your photography will become stronger.
Yours in Creative Photography,
Bob