


Milky Way Huntin’ Season is on for 2025: Planning and capture
Milky Way Huntin’ Season refers to the fact that the Galactic Center is visible above the horizon. Here in the northern hemisphere, it’s time… if you are willing to be up after midnight into the early morning hours. Milky Way Huntin’ Season is on for 2025. Let’s start with planning and capture, followed by processing. Planning First, it’s great to know when and where the Milky Way will make its appearance. For me, PhotoPills is the perfect planning companion. Actually, it is full of photographic and astronomic information. This is not a primer on PhotoPills, but know that it will be your friend in figuring your timing for getting out there. Here’s a link to some PhotoPills uses. Milky Way capture Once you know where and when to be in a place, you’ll want to have a suitable foreground to go with the magical sky. I’m fortunate to be in picturesque Sedona, Arizona with all sorts of red rock formations from which to choose. This night, I was photographing south toward Bell Rock and Courthouse Butte which are just North of the Village of Oak Creek. Being further up the road at Little Horse Trailhead enabled me to use a slightly longer lens. This has the effect of making the Galactic Center Larger in relation to the rock formations. Wide angle lenses will tend to make the apparent size be smaller. An important part of night sky photography is having point stars and no trails. Know that the 500 rule, which you will find quoted quite often online, will often read to star trailing. The rule of 500 suggests that if you divide 500 by the mm of your lens you will find the proper time. Reality is that number is closer to 300. For accurate no star trails times, check PhotoPills or experiment after starting with the rule of 300. No trails? Increase your time. Trails? Decrease it. Once you know that number that works for your camera/lens combo take notes for future. Focus Focus is an important part of the equation. In the past I’ve had entire night’s shoot end up in the bin because of poor focus. Each time you change position check your focus… and check it again. Setting your camera to the Infinity mark is no guarantee of proper focus, although it is a good place to start. There is also a device called the Batinov Mask that can be a help in attaining focus. I use the OM-1 camera and some previous Olympus cameras that have Starry Sky AF. You make sure a focus point is over a bright star or planet and push the auto-focus. If the result is a green light you are home. A great time saver and confidence booster. Controlling Noise Most of this depends on how you plan to display your work. If you are only posting online or making smaller prints a single exposure can work fine. If you want to print art size walls prints noise becomes and issue the larger the ultimate size. Noise can be mitigated by making multiple exposures. I recommend eight to ten for decent noise reduction in post processing. After 16-20 exposures there is little more to be gained due tot the law of diminishing returns. Set your camera on a solid tripod. Focus on the stars. Set your camera’s internal intervalometer to your spot stars time and number of images you would like. I also add a two second delay for the first exposure to give the camera time to settle after pushing the shutter. If your camera does not have an internal intervalometer you can get an accessory unit to control your camera. These run from around twenty to around eighty dollars. Just make sure it will work with your specific camera brand. Star sequences can be processed in additional software. Starry Landscape Stacker for MAC machines which I believe sells for $39.99. If you are a PC user your program is Sequator which is free. You will want a separate set of images for your foreground. When capturing these you can increase exposure time and lower the ISO for some noise reduction. There’s a technique I’ll share in the Milky Way processing article which can help with foreground noise. More on how to process images in the next articles. I lead three day Milky Way Workshops in Sedona, Arizona. More information can be found at my successful-photographer.com website. Yours in Creative Photography, Bob


Milky Way Huntin’ Season refers to the fact that the Galactic Center is visible above the horizon. Here in the northern hemisphere, it’s time… if you are willing to be up after midnight into the early morning hours. Milky Way Huntin’ Season is on for 2025. Let’s start with planning and capture, followed by processing.
Planning
First, it’s great to know when and where the Milky Way will make its appearance. For me, PhotoPills is the perfect planning companion. Actually, it is full of photographic and astronomic information. This is not a primer on PhotoPills, but know that it will be your friend in figuring your timing for getting out there. Here’s a link to some PhotoPills uses.
Milky Way capture
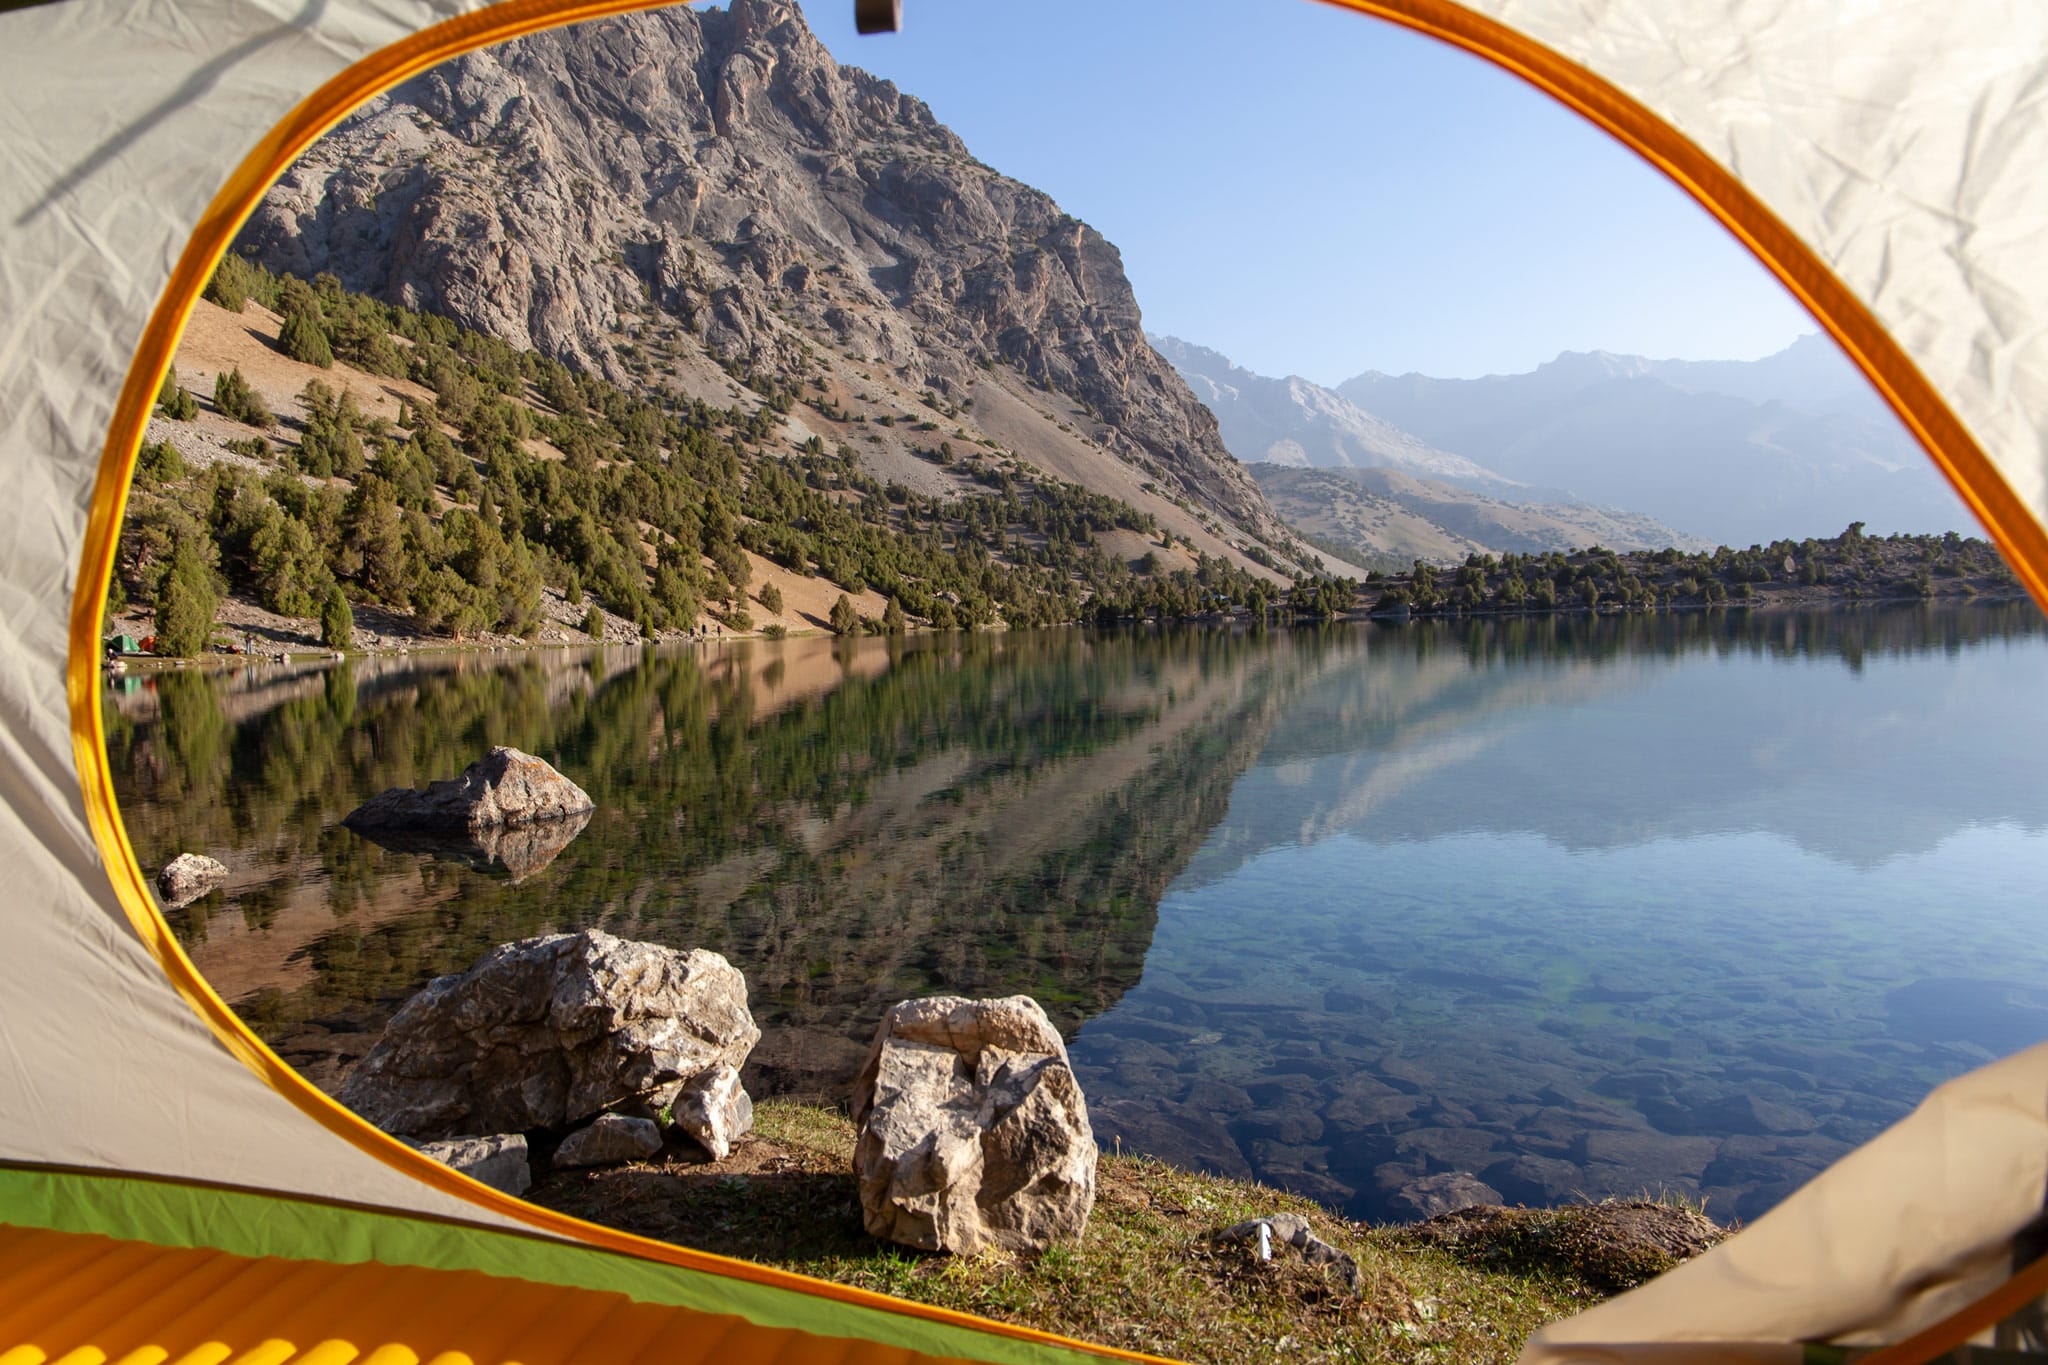
Once you know where and when to be in a place, you’ll want to have a suitable foreground to go with the magical sky. I’m fortunate to be in picturesque Sedona, Arizona with all sorts of red rock formations from which to choose. This night, I was photographing south toward Bell Rock and Courthouse Butte which are just North of the Village of Oak Creek. Being further up the road at Little Horse Trailhead enabled me to use a slightly longer lens. This has the effect of making the Galactic Center Larger in relation to the rock formations. Wide angle lenses will tend to make the apparent size be smaller.


An important part of night sky photography is having point stars and no trails. Know that the 500 rule, which you will find quoted quite often online, will often read to star trailing. The rule of 500 suggests that if you divide 500 by the mm of your lens you will find the proper time. Reality is that number is closer to 300. For accurate no star trails times, check PhotoPills or experiment after starting with the rule of 300. No trails? Increase your time. Trails? Decrease it. Once you know that number that works for your camera/lens combo take notes for future.
Focus
Focus is an important part of the equation. In the past I’ve had entire night’s shoot end up in the bin because of poor focus. Each time you change position check your focus… and check it again. Setting your camera to the Infinity mark is no guarantee of proper focus, although it is a good place to start. There is also a device called the Batinov Mask that can be a help in attaining focus. I use the OM-1 camera and some previous Olympus cameras that have Starry Sky AF. You make sure a focus point is over a bright star or planet and push the auto-focus. If the result is a green light you are home. A great time saver and confidence booster.

Controlling Noise
Most of this depends on how you plan to display your work. If you are only posting online or making smaller prints a single exposure can work fine. If you want to print art size walls prints noise becomes and issue the larger the ultimate size. Noise can be mitigated by making multiple exposures. I recommend eight to ten for decent noise reduction in post processing. After 16-20 exposures there is little more to be gained due tot the law of diminishing returns.
Set your camera on a solid tripod. Focus on the stars. Set your camera’s internal intervalometer to your spot stars time and number of images you would like. I also add a two second delay for the first exposure to give the camera time to settle after pushing the shutter. If your camera does not have an internal intervalometer you can get an accessory unit to control your camera. These run from around twenty to around eighty dollars. Just make sure it will work with your specific camera brand. Star sequences can be processed in additional software. Starry Landscape Stacker for MAC machines which I believe sells for $39.99. If you are a PC user your program is Sequator which is free.
You will want a separate set of images for your foreground. When capturing these you can increase exposure time and lower the ISO for some noise reduction. There’s a technique I’ll share in the Milky Way processing article which can help with foreground noise.
More on how to process images in the next articles.
I lead three day Milky Way Workshops in Sedona, Arizona. More information can be found at my successful-photographer.com website.
Yours in Creative Photography,
Bob

