


RuneScape Dragonwilds beginner’s guide – Tips and tricks
The starting phase in RuneScape Dragonwilds can be a grueling test, and it gets even more confusing if you haven't played any RuneScape titles (or something similar) in the past. Jagex's latest release is similar to how typical RuneScape titles work but with some twist. While some concepts are basic, others are far more complex. This beginner guide will help you get started on your adventure and accelerate your in-game progression. Don't skip the tutorial When you create a new character, you'll have the option to skip the tutorial quest. I strongly advise against it, even if you're a fan of older RuneScape titles. The tutorial is fairly simple: it introduces you to a few characters who teach you the concepts. Some of these concepts can be learned independently, but things like Runes are easier to craft if you complete the tutorial. The tutorial also helps you to follow a structured pattern when it comes to the objectives. Focus on the main questline Screenshot via Jagex There are side quests available in RuneScape Dragonwilds, but your priority should be the main quest. It involves getting instructions from the Wise Old Man, located in Bramblemead Valley. The main quest allows you to power up systematically. The quest will also provide all the information required to take your power level up and eventually take on General Velgar. Completing the side quests will help you get additional rewards, but the main quest is much more important (for your progression). All activities are essential Image via Jagex Ltd There are different skills to unlock in the game. Some of the skills will eventually become your favorite (for example, I love to chop down trees much more than I love to mine), but you need to do as many activities as possible. Some skills will level up quicker purely because you'll have to do them more often, but it's also vital that you perform as many activities as possible. Every skill has new rewards up to level 49 (and they go up to level 99), so leveling them up is very important. Defend yourself Image via Jagex Ltd Even if your attack power matches the enemy's, you should attack carefully. Blocking an attack is good, but dodges are better. However, dodges consume stamina, while there's no such problem with a Block. In a nutshell, don't go all-in with your attacks. Watch your enemies, understand their attack patterns, and chain the combos to do maximum damage. Repairs are valuable In the cycle of crafting new items, it's easy to forget how the crafting table can also be used to repair your existing tools and weapons. Repairs are essential since your equipment will break down after using it. Imagine your Stone Club breaking right when you're facing a War Band. Always repair your tools and keep them handy. Pick up everything Screenshot by Destructoid Resources can be found all over Ashenfall; some just require you to pick them up. While picking up everything is repetitive, don't ignore any item you can find. Any item you collect is used in some recipe. Some of them are used to cook foods and beverages. Some are used to craft tools and weapons. Crafting materials can also be collected from exploring different areas of the map. If you ignore certain items, they could end up backfiring big time when you need them to complete certain recipes. To prevent that, it's better to pick up as many items as possible. If you don't need something immediately, you can store it in a box to keep empty space on your inventory. Multiple bases are mandatory Screenshot by Destructoid The map of Ashenfall is enormous, and it will only get bigger if Jagex's Roadmap is to be believed. If you're setting up just one base, it will be highly inefficient. You can avoid this by setting up multiple bases in different strategic locations. All bases don't have to be big, and they can be used as a fast-traveling network by using lodestones. You can create small bases with storage boxes in them, which will also allow you to travel lighter. In addition to the storage boxes, you can place workstations relevant to the area. For example, you can keep a Furnace at a location where you can mine different ores. Finally, don't be scared of death Death feels terrible in any game, but dying too often in RuneScape Dragonwilds feels ten times worse. The situation becomes problematic if you die far from your base, meaning you'll have to travel over a long distance without any of your inventory. However, death is going to happen no matter how careful you are. The sooner you understand this, the better it is for maintaining your sanity while playing the game. This is also a big reason why having multiple bases and a network of lodestones is better to help you recover your inventory quicker. The post RuneScape Dragonwilds beginner’s guide – Tips and tricks appeared first on Destructoid.

The starting phase in RuneScape Dragonwilds can be a grueling test, and it gets even more confusing if you haven't played any RuneScape titles (or something similar) in the past.
Jagex's latest release is similar to how typical RuneScape titles work but with some twist. While some concepts are basic, others are far more complex. This beginner guide will help you get started on your adventure and accelerate your in-game progression.
Don't skip the tutorial
When you create a new character, you'll have the option to skip the tutorial quest. I strongly advise against it, even if you're a fan of older RuneScape titles. The tutorial is fairly simple: it introduces you to a few characters who teach you the concepts. Some of these concepts can be learned independently, but things like Runes are easier to craft if you complete the tutorial. The tutorial also helps you to follow a structured pattern when it comes to the objectives.
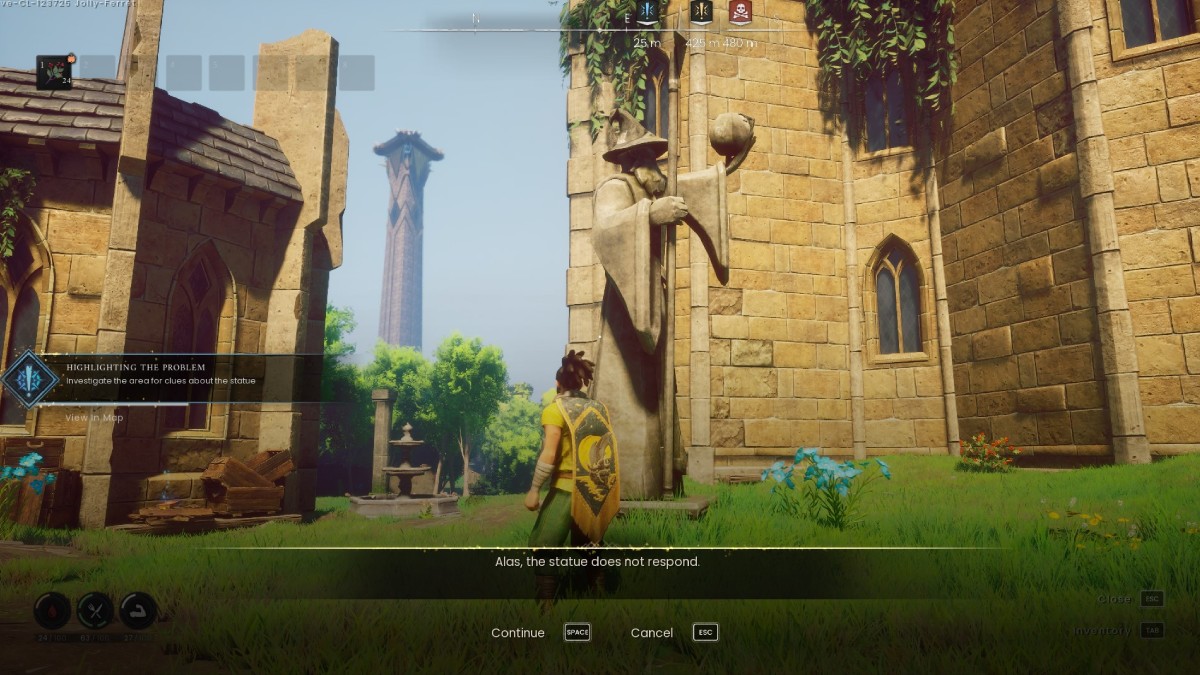
Focus on the main questline

There are side quests available in RuneScape Dragonwilds, but your priority should be the main quest. It involves getting instructions from the Wise Old Man, located in Bramblemead Valley. The main quest allows you to power up systematically. The quest will also provide all the information required to take your power level up and eventually take on General Velgar. Completing the side quests will help you get additional rewards, but the main quest is much more important (for your progression).
All activities are essential
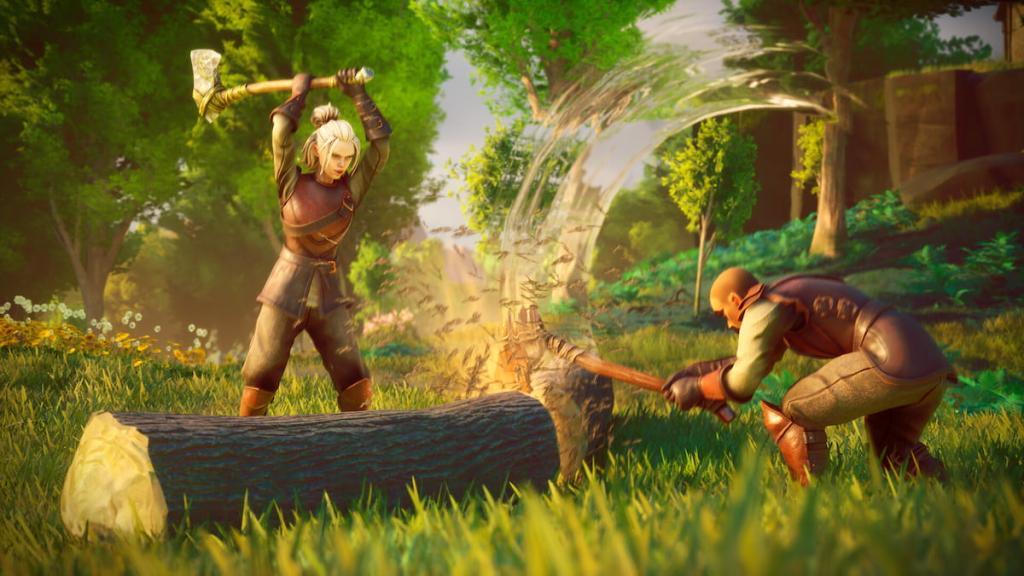
There are different skills to unlock in the game. Some of the skills will eventually become your favorite (for example, I love to chop down trees much more than I love to mine), but you need to do as many activities as possible. Some skills will level up quicker purely because you'll have to do them more often, but it's also vital that you perform as many activities as possible. Every skill has new rewards up to level 49 (and they go up to level 99), so leveling them up is very important.
Defend yourself

Even if your attack power matches the enemy's, you should attack carefully. Blocking an attack is good, but dodges are better. However, dodges consume stamina, while there's no such problem with a Block. In a nutshell, don't go all-in with your attacks. Watch your enemies, understand their attack patterns, and chain the combos to do maximum damage.
Repairs are valuable
In the cycle of crafting new items, it's easy to forget how the crafting table can also be used to repair your existing tools and weapons. Repairs are essential since your equipment will break down after using it. Imagine your Stone Club breaking right when you're facing a War Band. Always repair your tools and keep them handy.
Pick up everything

Resources can be found all over Ashenfall; some just require you to pick them up. While picking up everything is repetitive, don't ignore any item you can find. Any item you collect is used in some recipe. Some of them are used to cook foods and beverages. Some are used to craft tools and weapons. Crafting materials can also be collected from exploring different areas of the map.
If you ignore certain items, they could end up backfiring big time when you need them to complete certain recipes. To prevent that, it's better to pick up as many items as possible. If you don't need something immediately, you can store it in a box to keep empty space on your inventory.
Multiple bases are mandatory
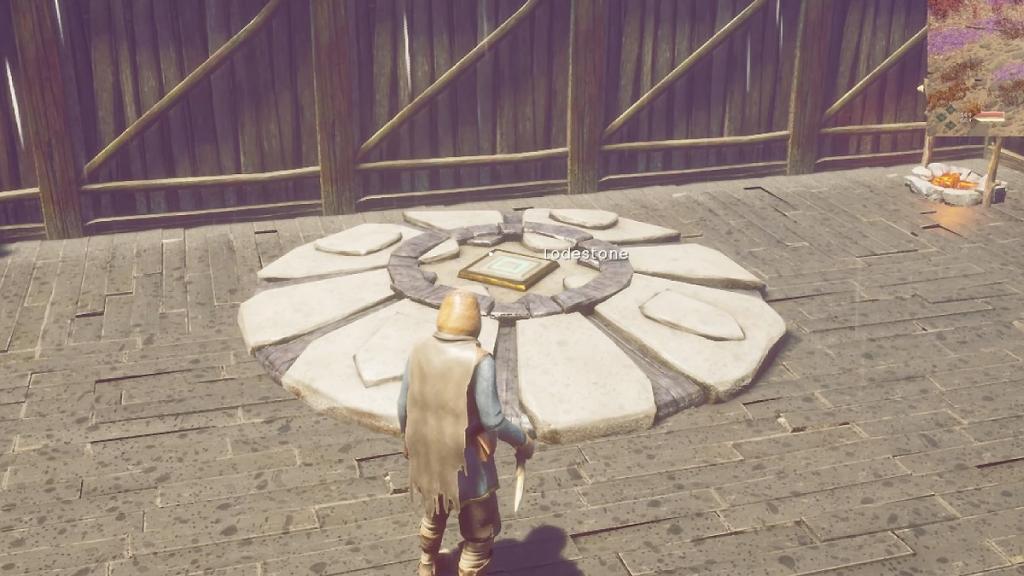
The map of Ashenfall is enormous, and it will only get bigger if Jagex's Roadmap is to be believed. If you're setting up just one base, it will be highly inefficient. You can avoid this by setting up multiple bases in different strategic locations. All bases don't have to be big, and they can be used as a fast-traveling network by using lodestones.
You can create small bases with storage boxes in them, which will also allow you to travel lighter. In addition to the storage boxes, you can place workstations relevant to the area. For example, you can keep a Furnace at a location where you can mine different ores.
Finally, don't be scared of death
Death feels terrible in any game, but dying too often in RuneScape Dragonwilds feels ten times worse. The situation becomes problematic if you die far from your base, meaning you'll have to travel over a long distance without any of your inventory.
However, death is going to happen no matter how careful you are. The sooner you understand this, the better it is for maintaining your sanity while playing the game. This is also a big reason why having multiple bases and a network of lodestones is better to help you recover your inventory quicker.
The post RuneScape Dragonwilds beginner’s guide – Tips and tricks appeared first on Destructoid.

