


AI masking: Fast headshot retouching
Adobe Camera Raw and Lightroom make skin smoothing and other retouching enhancements fast, thanks to AI. Masking people in Camera Raw and Lightroom This works in Bridge or Lightroom Classic. Select a set of headshots and follow the following steps. Step one: Open the RAW files selected in Bridge by pressing Command (WIN: Control) + R. (Note: All of the functions shown here work in Lightroom Classic. Select the photos you want to work with in the Library Module, go to Develop, then click the Masking icon.) Type Command (WIN: Control) + A to select all of the images. Step two: Click the Masking icon on the right side of the Camera Raw dialog. Step three: At the bottom of the “Create New Mask” section, a preview of the person in the most selected thumbnail in the filmstrip appears. Click it. (Note: When there are more than one person in the shot, previews for each one will appear. Masks for each person can be made.) Uncheck the box for “Entire Person”. Next, tick the box for each feature you want to mask. Below the list of choices, you’ll see a box checked showing the number of masks you’ve chosen. Click “Create.” If a large number of photos are selected, the AI Masking may take some time. In the screenshot below, 93 45-megapixel RAW files were selected. Camera Raw’s AI made five masks for each of them, taking around three minutes for the task. Adjust each masked area There are now five masks in the mask section: Facial Skin, Body Skin, Irises & Pupils, Lips and Hair. Step one: Click the Facial Skin mask. The skin on Victoria’s face is masked. Go to the Effects panel. Move the Texture Slider left to soften her skin. I chose -62 for this one and -42 on the Clarity slider. Since all 93 photos are selected, Camera Raw syncs these adjustments with the rest of the masks it made for each image. Step two: Move to the Irises & Pupils mask. Victoria has deep, dark eyes. I want to open them up just a little. I use the Light panel: Exposure: +0.40 stops, Highlights: +25 to brighten the catch lights, Shadows: +45 to lighten the irises, as my adjustments. Click and hold the eye icon on the Light panel to see the before. Release the mouse to see after. Step three: On to Victoria’s lips. Click the Person 1 – Lips mask. Zoom into 100% view by hitting Command (WIN: Control) + Option (WIN: Alt) + 0. Hold down the spacebar and scroll over to her lips. Step four: Click on the Point Color chevron. Get the color picker, then click on the bottom lip. Move the Hue slider to -55. Victoria now has redder lips that complement the saturated blue of her sweater and the violet background. Click and hold Point Color’s eye icon to see the before view. Release to see the current view. Step five: Make the Person 1 – Hair mask active by clicking it in the masking panel. Let’s give it some glow and pop. First, we’ll brighten it up by adding some exposure, +0.40 stops. Next, make it glow by adjusting the temperature to +40. That’s all there is to it. (Tip: If the icons like the ones in her hair that show changes are bothersome, hide them by pressing V.) Step six: My preference is to have face a little brighter than the rest of the skin. That’s what the Body Skin mask is for. Click on it. Drop the exposure by -0.25 stops. Done. Tip: See before and after for all of the masks at once by clicking and holding (before) the eye icon to the right of the blue + button at the top of the Create New Mask panel. The payoff By selecting all 97 photos in the session before creating the five masks of Victoria, each one has an AI-generated mask. As enhancements are made to the first one, the rest are synchronized. In other words, all of our work preparing them is done and not a single pixel was produced or harmed in the retouching process.


Adobe Camera Raw and Lightroom make skin smoothing and other retouching enhancements fast, thanks to AI.
Masking people in Camera Raw and Lightroom
This works in Bridge or Lightroom Classic. Select a set of headshots and follow the following steps.
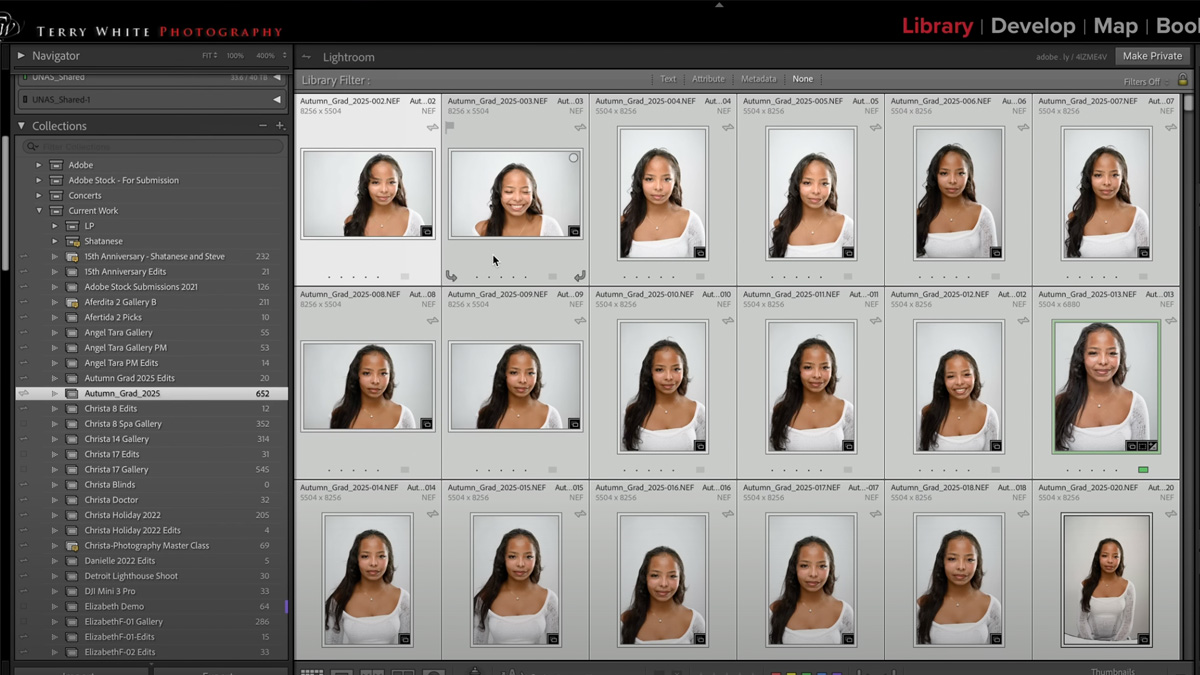
Step one: Open the RAW files selected in Bridge by pressing Command (WIN: Control) + R. (Note: All of the functions shown here work in Lightroom Classic. Select the photos you want to work with in the Library Module, go to Develop, then click the Masking icon.) Type Command (WIN: Control) + A to select all of the images.
Step two: Click the Masking icon on the right side of the Camera Raw dialog.

Step three: At the bottom of the “Create New Mask” section, a preview of the person in the most selected thumbnail in the filmstrip appears. Click it. (Note: When there are more than one person in the shot, previews for each one will appear. Masks for each person can be made.) Uncheck the box for “Entire Person”. Next, tick the box for each feature you want to mask. Below the list of choices, you’ll see a box checked showing the number of masks you’ve chosen. Click “Create.” If a large number of photos are selected, the AI Masking may take some time. In the screenshot below, 93 45-megapixel RAW files were selected. Camera Raw’s AI made five masks for each of them, taking around three minutes for the task.

Adjust each masked area
There are now five masks in the mask section: Facial Skin, Body Skin, Irises & Pupils, Lips and Hair.
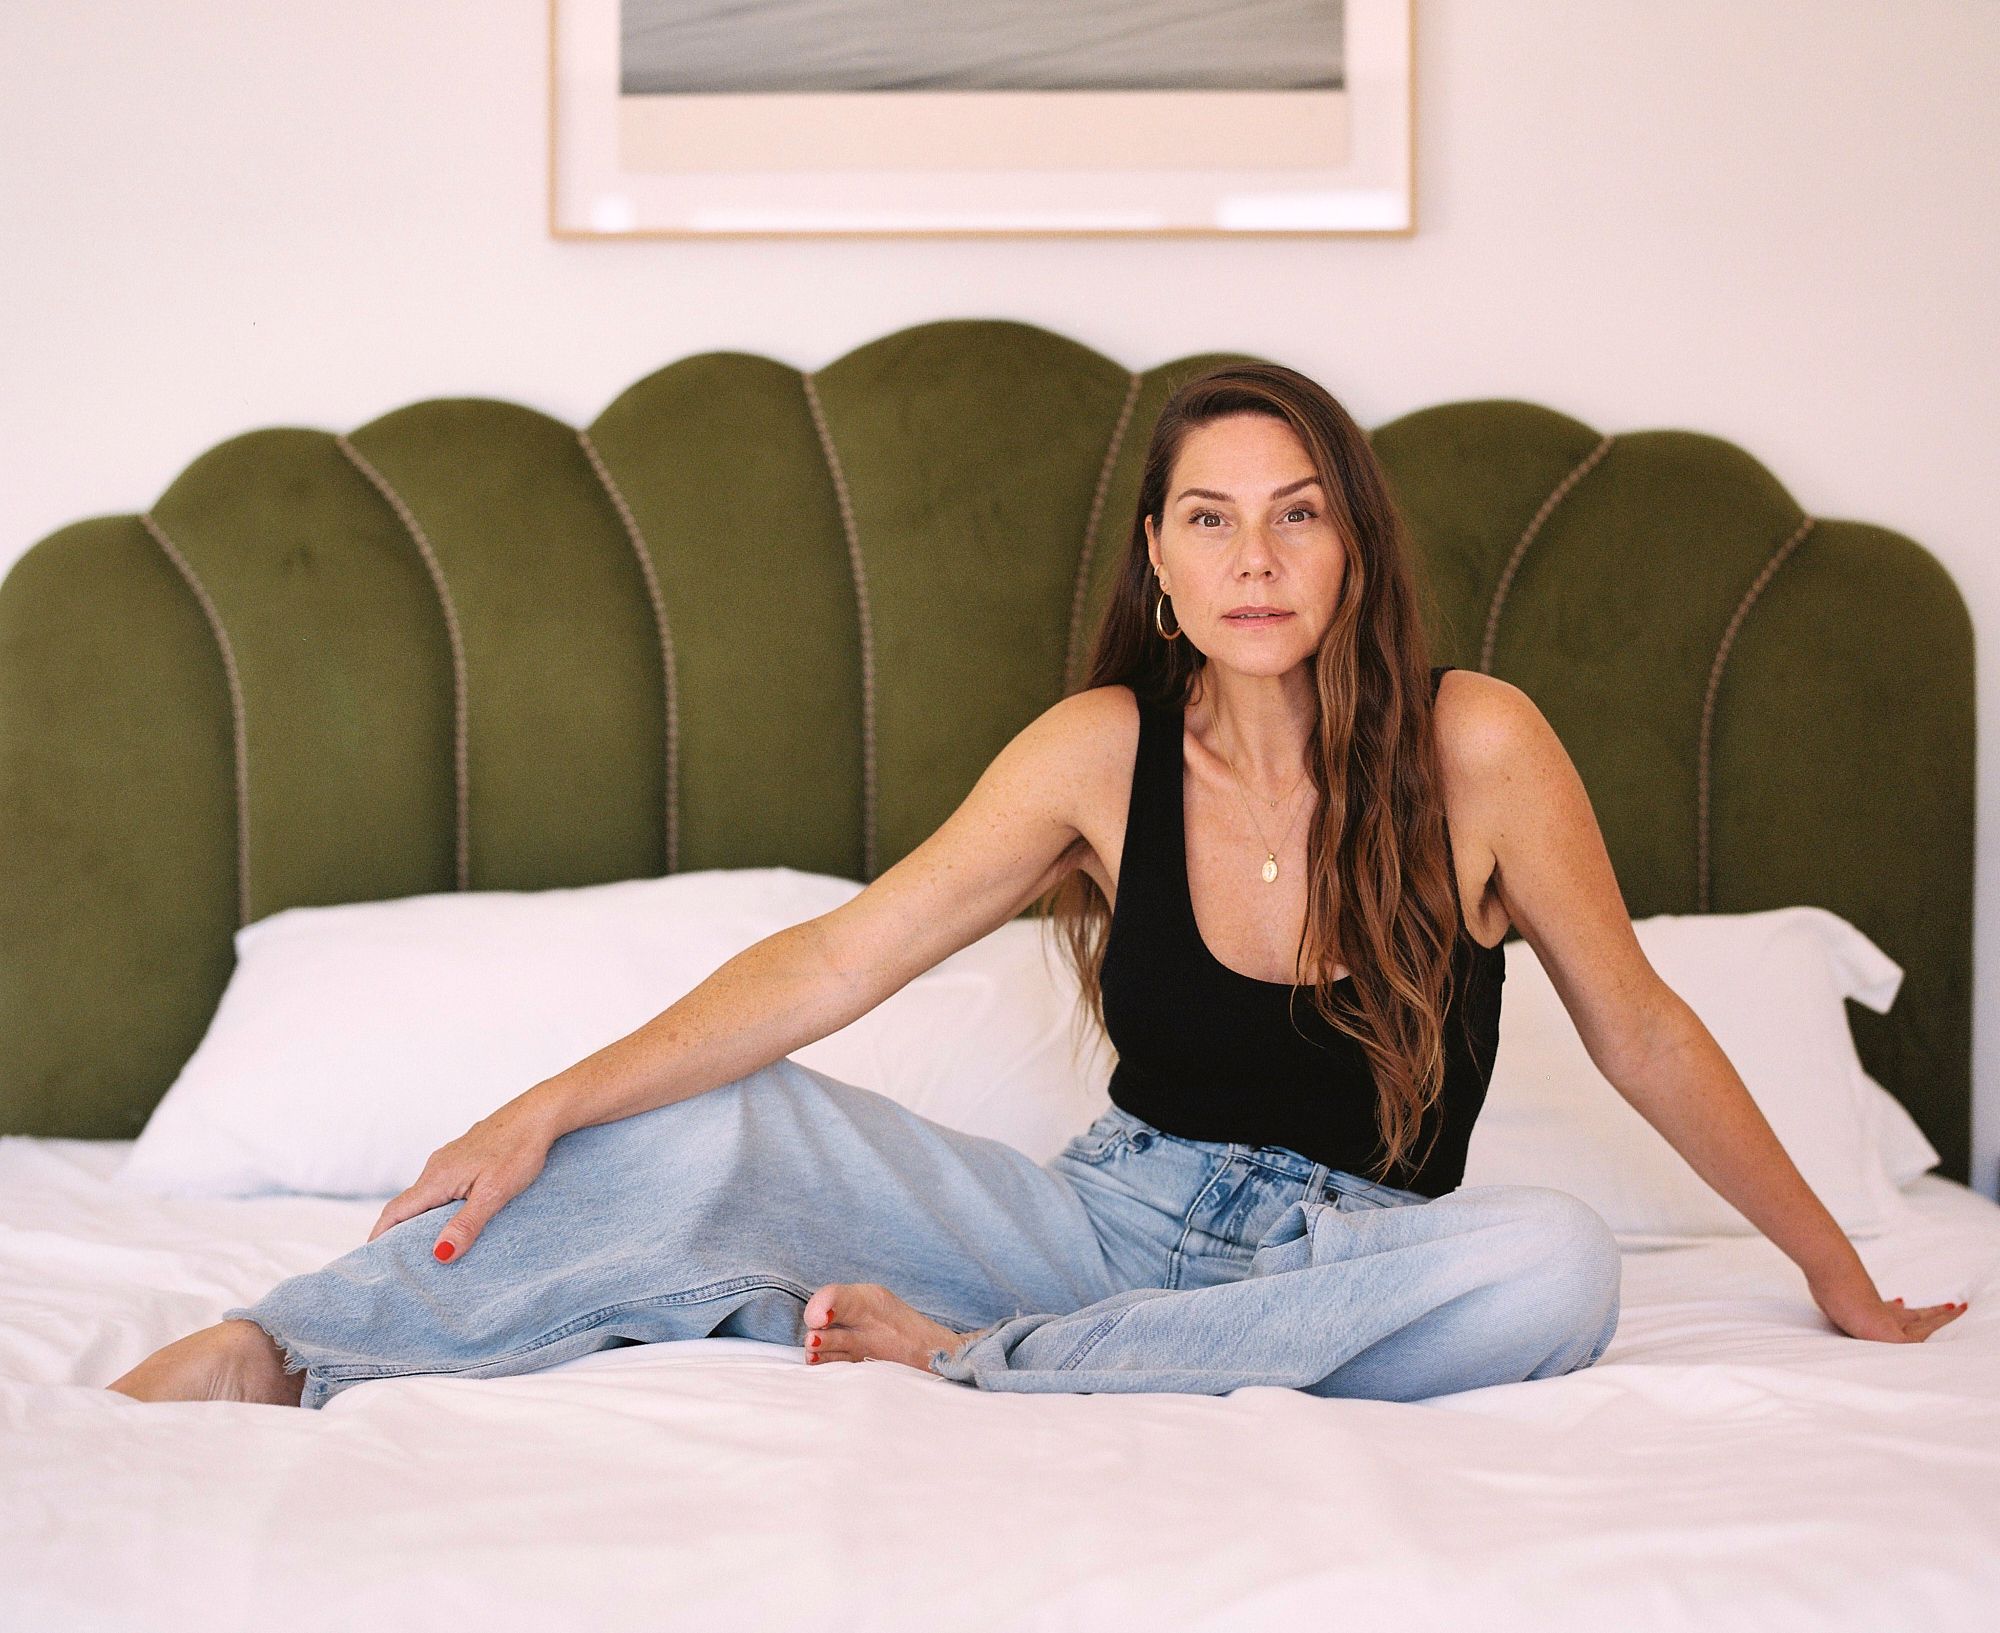
Step one: Click the Facial Skin mask. The skin on Victoria’s face is masked. Go to the Effects panel. Move the Texture Slider left to soften her skin. I chose -62 for this one and -42 on the Clarity slider. Since all 93 photos are selected, Camera Raw syncs these adjustments with the rest of the masks it made for each image.

Step two: Move to the Irises & Pupils mask. Victoria has deep, dark eyes. I want to open them up just a little. I use the Light panel: Exposure: +0.40 stops, Highlights: +25 to brighten the catch lights, Shadows: +45 to lighten the irises, as my adjustments. Click and hold the eye icon on the Light panel to see the before. Release the mouse to see after.

Step three: On to Victoria’s lips. Click the Person 1 – Lips mask. Zoom into 100% view by hitting Command (WIN: Control) + Option (WIN: Alt) + 0. Hold down the spacebar and scroll over to her lips.
Step four: Click on the Point Color chevron. Get the color picker, then click on the bottom lip. Move the Hue slider to -55. Victoria now has redder lips that complement the saturated blue of her sweater and the violet background. Click and hold Point Color’s eye icon to see the before view. Release to see the current view.

Step five: Make the Person 1 – Hair mask active by clicking it in the masking panel. Let’s give it some glow and pop.
First, we’ll brighten it up by adding some exposure, +0.40 stops. Next, make it glow by adjusting the temperature to +40. That’s all there is to it. (Tip: If the icons like the ones in her hair that show changes are bothersome, hide them by pressing V.)

Step six: My preference is to have face a little brighter than the rest of the skin. That’s what the Body Skin mask is for. Click on it. Drop the exposure by -0.25 stops. Done.
Tip: See before and after for all of the masks at once by clicking and holding (before) the eye icon to the right of the blue + button at the top of the Create New Mask panel.
The payoff
By selecting all 97 photos in the session before creating the five masks of Victoria, each one has an AI-generated mask. As enhancements are made to the first one, the rest are synchronized. In other words, all of our work preparing them is done and not a single pixel was produced or harmed in the retouching process.