


/33901f8b-dab8-4ac5-8d01-7bf897aa6a96--2015-0122_chocolate-dump-it-cake_james-ransom_008.jpg?#)


All Ayleid Statue Locations in Oblivion Remastered
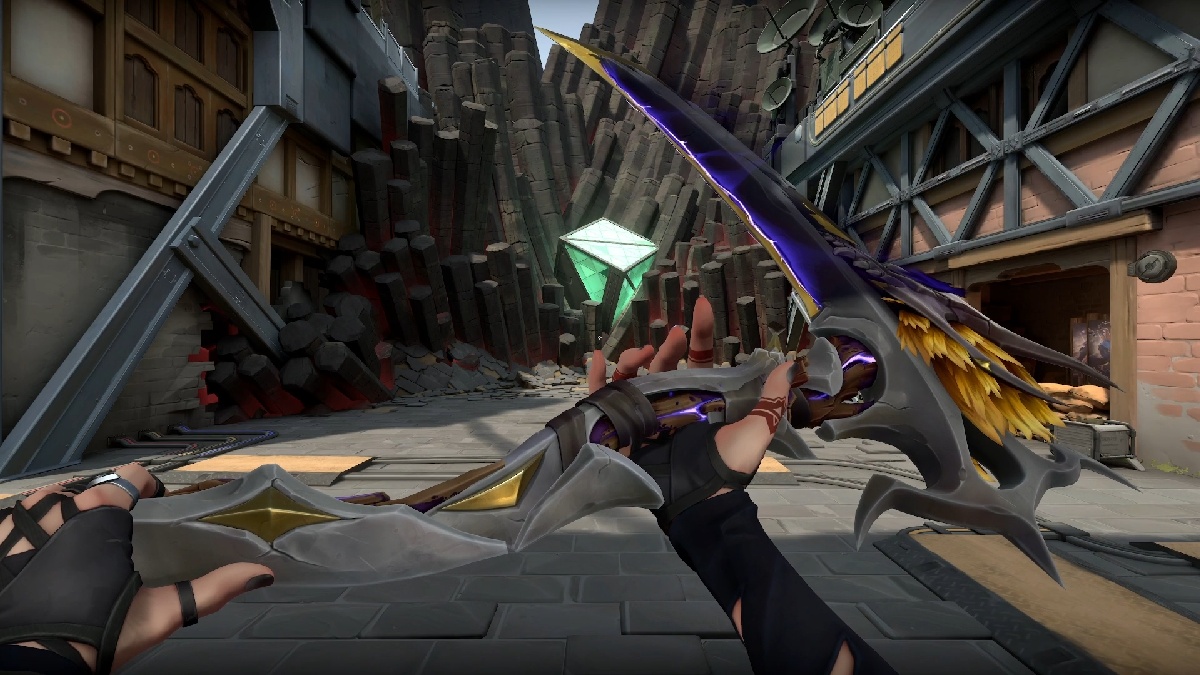
Did you know that a great money-making method in Elder Scrolls 4 Oblivion Remastered involves diving into Elven dungeons and collecting mysterious statues for an Imperial City noble? These Ayleid Statues can make you thousands of gold if you're willing to spend a couple of hours exploring some ruins. However, finding them is no simple task, especially if you're unfamiliar with Elven ruins and where they're located. Let's talk about where you can find all ten Ayleid Statue locations, including where to find each dungeon that houses them in Oblivion Remastered. Table of contents All Ayleid Statue Locations in Elder Scrolls 4 Oblivion Remastered How to start the The Collector quest in Oblivion Remastered The Collector quest rewards in Oblivion Remastered All Ayleid Statue Locations in Elder Scrolls 4 Oblivion Remastered Oblivion Remastered has ten Ayleid Statues inside Elven ruins around the map. While half are clustered around Bravil, the rest are north of areas like the Imperial City and Chorrol. Here's a complete list of all ten dungeons and their locations: Dungeon name Location Vilverin Directly northeast of the Imperial Prison Sewer. Culotte Southeast of the Imperial City, south of the Yellow Road. Wenyandawik Northwest of Bravil, south of the Green Road. Mackamentain Northeast of Bravil within The Nibenay Basin. Wendir South of Chorrol and the Black Road. Ninendava Northeast of Chorrol, southwest of a Gate to Oblivion. Moranda Northeast of Chorrol, southeast of Ninendava. Fanacas North of Cheydinhal, directly east of Lake Arrius. Wendelbek East of Bravil, north of Panther River. Welke Southeast of Bravil, directly southwest of Wendelbek. Screenshot by Destructoid For most players, the first and easiest dungeon to start with is Vilverin. You can access it right after starting the game by exiting the sewers and running northeast. Although this dungeon is longer than others on the list, the journey to starting the "The Collector" quest will be much shorter than if you were to start elsewhere. In most cases, the Ayleid Statues will be at the ends of each dungeon. While some are relatively short, with a few enemies scattered around, others have numerous enemy types and mini-bosses to defeat. You can either run past them, collect the Ayleid Statues, and leave, or fight through them and claim your prize once you find it. How to start the The Collector quest in Oblivion Remastered Starting the "The Collector" quest requires finding at least one Ayleid Statue before visiting Umbacano in the Imperial City's Talos Plaza District. If you look at the district's central dragon statue from the front, you'll spot Umbacano's manor entrance directly behind it to the left. Screenshot by Destructoid Umbacano's Butler, Jollring, will typically approach you first. He will escort you upstairs after you reveal your Ayleid artifact, letting you talk to Umbacano directly. Umbacano will tell you about his treasure-hunting interests, prompting him to offer 500 gold coins per statue you find. Sell him one to begin the "The Collector" quest. As you visit Umbacano more, he'll reveal clues to where you can find other statues. His main hint is telling you five Elven ruin names for you to visit. Although your map won't update with their locations, your quest journal will update, helping you narrow down your search. The Collector quest rewards in Oblivion Remastered Every statue you give to Umbacano will reward you with 500 gold coins. Completing the Ayleid Statue set and giving it to Umbacano will double your reward, letting you score up to 10,000 gold if you find all ten and hand them in. Finishing the set also completes the "The Collector" quest. Along the way, Umbacano will give you two more quests: Nothing You Can Possess and Secrets of the Ayleids. Nothing You Can Possess also has a cash reward and is available after returning three Ayleid Statues, while Secrets of the Ayleids follows directly after. I recommend finishing The Collector first before starting these two missions. If you just need some quick cash before moving on to another quest, you can give him one or two statues and return to this later. Otherwise, if you want 10,000 gold and some extras from Umbacano's extra missions, you can look out for these ten dungeons and statues throughout your adventures. Better yet, you can combine this with some of Oblivion Remastered's best money-making methods to become rich quickly. The post All Ayleid Statue Locations in Oblivion Remastered appeared first on Destructoid.

Did you know that a great money-making method in Elder Scrolls 4 Oblivion Remastered involves diving into Elven dungeons and collecting mysterious statues for an Imperial City noble? These Ayleid Statues can make you thousands of gold if you're willing to spend a couple of hours exploring some ruins.
However, finding them is no simple task, especially if you're unfamiliar with Elven ruins and where they're located. Let's talk about where you can find all ten Ayleid Statue locations, including where to find each dungeon that houses them in Oblivion Remastered.
Table of contents
All Ayleid Statue Locations in Elder Scrolls 4 Oblivion Remastered
Oblivion Remastered has ten Ayleid Statues inside Elven ruins around the map. While half are clustered around Bravil, the rest are north of areas like the Imperial City and Chorrol. Here's a complete list of all ten dungeons and their locations:
Dungeon name Location Vilverin Directly northeast of the Imperial Prison Sewer. Culotte Southeast of the Imperial City, south of the Yellow Road. Wenyandawik Northwest of Bravil, south of the Green Road. Mackamentain Northeast of Bravil within The Nibenay Basin. Wendir South of Chorrol and the Black Road. Ninendava Northeast of Chorrol, southwest of a Gate to Oblivion. Moranda Northeast of Chorrol, southeast of Ninendava. Fanacas North of Cheydinhal, directly east of Lake Arrius. Wendelbek East of Bravil, north of Panther River. Welke Southeast of Bravil, directly southwest of Wendelbek. 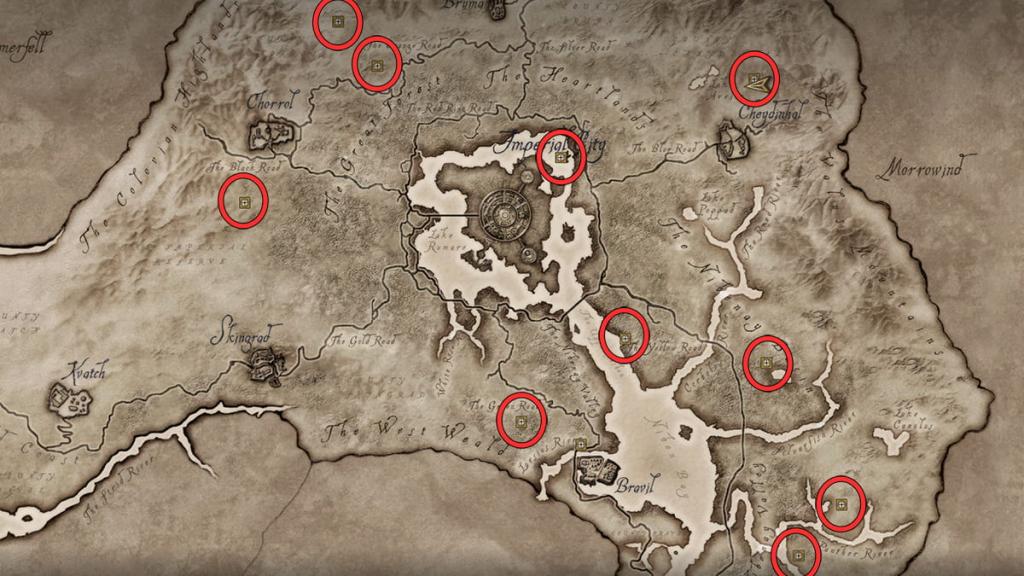
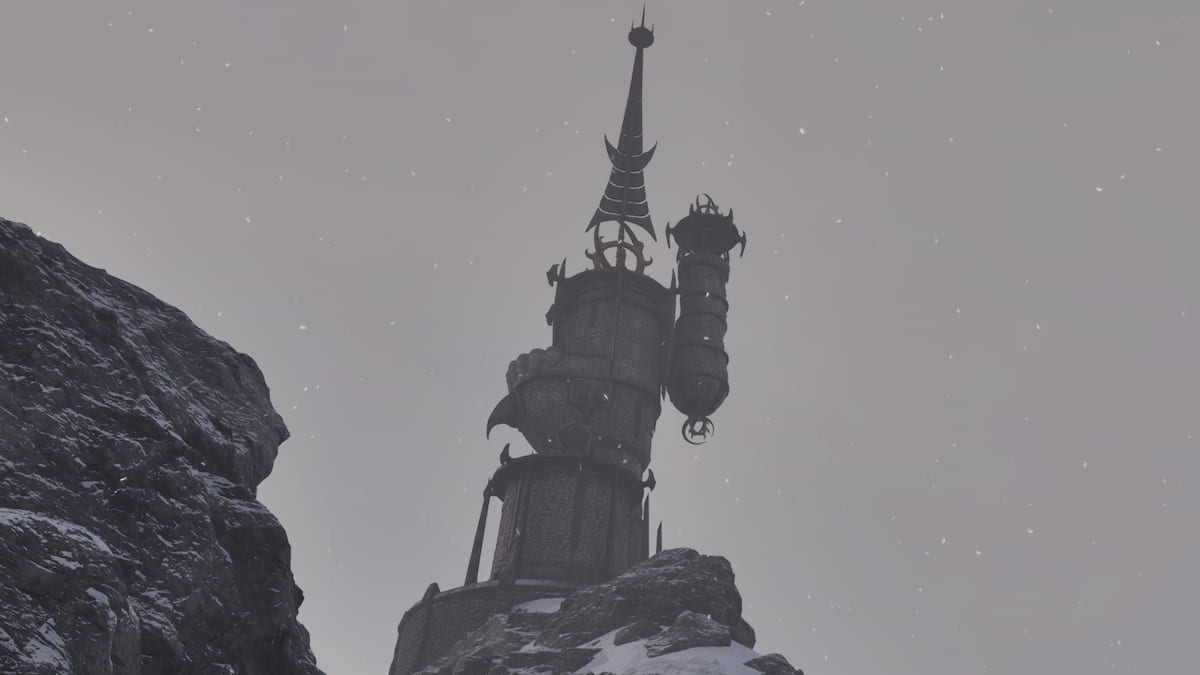
For most players, the first and easiest dungeon to start with is Vilverin. You can access it right after starting the game by exiting the sewers and running northeast. Although this dungeon is longer than others on the list, the journey to starting the "The Collector" quest will be much shorter than if you were to start elsewhere.
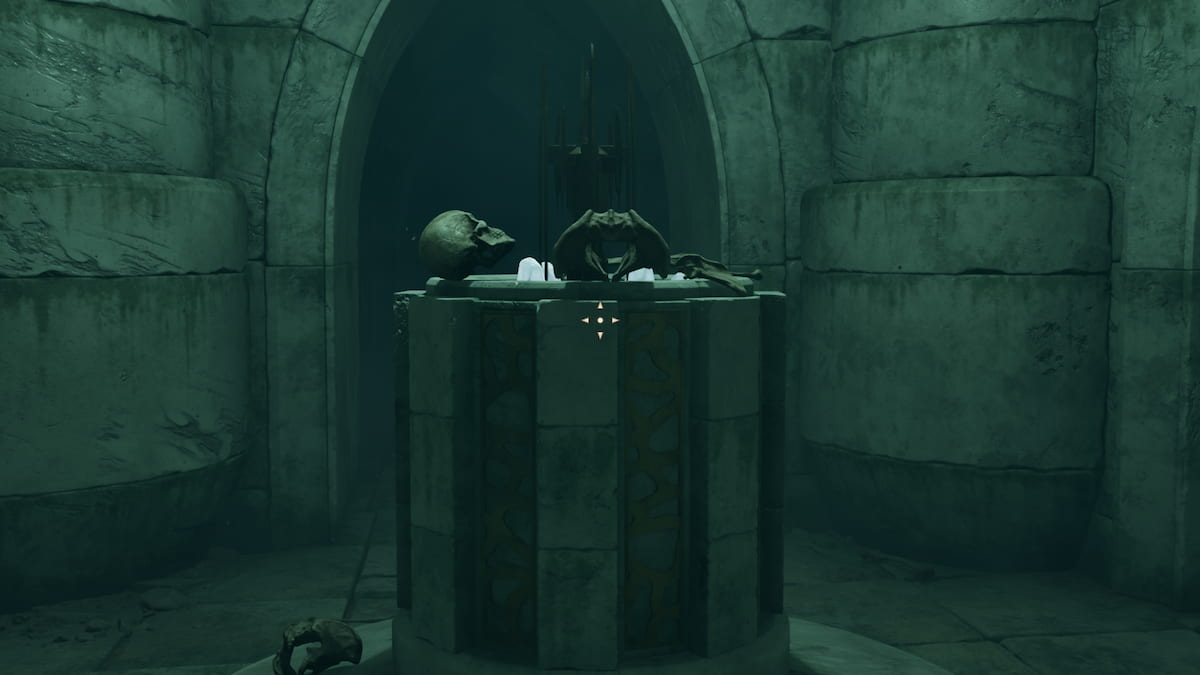
In most cases, the Ayleid Statues will be at the ends of each dungeon. While some are relatively short, with a few enemies scattered around, others have numerous enemy types and mini-bosses to defeat. You can either run past them, collect the Ayleid Statues, and leave, or fight through them and claim your prize once you find it.
How to start the The Collector quest in Oblivion Remastered
Starting the "The Collector" quest requires finding at least one Ayleid Statue before visiting Umbacano in the Imperial City's Talos Plaza District. If you look at the district's central dragon statue from the front, you'll spot Umbacano's manor entrance directly behind it to the left.

Umbacano's Butler, Jollring, will typically approach you first. He will escort you upstairs after you reveal your Ayleid artifact, letting you talk to Umbacano directly. Umbacano will tell you about his treasure-hunting interests, prompting him to offer 500 gold coins per statue you find. Sell him one to begin the "The Collector" quest.
As you visit Umbacano more, he'll reveal clues to where you can find other statues. His main hint is telling you five Elven ruin names for you to visit. Although your map won't update with their locations, your quest journal will update, helping you narrow down your search.
The Collector quest rewards in Oblivion Remastered
Every statue you give to Umbacano will reward you with 500 gold coins. Completing the Ayleid Statue set and giving it to Umbacano will double your reward, letting you score up to 10,000 gold if you find all ten and hand them in. Finishing the set also completes the "The Collector" quest.
Along the way, Umbacano will give you two more quests: Nothing You Can Possess and Secrets of the Ayleids. Nothing You Can Possess also has a cash reward and is available after returning three Ayleid Statues, while Secrets of the Ayleids follows directly after. I recommend finishing The Collector first before starting these two missions.
If you just need some quick cash before moving on to another quest, you can give him one or two statues and return to this later. Otherwise, if you want 10,000 gold and some extras from Umbacano's extra missions, you can look out for these ten dungeons and statues throughout your adventures. Better yet, you can combine this with some of Oblivion Remastered's best money-making methods to become rich quickly.
The post All Ayleid Statue Locations in Oblivion Remastered appeared first on Destructoid.