


Complete Azure Latch Styles Tier List – All Style Moves
If you’re up for doing your best Neymar or Mbappe impression, with a nice amount of anime flair, then this game is the right pick for you. Its four styles are all powerful, but you know what they say—there’s levels to this stuff. Let’s dive right in and lay out our ultimate Azure Latch styles tier list. Table of contents All Azure Latch Styles Ranked Nagi Full Moveset in Azure Latch (S Tier) Sae Full Moveset in Azure Latch (S Tier) Shidou Full Moveset in Azure Latch (A Tier) Isagi Full Moveset in Azure Latch (B Tier) All Azure Latch Styles Ranked Azure Latch styles are pretty well balanced against each other and there's no bad option. My rankings are simply based on which style is more flexibile and which style has more overpowered moves. Styles that meet one or more of these prerequisities are in the higher tiers and those less overpowered but still viable ones in the lower tiers. Check out our ranking reasons below as well as all Azure Latch Style moves listed. Tiers Styles S-Tier Nagi, Sae A-Tier Shidou B-Tier Isagi Nagi Full Moveset in Azure Latch (S Tier) Screenshot by Destructoid If you’re looking for a playstyle that balances sheer firepower with smooth control, Nagi is easily one of the best choices. He’s sitting comfortably in S-Tier for a reason—his mix of powerful shots and deceptive footwork makes him a nightmare for defenders. Whether you’re blasting a shot from across the field or tricking opponents with quick movements, Nagi gives you all the tools you need to dominate the game. Here’s a breakdown of what makes him so strong: Fake Volley This move is all about mind games. You set up as if you’re about to take a shot, only to cancel it at the last second. It’s a great way to bait out goalkeepers or defenders, making them react too early so you can follow up with a real shot or pass. Mastering this move will let you create openings where none seemed to exist. Control (Near Ball) Nagi’s signature control ability lets you take command of the ball like no one else. If you’re near the ball, you can activate this move to smoothly catch and reposition it. In Awakening, it becomes even stronger—if you use it on the right side of the enemy goal, you’ll set yourself up for a shot from an incredibly difficult-to-block angle. This move gives you full control over your scoring opportunities, making it one of the most powerful utility moves in the game. Heavy (Ball Only) A shot that combines deception and power. You start with a fake-out leg kick, tricking defenders into thinking you’re passing or repositioning. Then, at the last moment, you unleash an incredibly powerful curving shot. The curve on this shot makes it hard to predict and block, giving you an edge even against skilled goalkeepers. Nice to Meet You, Japan (Awakening) This is where Nagi’s offensive power goes into overdrive. This move gives you a high-power shot with massive range, making it extremely difficult for goalkeepers to stop. If you find an opening, you can fire this off from far away and still have a strong chance of scoring. It’s the perfect way to punish teams that leave too much space. Overall, if you like a playstyle that lets you score from anywhere while keeping defenders guessing, Nagi is your guy. His combination of raw shooting power and tricky movement makes him one of the most dangerous styles in the game. Sae Full Moveset in Azure Latch (S Tier) Screenshot by Destructoid Sae might not have the raw offensive firepower that Nagi brings to the table, but what he lacks in brute force, he more than makes up for with versatility, control, and defense. In case you'd like a playstyle that lets you break ankles, shut down steals, and make game-changing passes, Sae is the perfect pick. He’s the most well-rounded style in the game, giving you the ability to both dominate possession and set up incredible plays. Here’s why Sae is a force to be reckoned with: Magic Turn (Ball Only) This move is your ticket past defenders. Instead of just dashing forward, Magic Turn lets you curve around an opponent, making it almost impossible for them to react in time. If you ever find yourself blocked, just hit this move and glide past them effortlessly. Nutmeg (Counter) If someone thinks they can steal the ball from you, they’re in for a rude awakening. Nutmeg isn’t just a counter—it completely stuns the opponent, leaving them helpless while you continue moving. If you time it right, you can turn their aggression against them and immediately push forward for a scoring opportunity. Curve Shot (Ball) Unlike straight-line power shots, Sae’s Curve Shot is all about finesse. You can aim it to curve around defenders and goalkeepers, making it one of the hardest shots to block. It takes some practice, but once you master it, you’ll be scoring from angles your opponents won’t see coming. Magic Pass (Pass) As one of the best playmakers in the game, Sae has an insane long

If you’re up for doing your best Neymar or Mbappe impression, with a nice amount of anime flair, then this game is the right pick for you. Its four styles are all powerful, but you know what they say—there’s levels to this stuff. Let’s dive right in and lay out our ultimate Azure Latch styles tier list.
Table of contents
All Azure Latch Styles Ranked
Azure Latch styles are pretty well balanced against each other and there's no bad option. My rankings are simply based on which style is more flexibile and which style has more overpowered moves. Styles that meet one or more of these prerequisities are in the higher tiers and those less overpowered but still viable ones in the lower tiers. Check out our ranking reasons below as well as all Azure Latch Style moves listed.
Tiers
Styles
S-Tier
Nagi, Sae
A-Tier
Shidou
B-Tier
Isagi
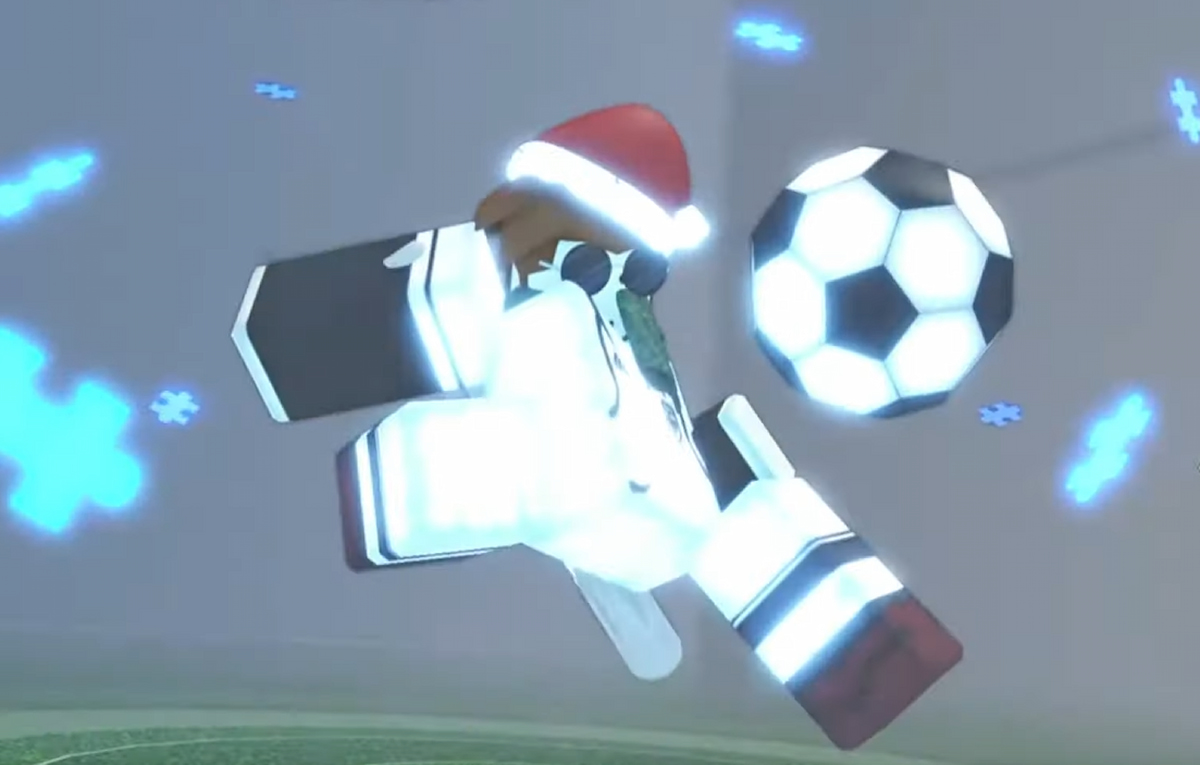
Nagi Full Moveset in Azure Latch (S Tier)
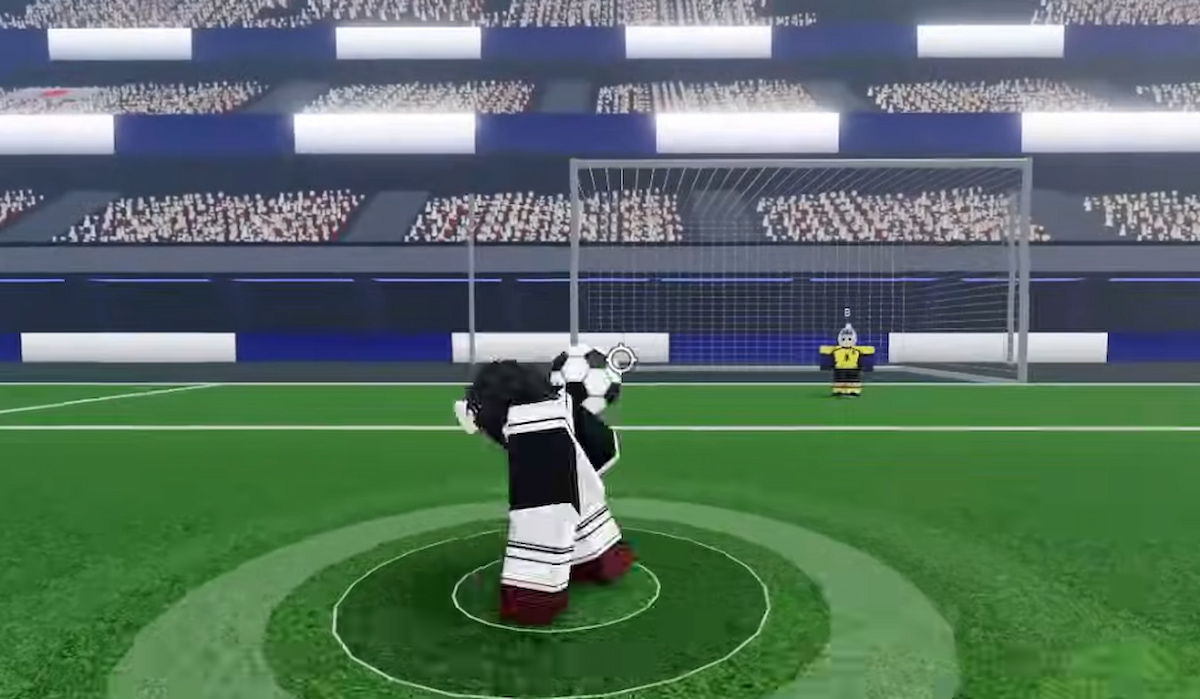
If you’re looking for a playstyle that balances sheer firepower with smooth control, Nagi is easily one of the best choices. He’s sitting comfortably in S-Tier for a reason—his mix of powerful shots and deceptive footwork makes him a nightmare for defenders.
Whether you’re blasting a shot from across the field or tricking opponents with quick movements, Nagi gives you all the tools you need to dominate the game. Here’s a breakdown of what makes him so strong:
Fake Volley
This move is all about mind games. You set up as if you’re about to take a shot, only to cancel it at the last second. It’s a great way to bait out goalkeepers or defenders, making them react too early so you can follow up with a real shot or pass. Mastering this move will let you create openings where none seemed to exist.
Control (Near Ball)
Nagi’s signature control ability lets you take command of the ball like no one else. If you’re near the ball, you can activate this move to smoothly catch and reposition it. In Awakening, it becomes even stronger—if you use it on the right side of the enemy goal, you’ll set yourself up for a shot from an incredibly difficult-to-block angle. This move gives you full control over your scoring opportunities, making it one of the most powerful utility moves in the game.
Heavy (Ball Only)
A shot that combines deception and power. You start with a fake-out leg kick, tricking defenders into thinking you’re passing or repositioning. Then, at the last moment, you unleash an incredibly powerful curving shot. The curve on this shot makes it hard to predict and block, giving you an edge even against skilled goalkeepers.
Nice to Meet You, Japan (Awakening)
This is where Nagi’s offensive power goes into overdrive. This move gives you a high-power shot with massive range, making it extremely difficult for goalkeepers to stop. If you find an opening, you can fire this off from far away and still have a strong chance of scoring. It’s the perfect way to punish teams that leave too much space.
Overall, if you like a playstyle that lets you score from anywhere while keeping defenders guessing, Nagi is your guy. His combination of raw shooting power and tricky movement makes him one of the most dangerous styles in the game.
Sae Full Moveset in Azure Latch (S Tier)
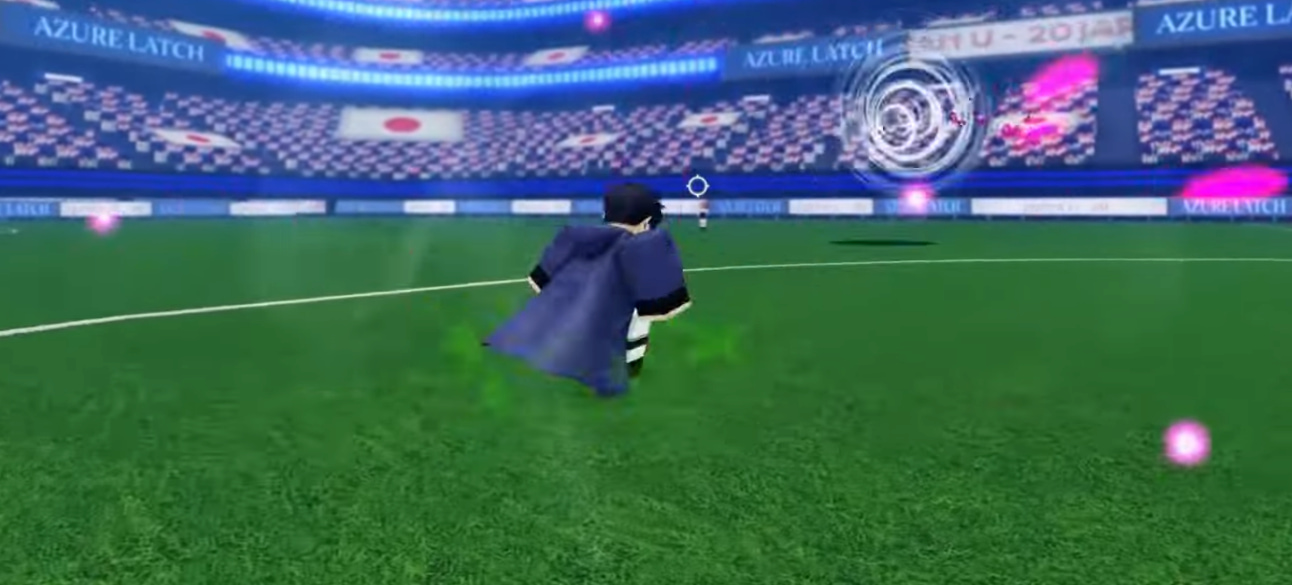
Sae might not have the raw offensive firepower that Nagi brings to the table, but what he lacks in brute force, he more than makes up for with versatility, control, and defense.
In case you'd like a playstyle that lets you break ankles, shut down steals, and make game-changing passes, Sae is the perfect pick. He’s the most well-rounded style in the game, giving you the ability to both dominate possession and set up incredible plays. Here’s why Sae is a force to be reckoned with:
Magic Turn (Ball Only)
This move is your ticket past defenders. Instead of just dashing forward, Magic Turn lets you curve around an opponent, making it almost impossible for them to react in time. If you ever find yourself blocked, just hit this move and glide past them effortlessly.
Nutmeg (Counter)
If someone thinks they can steal the ball from you, they’re in for a rude awakening. Nutmeg isn’t just a counter—it completely stuns the opponent, leaving them helpless while you continue moving. If you time it right, you can turn their aggression against them and immediately push forward for a scoring opportunity.
Curve Shot (Ball)
Unlike straight-line power shots, Sae’s Curve Shot is all about finesse. You can aim it to curve around defenders and goalkeepers, making it one of the hardest shots to block. It takes some practice, but once you master it, you’ll be scoring from angles your opponents won’t see coming.
Magic Pass (Pass)
As one of the best playmakers in the game, Sae has an insane long-range passing ability. Magic Pass lets you send an automatic curved pass exactly where you need it to go. Whether you’re setting up a teammate for a goal or escaping a tough situation, this pass will give you the control you need.
You’ll Never Surpass Me (Awakening)
This move takes everything great about Magic Turn and dials it up to the max. Instead of just bypassing an opponent, you fake them out, slip behind them, and immediately set up a powerful shot that can be taken from up to half-field. It’s a devastating mix of dribbling, misdirection, and finishing power.
Sae is all about playing smart. If you like outmaneuvering opponents instead of just overpowering them, he’s an absolute monster. You can break through defenses, counter attacks, set up plays, and still have a deadly shot in your arsenal. If you’re looking for the ultimate all-rounder, Sae is your best bet.
Shidou Full Moveset in Azure Latch (A Tier)
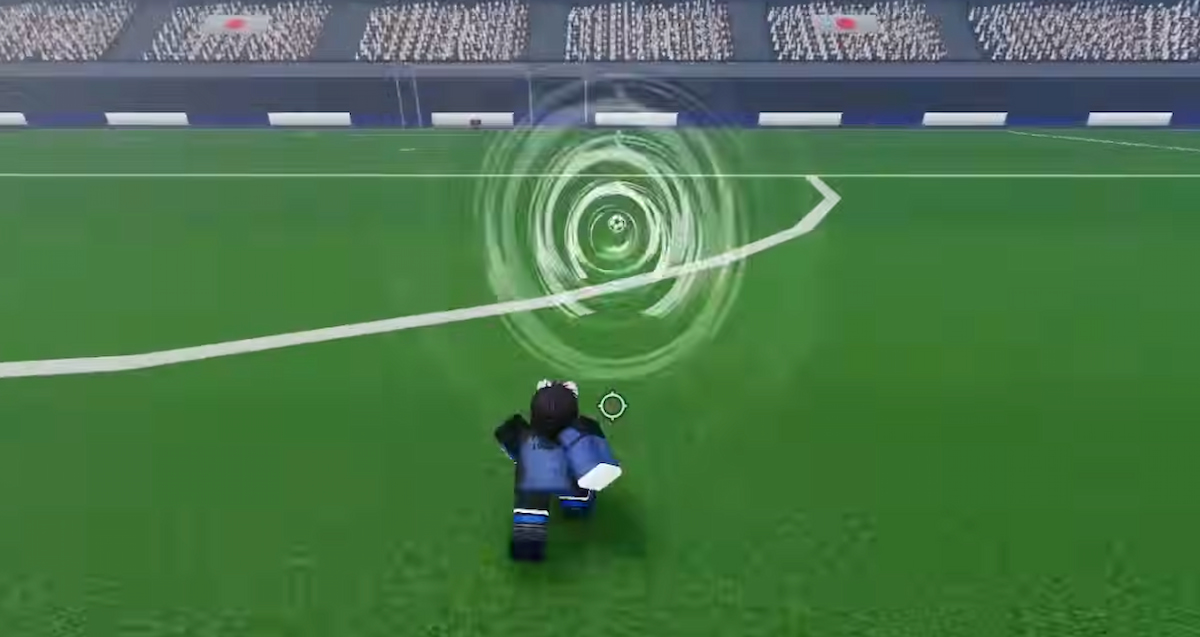
Love playing aggressively and constantly pushing for goals? Then Shidou is the perfect style for you. He isn’t about finesse or playmaking—he’s about relentless offense and overwhelming your opponents with raw firepower.
However, he takes some practice to master. You need to be fearless, always looking for openings, and willing to throw yourself into every scoring opportunity. Once you get the hang of it, though, Shidou becomes an absolute menace on the field. Here’s what makes him one of the most dangerous offensive styles in the game:
Dragon Header
This is your bread and butter. You leap forward and headbutt the ball mid-air, sending it flying straight toward the goal. If you position yourself correctly near the net, this move is ridiculously hard to block. Goalkeepers barely have time to react, and defenders can’t stop you once you take off.
Back Heel Shot
A sneaky way to fire off a shot when defenders least expect it. It’s similar to Isagi’s Direct Shot, but with slightly less power and range. What makes it dangerous is how quickly you can use it—if you find yourself in the right position, you can get a shot off before anyone even realizes what happened.
Big Bang Drive (Awakening 1)
This is where Shidou starts becoming a real problem for defenders. You perform a backwards scissor kick, launching the ball toward the goal with insane speed and accuracy. The kicker? You can score with this from half-field. If you ever get space to line it up, it’s one of the most satisfying ways to put points on the board.
Dragon Drive (Awakening 2)
If you thought Back Heel Shot was dangerous before, this version cranks it up to another level. Dragon Drive gives it way more power and range, making it even more like Isagi’s Direct Shot and MY DIRECT SHOT. The difference? Shidou thrives in chaotic, close-range fights for the ball, meaning he can fire this off in situations where other styles might struggle.
Shidou is pure offense—if you aren’t constantly attacking, you aren’t playing him right. He forces you to stay aggressive, always look for scoring opportunities, and overwhelm defenders before they can react. Given you can handle his high-risk, high-reward playstyle, you’ll be an unstoppable force on the field.
Isagi Full Moveset in Azure Latch (B Tier)
Just because Isagi is in B-Tier doesn’t mean he’s weak—far from it. If you like a straightforward, no-nonsense playstyle with powerful long-range shots, Isagi is a solid pick. It's just that he takes some time getting used to, that's all.
He might not have Sae’s insane dribbling or Shidou’s hyper-aggressive offense, but what he does have is pure, reliable shot power. His Direct Shot and MY DIRECT SHOT are some of the best long-range moves in the game, and his Two Gun Volley is almost impossible to block when used correctly. Here’s what you’re working with when playing Isagi:
Direct Shot (Ball Only)
This is your main scoring tool. It’s a high-power, straight-line shot with excellent range, making it one of the most reliable moves in the game. If you get a clean shot on goal, this is your go-to move. It might not have the unpredictability of Sae’s Curve Shot, but it gets the job done with sheer force.
Naruhaya Footwork
While Isagi’s dribbling isn’t as flashy as Sae’s Magic Turn, this move gives you a bit of evasion. You take a quick step back, then surge forward with a powerful dash. It’s useful for creating space before taking a shot, or for dodging an incoming defender right before they try to steal the ball.
MY DIRECT SHOT (Awakening 1)
This is where Isagi starts to shine. It’s a supercharged version of his Direct Shot with insane range—over half the field. If you’re good at positioning and reading the game, you can catch opponents off guard by scoring from ridiculous distances.
Two Gun Volley (Awakening 2)
This is Isagi’s best move. It trades the range of MY DIRECT SHOT for near-unblockable accuracy at mid-range. If you get close enough, goalkeepers are going to have a rough time trying to stop it. If you position yourself well, this move can be a game-winner.
Isagi is all about fundamentals. He doesn’t have fancy dribbles or overwhelming pressure, but he makes up for it with some of the best shot power in the game. If you prefer a balanced playstyle that focuses on solid positioning and precise shooting, Isagi is a great pick.
That's it for my Azure Latch styles tier list. Check out more of our Roblox guides.
The post Complete Azure Latch Styles Tier List – All Style Moves appeared first on Destructoid.

