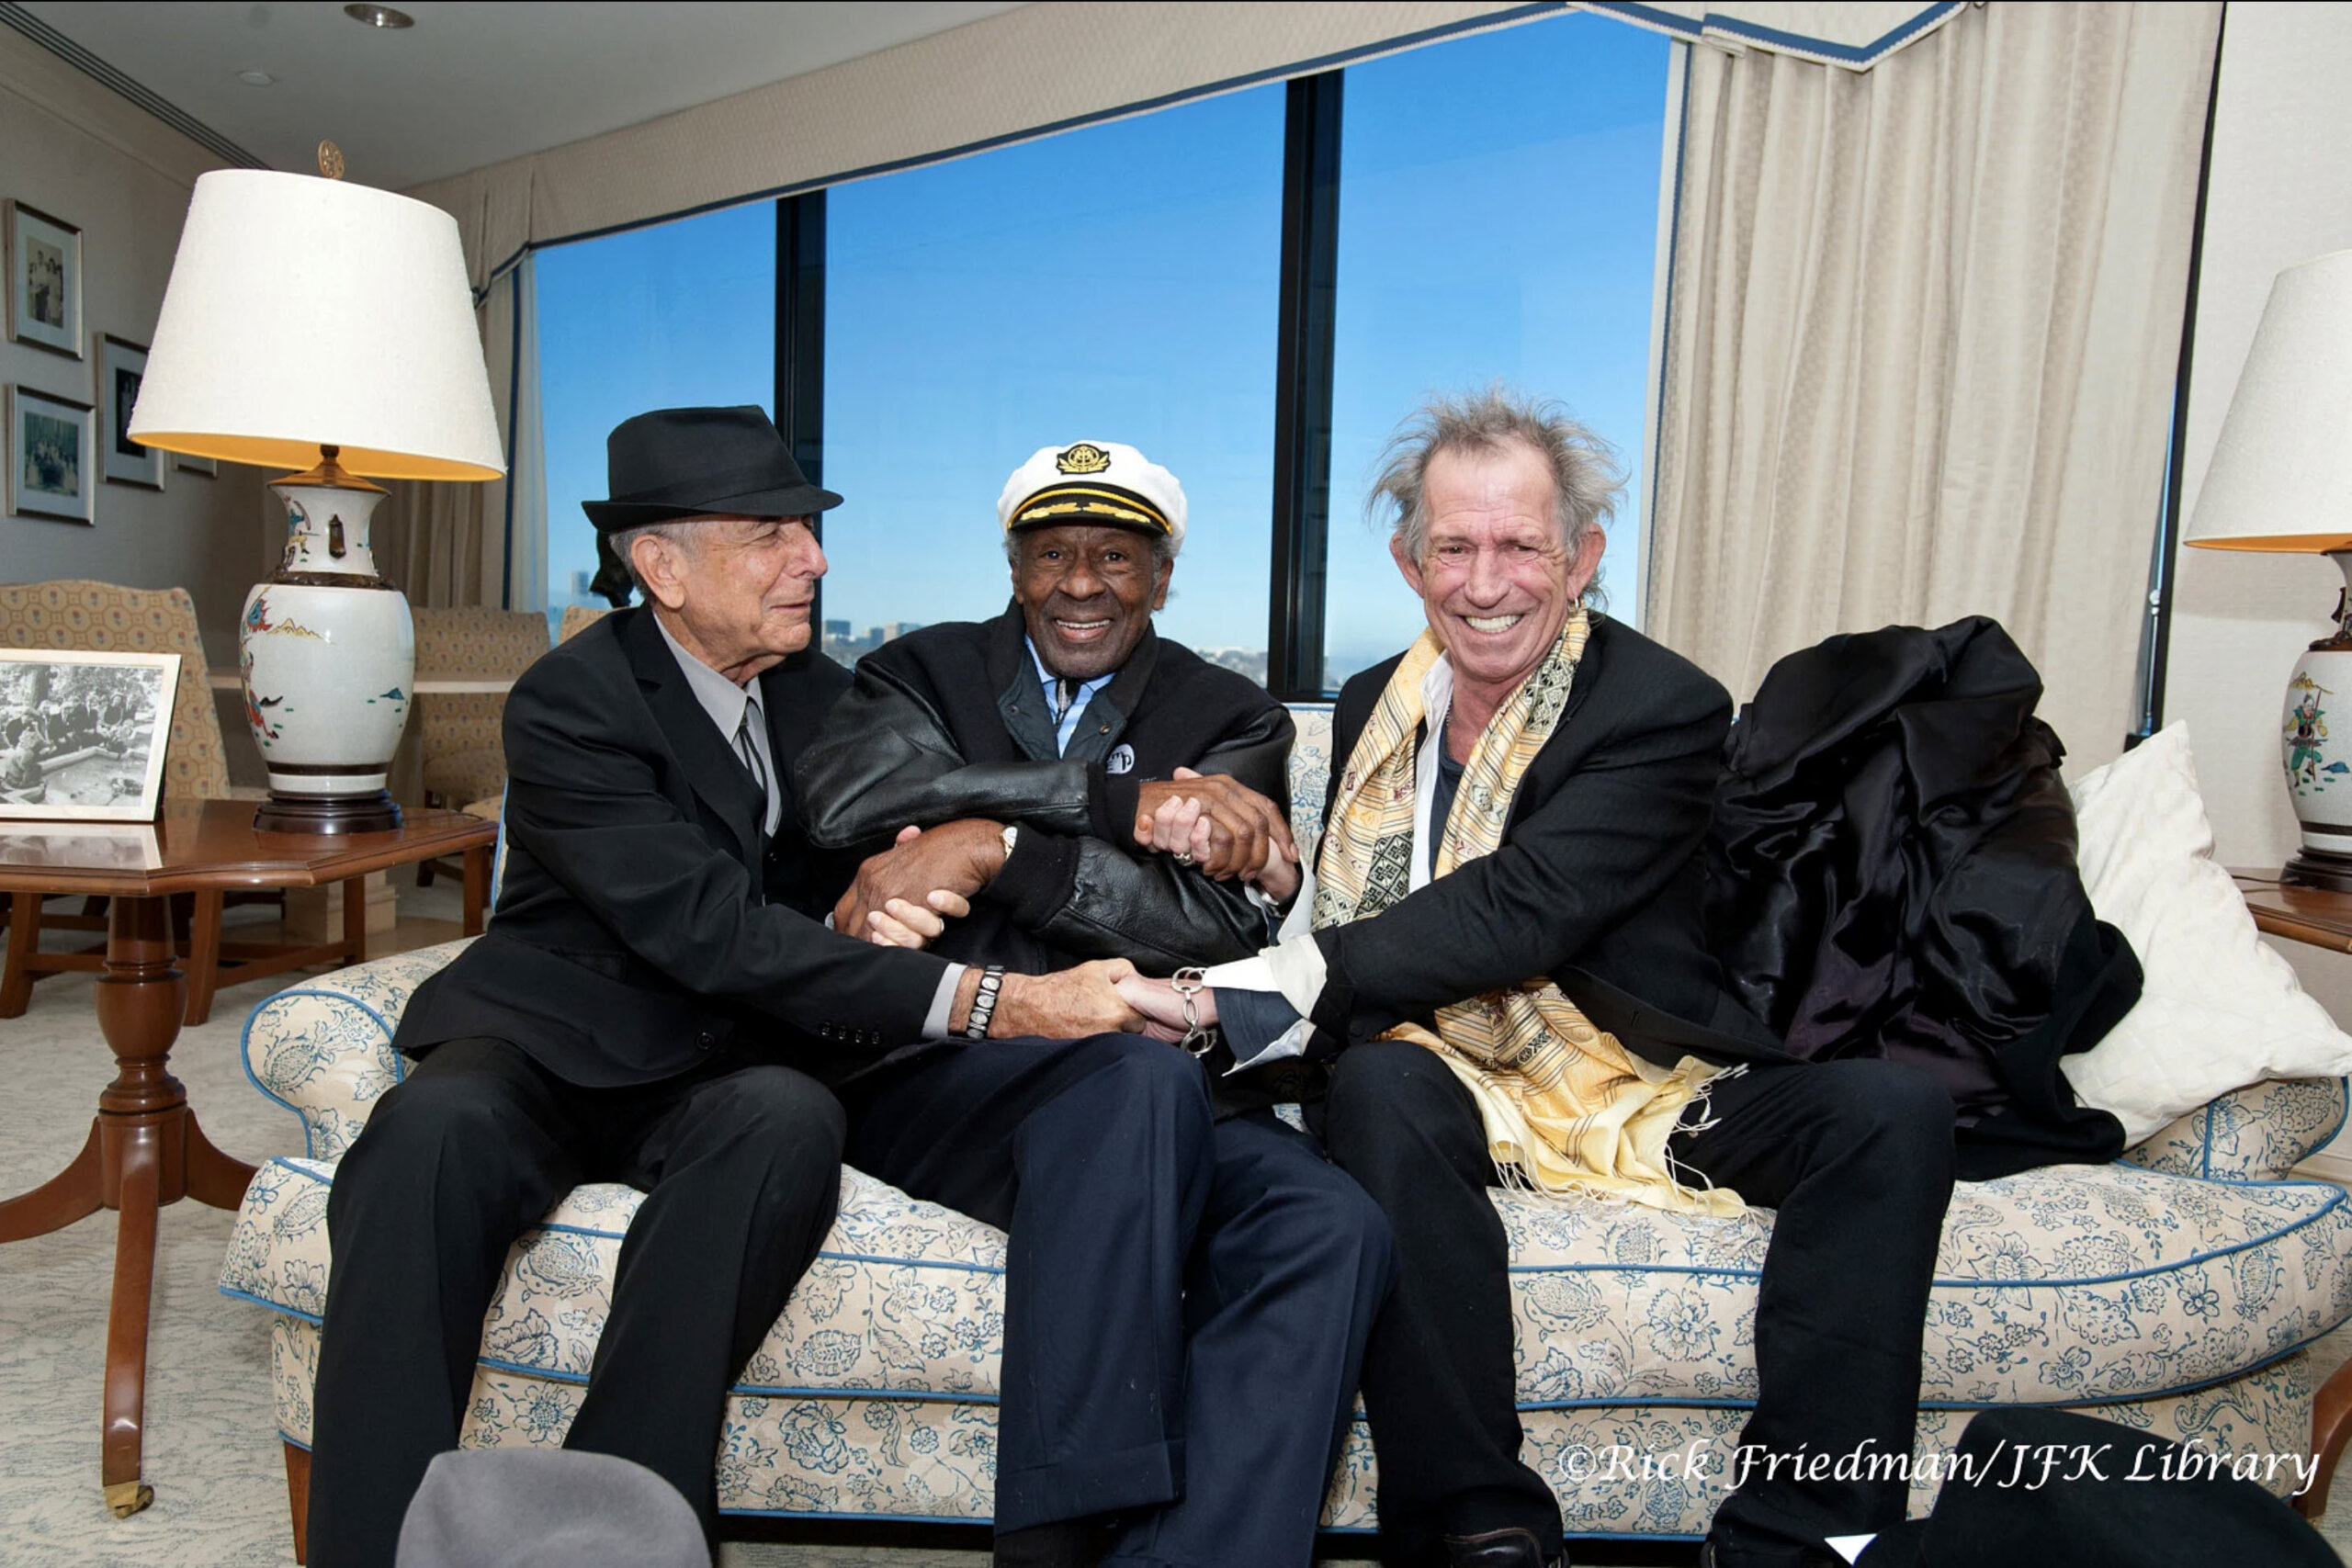
Lighting is one of the trickiest aspects of photography. Sometimes, your subject is well-lit, but the background is too dark. Other times, you expose for the background, and your subject looks like a shadowy silhouette. So how do you strike the perfect balance? That’s where Friedman’s Law of Exposure comes in. This simple but powerful rule states: Expose for the element you can’t control. Most of the time, that means setting the exposure for the background first and then using flash to light your subject correctly. This approach ensures a well-balanced, natural-looking image rather than forced or artificial lighting. This technique is essential for photographers shooting outdoors, at events, or in mixed-light situations where ambient light plays a big role in the scene. Your images will look more polished and professional once you understand how to balance flash with existing light. Setting the Background Exposure First Before even thinking about flash, start by setting the background exposure. Since you can’t control ambient light (unless you’re in a studio), getting it right first ensures your final image looks natural. Using Your Camera’s Light Meter The quickest way to set your exposure is to switch to Aperture Priority (A/Av mode) or Auto ISO, letting the camera determine the best settings while you concentrate on composition. Once you find an exposure you like, switch to Manual Mode and dial in those settings for full control. More experienced photographers prefer Manual Mode from the start, using their camera’s built-in light meter to set their aperture and ISO first, then adjusting the shutter speed to prevent motion blur. With enough practice, this process becomes second nature—like muscle memory—allowing them to adjust exposure quickly and effortlessly. Choosing the Right Aperture and ISO Aperture and ISO choices depend on the look you’re going for. A wider aperture (like f/2.8 or f/4) creates a soft, blurred background, while a narrower aperture (f/8 or f/11) keeps more details sharp. If you’re shooting in bright conditions, a low ISO (100–200) will give you the cleanest image, but in low light, you may need to bump it up (ISO 800–1600) to maintain a fast enough shutter speed. Checking Shutter Speed and Adjusting Exposure If your shutter speed is too slow (under 1/60s), motion blur can become an issue. If needed, increase ISO to get a faster shutter speed while keeping the exposure balanced. Once the background looks the way you want it, switch to Manual Mode (M) and lock in those settings. Now that your background exposure is set, it’s time to introduce flash. Balancing Flash with Ambient Light Now that your background exposure is locked in, your subject likely looks underexposed. This is where flash comes in. There are a few ways to set the right flash power. The most precise method is using a light meter, which gives you an exact reading of the flash output needed to match your camera settings. Simply set the meter to the same ISO and shutter speed, fire the flash, and adjust its power until the exposure is correct. A faster but less precise option is TTL mode, where the flash automatically calculates the appropriate power based on the camera’s exposure settings. While this is convenient, it’s not always consistent, so you may need to fine-tune it using Flash Exposure Compensation (FEC). If you don’t have a light meter and prefer full manual control, trial and error is the way to go. Start with a medium flash power setting (such as 1/4 or 1/8), take a test shot, and adjust up or down as needed. If the subject is too bright, lower the flash power; if it’s too dark, increase it. Another trick to fine-tune the background is adjusting the shutter speed—a slower shutter lets in more ambient light, brightening the background, while a faster shutter cuts down ambient light, darkening it. This way, you can control how the background appears while keeping your subject well-lit. Common Mistakes and How to Fix Them Even when you understand Friedman’s Law of Exposure, things don’t always go as planned. If your subject is too bright and the background too dark, your flash power is probably too high, or your shutter speed is too fast. If the subject is too dark, increase the flash power or open up the aperture. Sometimes, flash can look harsh and unnatural. To soften it, try using a diffuser or bouncing the light off a nearby surface. This spreads the light more evenly and prevents harsh shadows. Meet Rick Friedman Rick Friedman is a lighting expert and a renowned photographer who has captured every U.S. presidential candidate since Jimmy Carter. If you’re heading to WPPI, you’ll probably see him walking the expo floor or chatting with photographers over coffee. He’s always happy to share his knowledge—so don’t hesitate to join the conversation! For more lighting tips and insights, you can sign up for his free newsletter, where he shares expert techniques, behind-the-scenes stories, and updates on his latest workshops. Final Thoughts Mastering flash photography can feel overwhelming, but Friedman’s Law of Exposure simplifies the process. By exposing for the background first and then adding flash to balance the light, you create more natural, well-lit images that preserve the mood of the scene. Whether you’re shooting outdoor portraits, event photography, or working in tricky lighting conditions, this technique gives you greater control and more professional results. It becomes second nature with practice, allowing you to shoot confidently in any situation.


-Assassin's-Creed-Shadows-Review-00-12-31.png?width=1920&height=1920&fit=bounds&quality=80&format=jpg&auto=webp#)