


How to beat Guardian Arkveld in Monster Hunter Wilds
Known initially as the White Wraith, Guardian Arkveld is one of the flagship monsters in Monster Hunter Wilds. Knowing how to beat this maddened, ferocious beast will make reaching the Wilds endgame easier and ensure you can access some of the best Dragon element gear in the game. How to slay Guardian Arkveld in Monster Hunter Wilds Screenshot by Destructoid Successfully hunting Guardian Arkveld is a time-consuming prospect, especially the first time you face it. Beating it the first time took me well over 20 minutes during my Low Rank playthrough. I was solo using a Greatsword, so your time might vary depending on your familiarity with your weapon, your build, and how many co-op partners you have. No matter how you fight it, the two main things you need to know to beat Arkveld are its weaknesses and attacks. We'll go over those two topics first, then discuss additional tips about beating it regardless of the weapon you use. All Guardian Arkveld weaknesses Screenshot by Destructoid Arkveld is unique among the monsters in Monster Hunter Wilds, as it lacks any specific elemental weakness. The Large Monster Field Guide recommends the Dragon element, but in practice, you can use almost any weapon against the beast. That's true regardless of where you strike it, though its Chainblades, the long whip-like appendages that come off its arms, are completely unaffected by element damage. The same is essentially true of the source of the damage you inflict. Both Slashing and Blunt damage are 100% effective against Arkveld's parts, save its Torso and left and right legs. Against those parts, attacks are moderately effective. Of the three damage types available, projectiles are the worst to use against Arkveld. They're only fully effective against its head, chainblades, and tail. They're only moderately effective against everything else. When fighting Arkveld, you'll want to focus your attacks on its head, tail, wings, and chainblades. The only place I could find where I got white damage numbers was Arkveld's back. In most cases, you can only hit that reliably when you mount the monster. Lastly, as with any fight in Monster Hunter Wilds, you'll want to create and destroy as many Wounds as possible. Not only do Wounds take additional damage, but destroying them almost always yields additional monster parts you can take back to the smithy for crafting. Many weapons in Monster Hunter Wilds also have unique effects tied to destroying Wounds (among other attack types). That makes it a good idea to break them whenever possible. All Guardian Arkveld attacks Screenshot by Destructoid Flagship monsters in the Monster Hunter series tend to have additional phases beyond "enraged" and "exhausted." Arkveld is no different. It enters its second phase around half health, and you'll know you've reached that point when its chainblades begin to glow red and its attacks create red-hued explosions. Arkveld phase one attacks Single chain slam Arkveld pulls back its left wing, then jumps toward you, slams down its chainblade, and foreclaw at you. The attack doesn't do much damage through a block, but you'll need to be well out of the way of the explosion if you plan to dodge it. Double chain slam For this attack, Arkveld winds up its right wing, then slams its right chainblade down, where the blade remains for about a second. It then does the same with its left chainblade. For the right-hand strike, dodge to the left and vice versa. If possible, use the time the chainblade's stuck in the ground for free damage. Spinning grab Screenshot by Destructoid After rattling both its chainblades, Arkveld jumps and spins on its hindlegs. Arkveld will grab you if it hits you with the chainblade as it begins to spin. To break the grab, shoot Arkveld's face with something from your slinger or spam attack on the claw holding you. Failing to break the grab will result in massive damage. Double chainblade explosion After charging up its chainblades with white, misty energy, Arkveld rears up on its hind legs and slams the chains down in a line in front of it. An explosion follows shortly, along with the formation of Wylkcrystals. Blocking is your best bet against this attack, and if you don't have the ability, run directly to the side and dodge at the last second. Small bite Arkveld reaches with its mouth and bites lightly. This attack is quick, deals minor damage, and has no knockback. You can easily out space it by watching for Arkveld to retract its neck. Quickly back up when it does to avoid the bite. Spinning tail slap If you're behind Arkveld or otherwise near the base of its tail, it might briefly wind up, curl its tail, and spin. Being near the tail during the spin will send you flying, though you can dodge into and through the attack to avoid it. Tail flick Screenshot by Destructoid Being directly behind Arkveld might cause it to retract its tail and then flick the tip of it at you. Unl

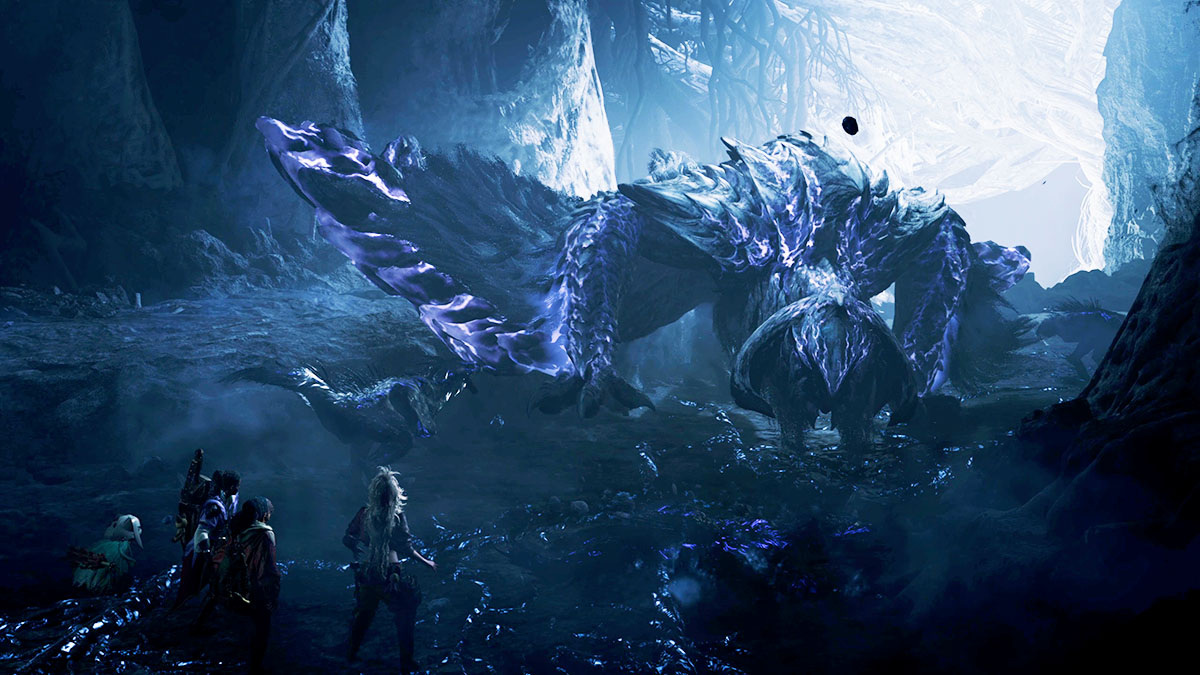
Known initially as the White Wraith, Guardian Arkveld is one of the flagship monsters in Monster Hunter Wilds. Knowing how to beat this maddened, ferocious beast will make reaching the Wilds endgame easier and ensure you can access some of the best Dragon element gear in the game.
How to slay Guardian Arkveld in Monster Hunter Wilds
Successfully hunting Guardian Arkveld is a time-consuming prospect, especially the first time you face it. Beating it the first time took me well over 20 minutes during my Low Rank playthrough. I was solo using a Greatsword, so your time might vary depending on your familiarity with your weapon, your build, and how many co-op partners you have.
No matter how you fight it, the two main things you need to know to beat Arkveld are its weaknesses and attacks. We'll go over those two topics first, then discuss additional tips about beating it regardless of the weapon you use.
All Guardian Arkveld weaknesses
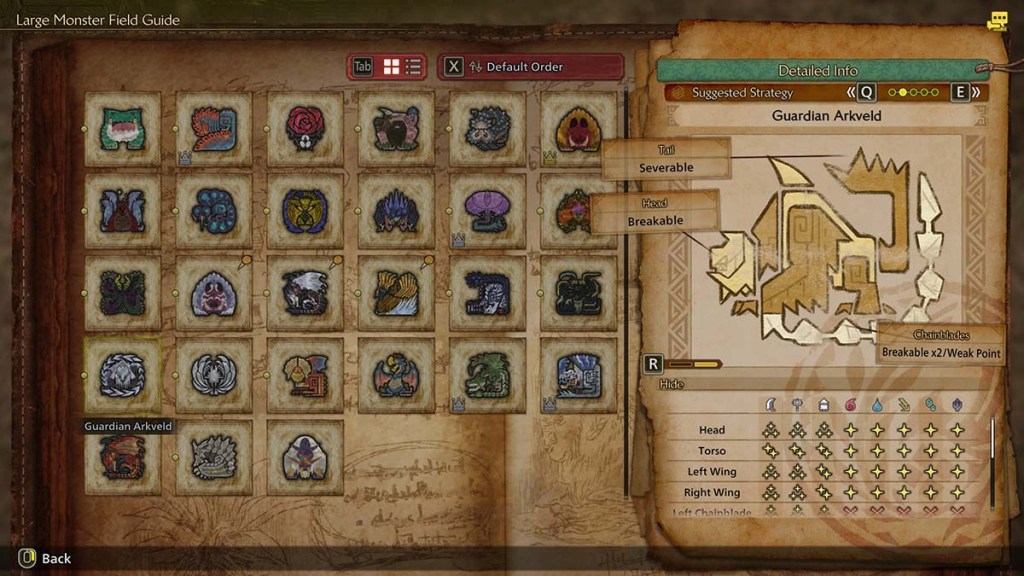
Arkveld is unique among the monsters in Monster Hunter Wilds, as it lacks any specific elemental weakness. The Large Monster Field Guide recommends the Dragon element, but in practice, you can use almost any weapon against the beast. That's true regardless of where you strike it, though its Chainblades, the long whip-like appendages that come off its arms, are completely unaffected by element damage.
The same is essentially true of the source of the damage you inflict. Both Slashing and Blunt damage are 100% effective against Arkveld's parts, save its Torso and left and right legs. Against those parts, attacks are moderately effective.
Of the three damage types available, projectiles are the worst to use against Arkveld. They're only fully effective against its head, chainblades, and tail. They're only moderately effective against everything else.
When fighting Arkveld, you'll want to focus your attacks on its head, tail, wings, and chainblades. The only place I could find where I got white damage numbers was Arkveld's back. In most cases, you can only hit that reliably when you mount the monster.
Lastly, as with any fight in Monster Hunter Wilds, you'll want to create and destroy as many Wounds as possible. Not only do Wounds take additional damage, but destroying them almost always yields additional monster parts you can take back to the smithy for crafting. Many weapons in Monster Hunter Wilds also have unique effects tied to destroying Wounds (among other attack types). That makes it a good idea to break them whenever possible.
All Guardian Arkveld attacks
Flagship monsters in the Monster Hunter series tend to have additional phases beyond "enraged" and "exhausted." Arkveld is no different. It enters its second phase around half health, and you'll know you've reached that point when its chainblades begin to glow red and its attacks create red-hued explosions.
Arkveld phase one attacks
Single chain slam
Arkveld pulls back its left wing, then jumps toward you, slams down its chainblade, and foreclaw at you. The attack doesn't do much damage through a block, but you'll need to be well out of the way of the explosion if you plan to dodge it.
Double chain slam
For this attack, Arkveld winds up its right wing, then slams its right chainblade down, where the blade remains for about a second. It then does the same with its left chainblade. For the right-hand strike, dodge to the left and vice versa. If possible, use the time the chainblade's stuck in the ground for free damage.
Spinning grab
After rattling both its chainblades, Arkveld jumps and spins on its hindlegs. Arkveld will grab you if it hits you with the chainblade as it begins to spin. To break the grab, shoot Arkveld's face with something from your slinger or spam attack on the claw holding you. Failing to break the grab will result in massive damage.
Double chainblade explosion
After charging up its chainblades with white, misty energy, Arkveld rears up on its hind legs and slams the chains down in a line in front of it. An explosion follows shortly, along with the formation of Wylkcrystals. Blocking is your best bet against this attack, and if you don't have the ability, run directly to the side and dodge at the last second.
Small bite
Arkveld reaches with its mouth and bites lightly. This attack is quick, deals minor damage, and has no knockback. You can easily out space it by watching for Arkveld to retract its neck. Quickly back up when it does to avoid the bite.
Spinning tail slap
If you're behind Arkveld or otherwise near the base of its tail, it might briefly wind up, curl its tail, and spin. Being near the tail during the spin will send you flying, though you can dodge into and through the attack to avoid it.
Tail flick
Being directly behind Arkveld might cause it to retract its tail and then flick the tip of it at you. Unlike the slap, you'll need to dodge to either side to avoid the attack, but it's pretty easy to Offset or perfect block it with its long windup.
Charge
Arkveld draws its left wing and chainblade across its body, then slams the base of its wing into the ground to charge at you. If you move or dodge slightly to your right, you can slide underneath the flesh of its wing without taking damage or knockback.
Chainblade uppercut
Arkveld flourishes its chainblades, then jumps in the air. It flourishes a second time before dragging its left chain across the arena in an uppercut. This attack also deontates any Wyvern Milk Puddle you're standing on, leaving behind Wylkcrystals. You'll need to dodge at the last second or otherwise block the attack just as Arkveld begins dragging its chain across the ground to take no damage.
Chainblade drag
After drawing its left wing and chainblade across its body, Arkveld stabs the blade into the ground in front of itself, digs it into the ground, and drags it backward. It can do this attack while stationary or as part of a charge.
Enrage three-hit combo
Arkveld only uses this attack while enraged. It pulls its left chainblade across its body, then slashes it in arc in front of itself. It then a flying uppercut with its right-hand blade, finishing with the drag. You'll need to dodge or block all three attacks, as they have a lot of forward momentum, and avoiding one will only cause Arkveld to reorient.
Arkveld phase two attacks
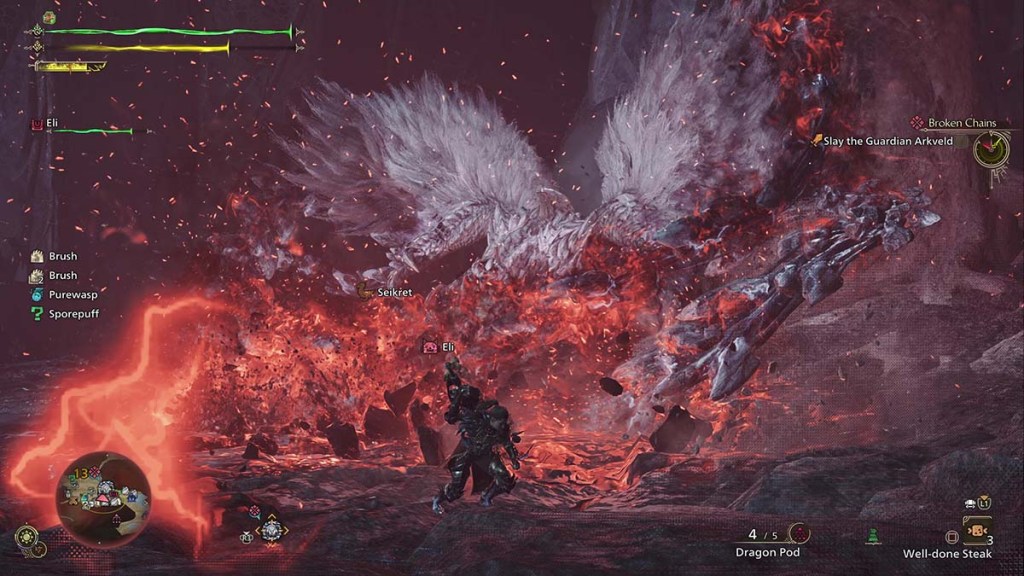
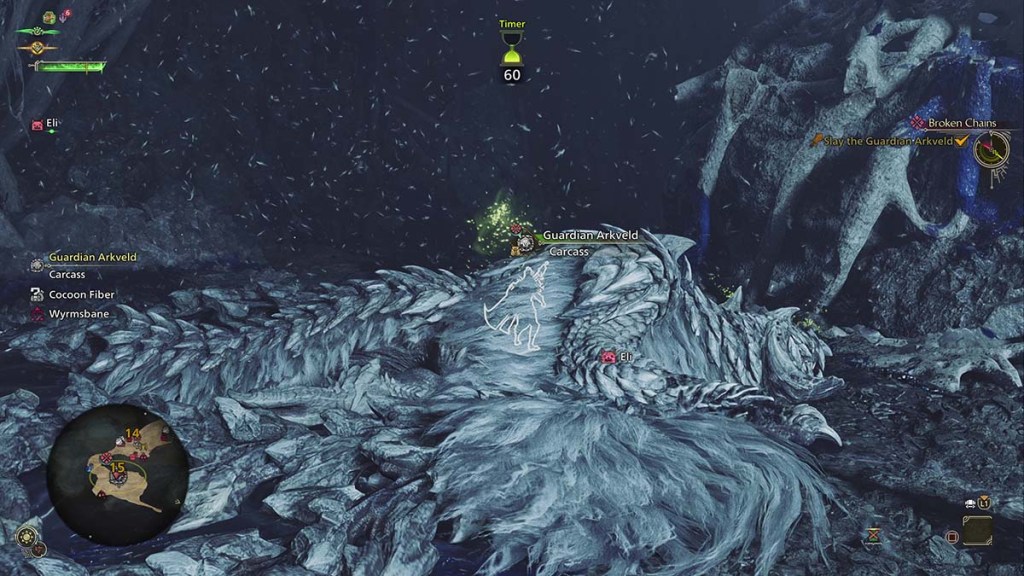
After reaching about 50% of its health, Arkveld will enter its second phase. If fought in the Ruins of Wyveria, it will seek out a cocoon to feast on. Otherwise, it will charge up its chainblades with red energy. It has access to all of its phase one attacks and the new ones.
Large chainblade explosion
Arkveld will rear back on its hind legs, flourish its chainblades, then charge them with the red energy before plunging their tips into the ground in front of it. This creates an energy wave underground that explodes three times as it moves away from Arkveld. You can dodge to the side of the wave and explosions if you're close enough to the monster or through them if you see the wave coming. You can also simply run far enough away that they don't reach you.
Single chain explosion
In this smaller attack, Arkveld stabs only one set of chainblades into the ground. Rather than a wave, it creates two small lines of red energy that explode. Moving to the left a little when you see the attack coming is enough to avoid it.
Uppercut into exploding slam
This attack starts the same way as the phase one uppercut. However, after Arkveld lands and turns around, it rears back on its hind legs and slams its chainblades down in a large explosion of red energy. If you manage to dodge the initial uppercut charge, you can then dodge to your right to avoid the chainblades.
Triple swipe into slam
Arkveld pulls its left chainblades across its body, swiping them in an arc from right to left. It then winds up for a left-to-right attack, then once more from right-to-left. The attack finishes as Arkveld jumps into the air, twirls, and slams the blades down in a line. If you plan to block this sequence, you'll need to keep your block up for the whole sequence. Perfect blocking all four hits requires even more precise timing. Dodging is ill-advised, thanks to the back-and-forth nature of the attack.
Chainblade fist slam
Arkveld extends its wings out to either side, almost like it's taunting you, then brings its chainblades together into a fist and slams them down in front of you. This attack can look like it's starting the slam that creates the energy waves, which is the point. In this case, getting too close to Arkveld will only get your head bonked.
Jumping energy slam
Arkveld starts this attack by planting its feet and charging red energy into its chainblades, then jumping at you and slamming down the ones on its left side.
Tips for beating Guardian Arkveld
Strange as it may sound, my best tip for beating Arkveld is to stick close to it. A lot of its attacks rely on you being at medium range to be 100% effective, and there are some consistently safe spots in front and to the side of the monster you can take advantage of. Keep the following in mind as well:
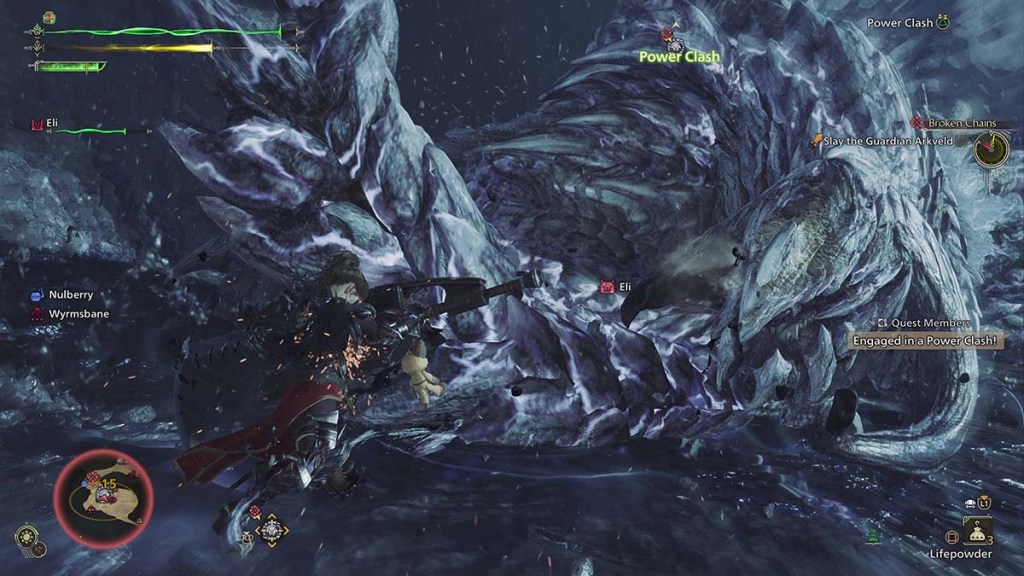
- Blocking is your friend. If your weapon has or can act as a shield, blocking Arkveld's attacks is a safe way to deal with almost anything in its arsenal. Executing enough Perfect blocks also engages an Offensive Clash that can leave the monster open to counterattacks.
- Abuse I-Frames. If your weapon doesn't have a block, odds are it has a way to generate additional invincibility frames. Longsword's Iai Slash, the Switch Axe's sidestep, etc. are all great ways to neutralize any threat Arkveld's attacks have.
- Don't get fancy. Only use Offset attacks and other flashy moves when you know you can land them. They're cool and look sexy to pull off, but if your timing is wrong by even a fraction of a second, all you'll end up with is your behind on the ground.
- Keep a Farcaster handy. You can't hunt monsters if you spend all your time on a cart, and you'll spend a lot of time on a cart if you don't have any healing items. A Farcaster is a free trip back to camp so you can restock. Using one is less desirable if you're fighting with a group, as it leaves your co-op partners down a hunter, but it is better to save the cart than use it.
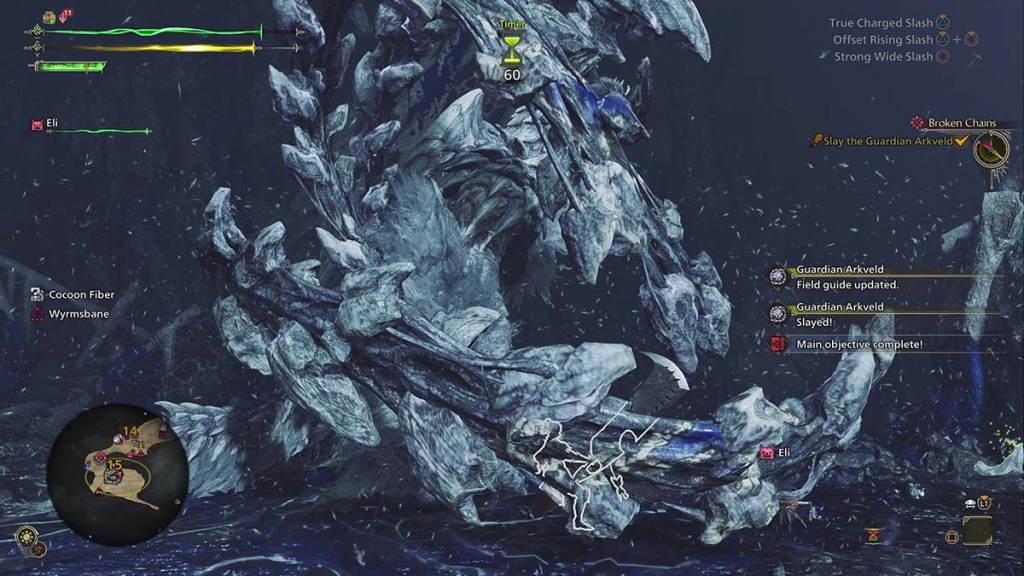
Other than that, keep the damage coming, and Arkveld will go down eventually. You'll likely want to fight it more than once you reach High Rank for its Dragon element weapons and gear. Even if you don't want the armor stats, having the High Rank versions crafted opens them up for use as layered armor, which is more than worth the price of admission. Fashion is the ultimate endgame in Monster Hunter Wilds, after all.
The post How to beat Guardian Arkveld in Monster Hunter Wilds appeared first on Destructoid.