Wasn’t sure if I should post this, but here we are. Wanted to share the wallpaper side of the living room project because a lot of people asked about it after the TV stand post.
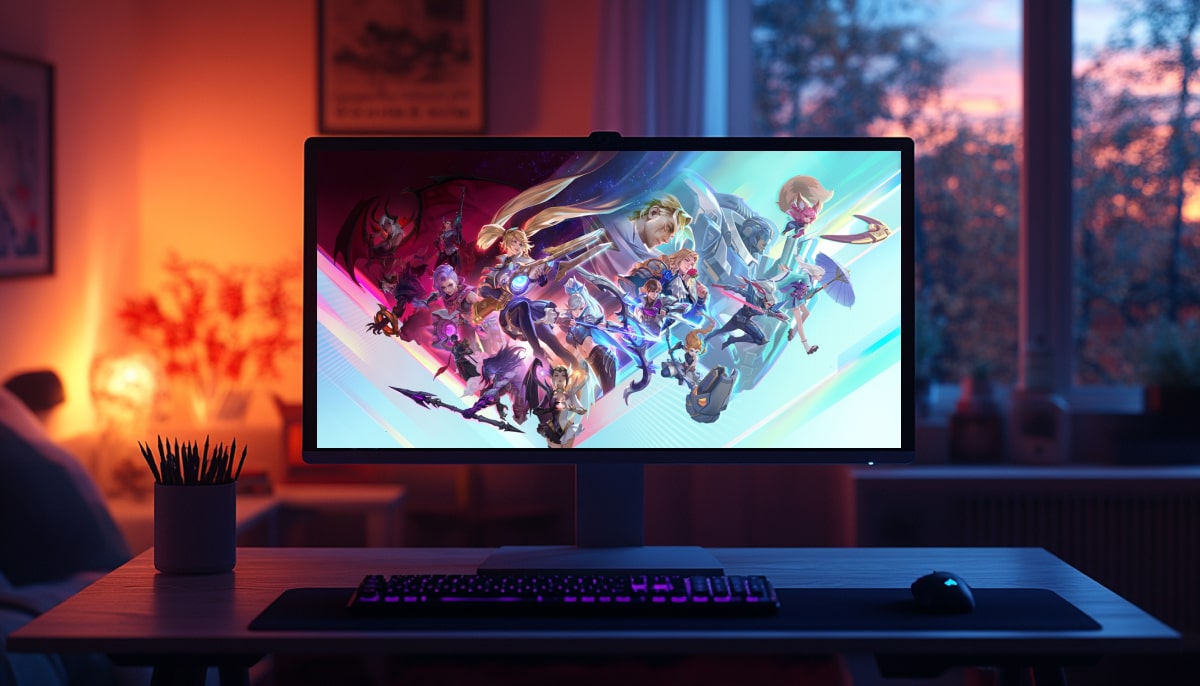
After the tv console post kinda blew up (which i did not expect), a ton of you asked about the wallpaper, especially how the art seems to run into the tv screen. so i figured, why not show the rest of it? What made it more complex was how much planning had to go into it. i didn’t want random leaves or stems covering sockets, switches, or the tv stand, so i spent days measuring, scaling, mocking it all up. drove the supplier nuts until they got the print layout exactly how i envisioned it. This wallpaper was a mission. i know some folks don’t consider this fully diy, but let me walk you through why this one was different. step 1: Measurements (aka the only thing that saved this project) Had a vision in mind. big mural, soft grayscale tones, dandelions, butterflies, tropical leaves. but i also knew how bad it could look if a power socket ended up slicing through someone’s face on the wallpaper. so before anything else, i measured everything ( see image 3 attached ). Power sockets, outlet heights, where the tv was gonna sit, the width of the console, speaker placement, all of it. the diagram you see here took a few nights of tweaks. nothing fancy, just boxes and spacing, but that planning stage? that’s what made this whole thing line up right. At least for me. Step 2: Finding the right wallpaper vendor From the jump, i knew i didn’t want some roll-off-the-shelf pattern. I wanted something personal. something that felt like me. not just wallpaper, but something that carried a bit of story. So i started reaching out. High end brands, boutique shops, local and international. Asked for samples, compared materials, asked why some charge 10x more than others. What i learned? the old school paper stuff is mostly gone. Now it’s all vinyl base mold resistant, semi washable on top some even provide a texture ( see image 5 ).. surprisingly practical, especially if you’ve got kids and walls that say whoops more than wow. truth is, i wasn’t gonna drop big dollars just to flex. Most high end brands sell the namey, a lot of it felt cold. Then one brand stood out. they broke it down. told me what their stuff is made of, how they print, how they customize without charging extra. Colors, dimensions, even merging designs. so i pitched them an idea: let me grab elements from different designs in your catalog..stuff that actually speaks to me and blend it into one custom mural. They said yes. step 3: installation (aka the sweaty part) At first, i figured, let me just hire someone and be done with it. i’ve never installed wallpaper before and honestly, it sounded like one of those things you pay to not screw up. So i googled around, landed on the top result, and rookie move, it was this lady who basically built a wallpaper install empire off IG clout. followers, press, fancy portfolio, the whole thing. cool, right? nope... She sends me a quote that nearly made me choke on my coffee. and on top of it, she’s like, you’ll need to prime the wall first using INSL-X Aqua Lock Plus from Benjamin Moore. installation doesn’t include priming, but I can quote that too. come onnnnn. my wall is straight. clean. Then she hits me with ; you also need to remove all your wall sockets ahead of time. At this point i didn’t even bother looking for a second installer after that. i was so annoyed by the vibe, like she’s doing you a favor by charging insane rates, i just said screw it, we’re doing it ourselves. And get this, the wallpaper showed up the next day, and to my surprise, it came with a full install guide. Numbered panels, clear steps, tools you need, what to avoid… super straightforward. So my wife and i rolled up our sleeves, a buddy joined in, and we tackled it together. ( see image 6-7 ) sweat, swearing, a couple of minor bubbles, nothing wild. you can check out the timelapse if you’re curious how it went. Bonus: after the installation , we have sent the final pictures of the install to the company and shared how happy we are with teverything from product to support. What we got as a thank you message was - hey , let's try to place a JPEG file as a screensaver that reflects what's behind the tv.. so after few trial and errors we found the exact size and match. What a great idea this was. Why go this far? no real reason beyond this: i’m a sailor at heart, i kiteboard, i live for all things ocean and tropical, and that feeling had to live in this space too. The dandelions in the mural are actually from back home in europe. a weird mix, yeah, but that’s the story. I know some folks will still say it looks like a catalog or it feels too sterile or ai generated or whatever. And that’s fine. I’ve come to learn, especially after posting the dyi tv stand project, that no matter what you do, someone out there is gonna hate it before they even look. It’s just how people are wired. Anyway, i know this kind of thing isn’t for everyone. some will get it, others won’t and that’s fine. i didn’t build this to please the internet. just wanted to sha

 | After the tv console post kinda blew up (which i did not expect), a ton of you asked about the wallpaper, especially how the art seems to run into the tv screen. so i figured, why not show the rest of it? What made it more complex was how much planning had to go into it. i didn’t want random leaves or stems covering sockets, switches, or the tv stand, so i spent days measuring, scaling, mocking it all up. drove the supplier nuts until they got the print layout exactly how i envisioned it. This wallpaper was a mission. i know some folks don’t consider this fully diy, but let me walk you through why this one was different. step 1: Measurements (aka the only thing that saved this project) Had a vision in mind. big mural, soft grayscale tones, dandelions, butterflies, tropical leaves. but i also knew how bad it could look if a power socket ended up slicing through someone’s face on the wallpaper. so before anything else, i measured everything ( see image 3 attached ). Power sockets, outlet heights, where the tv was gonna sit, the width of the console, speaker placement, all of it. the diagram you see here took a few nights of tweaks. nothing fancy, just boxes and spacing, but that planning stage? that’s what made this whole thing line up right. At least for me. Step 2: Finding the right wallpaper vendor From the jump, i knew i didn’t want some roll-off-the-shelf pattern. I wanted something personal. something that felt like me. not just wallpaper, but something that carried a bit of story. So i started reaching out. High end brands, boutique shops, local and international. Asked for samples, compared materials, asked why some charge 10x more than others. What i learned? the old school paper stuff is mostly gone. Now it’s all vinyl base mold resistant, semi washable on top some even provide a texture ( see image 5 ).. surprisingly practical, especially if you’ve got kids and walls that say whoops more than wow. truth is, i wasn’t gonna drop big dollars just to flex. Most high end brands sell the namey, a lot of it felt cold. Then one brand stood out. they broke it down. told me what their stuff is made of, how they print, how they customize without charging extra. Colors, dimensions, even merging designs. so i pitched them an idea: let me grab elements from different designs in your catalog..stuff that actually speaks to me and blend it into one custom mural. They said yes. step 3: installation (aka the sweaty part) At first, i figured, let me just hire someone and be done with it. i’ve never installed wallpaper before and honestly, it sounded like one of those things you pay to not screw up. So i googled around, landed on the top result, and rookie move, it was this lady who basically built a wallpaper install empire off IG clout. followers, press, fancy portfolio, the whole thing. cool, right? nope... She sends me a quote that nearly made me choke on my coffee. and on top of it, she’s like, you’ll need to prime the wall first using INSL-X Aqua Lock Plus from Benjamin Moore. installation doesn’t include priming, but I can quote that too. come onnnnn. my wall is straight. clean. Then she hits me with ; you also need to remove all your wall sockets ahead of time. At this point i didn’t even bother looking for a second installer after that. i was so annoyed by the vibe, like she’s doing you a favor by charging insane rates, i just said screw it, we’re doing it ourselves. And get this, the wallpaper showed up the next day, and to my surprise, it came with a full install guide. Numbered panels, clear steps, tools you need, what to avoid… super straightforward. So my wife and i rolled up our sleeves, a buddy joined in, and we tackled it together. ( see image 6-7 ) sweat, swearing, a couple of minor bubbles, nothing wild. you can check out the timelapse if you’re curious how it went. Why go this far? no real reason beyond this: i’m a sailor at heart, i kiteboard, i live for all things ocean and tropical, and that feeling had to live in this space too. The dandelions in the mural are actually from back home in europe. a weird mix, yeah, but that’s the story. I know some folks will still say it looks like a catalog or it feels too sterile or ai generated or whatever. And that’s fine. I’ve come to learn, especially after posting the dyi tv stand project, that no matter what you do, someone out there is gonna hate it before they even look. It’s just how people are wired. Anyway, i know this kind of thing isn’t for everyone. some will get it, others won’t and that’s fine. i didn’t build this to please the internet. just wanted to share the work, the process, the idea… in case someone else out there’s been thinking about doing something similar. if you love it, amazing. if it’s not your thing, no hard feelings. just maybe keep in mind, there’s a real person behind every project shared here and a whole lot of hours most people never see. Feel free to ask any questions you may have. Much love. [link] [comments] |














































.jpg)



.jpg)
