


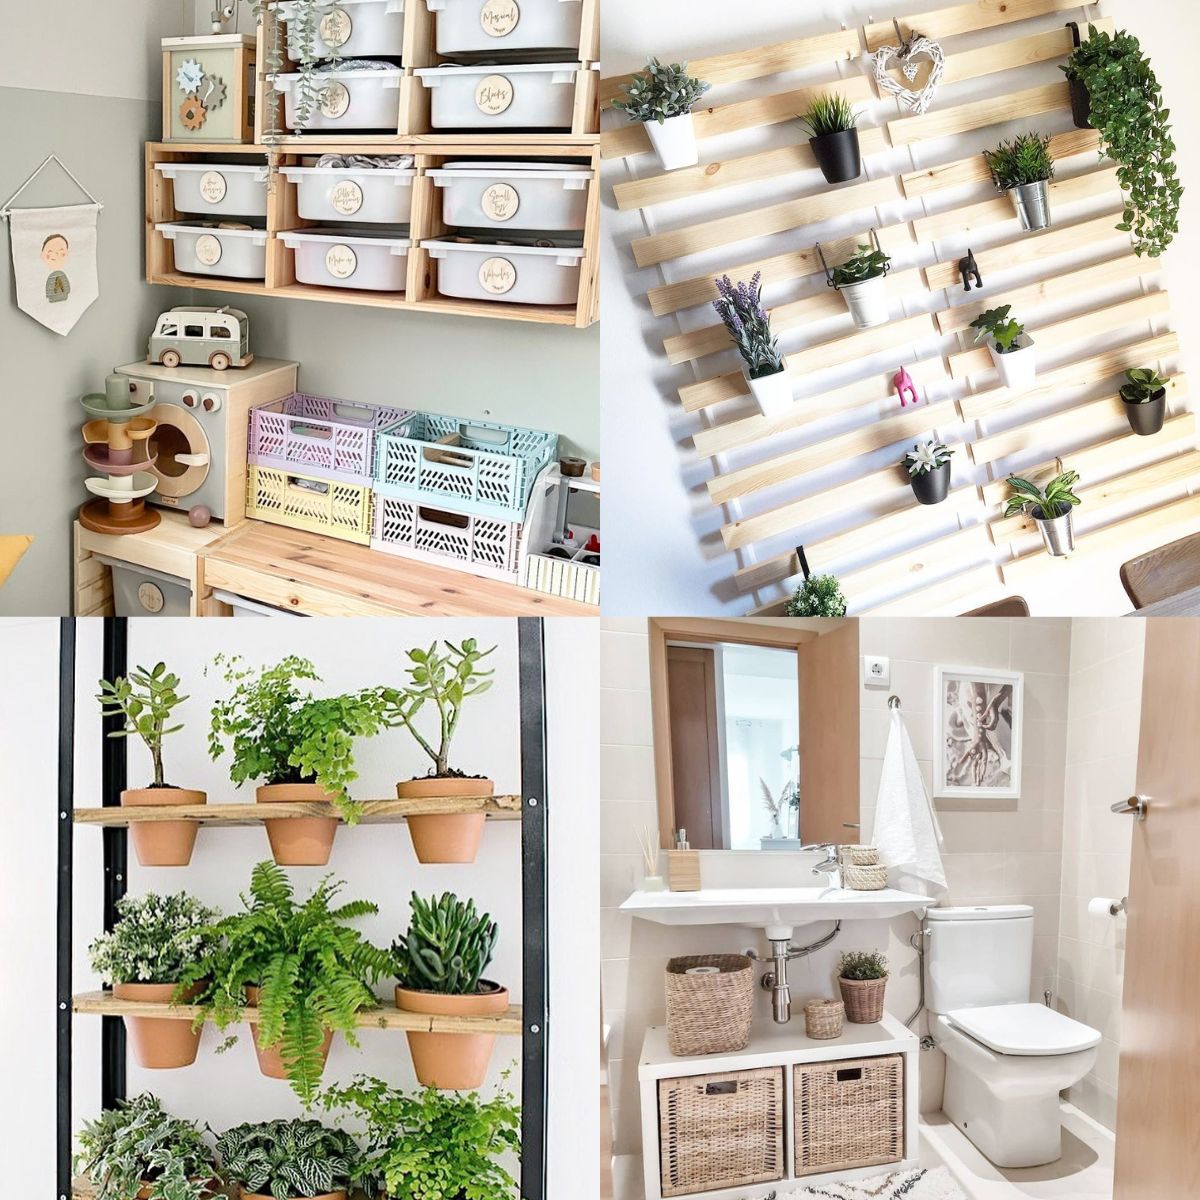
![Ultimate Anime Rangers X Tier List [UPDATE 1]](https://www.destructoid.com/wp-content/uploads/2025/04/ultimate-anime-rangers-units-tier-list.webp?quality=75)


.jpg)
.png)


Second wall moulding project complete. Still learning but proud of the result ❤️
Just finished my second wall molding project and wanted to share the process in case it helps anyone else doing this :) Materials and tools: • Pre-primed MDF trim • Liquid Nails adhesive and nail gun • Paintable caulk and caulking gun • Tape measure, level, painter’s tape, miter saw, and sandpaper • Interior wall paint (I used Behr Ultra Pure White) Steps I followed: 1. Measured the wall and planned the layout based on equal spacing. I taped it out first to visualize the proportions before cutting. 2. Used a miter saw to cut all trim pieces with 45-degree angles for clean corners. 3. Applied Liquid Nails and secured each piece with a nail gun while checking alignment with a level. 4. Caulked around all edges and corners, then lightly sanded for a seamless look. 5. Painted everything so the trim blended perfectly with the wall. What I learned: • Old walls are rarely straight, so I adjusted measurements slightly as I went. • Caulk really does make or break the final polish. This was only my second molding project so I’m still learning, but happy to answer any questions if you’re thinking of trying it too. submitted by /u/Many-Teach-1576 [link] [comments]

| | Just finished my second wall molding project and wanted to share the process in case it helps anyone else doing this :) Materials and tools: • Pre-primed MDF trim • Liquid Nails adhesive and nail gun • Paintable caulk and caulking gun • Tape measure, level, painter’s tape, miter saw, and sandpaper • Interior wall paint (I used Behr Ultra Pure White) Steps I followed: 1. Measured the wall and planned the layout based on equal spacing. I taped it out first to visualize the proportions before cutting. 2. Used a miter saw to cut all trim pieces with 45-degree angles for clean corners. 3. Applied Liquid Nails and secured each piece with a nail gun while checking alignment with a level. 4. Caulked around all edges and corners, then lightly sanded for a seamless look. 5. Painted everything so the trim blended perfectly with the wall. What I learned: • Old walls are rarely straight, so I adjusted measurements slightly as I went. • Caulk really does make or break the final polish. This was only my second molding project so I’m still learning, but happy to answer any questions if you’re thinking of trying it too. [link] [comments] |